Create a new blog on Vivaldi.net and add users
This post is also available in:
![]()
![]()
![]()
![]()
![]()
![]()
![]()
![]()
![]()
This article will show you how to get started with your new blog on Vivaldi.net.
Create a new blog
- Log in on blogs.vivaldi.net with your Vivaldi account credentials.
- If you don’t have a Vivaldi account yet, register here.
- Once logged in, either:
- Click on Create a blog near the top right corner of the page.

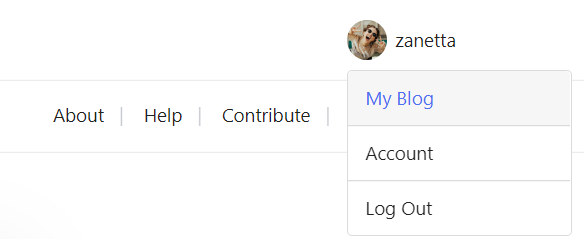
- Click on your username in the top right corner of the website and select My Blog from the dropdown menu.

- Click on Create a blog near the top right corner of the page.
- When you open your blog page for the first time, you will need to choose
- a blog title,
- language,
- one of the three customizable themes.
- The blog URL will be as follows: yourusername.vivaldi.net.
- Finish up by clicking Create blog.

Add a user to your blog
You can invite anyone to contribute or subscribe to your blog. Before adding a new user, make sure they have a Vivaldi account or ask them to register.
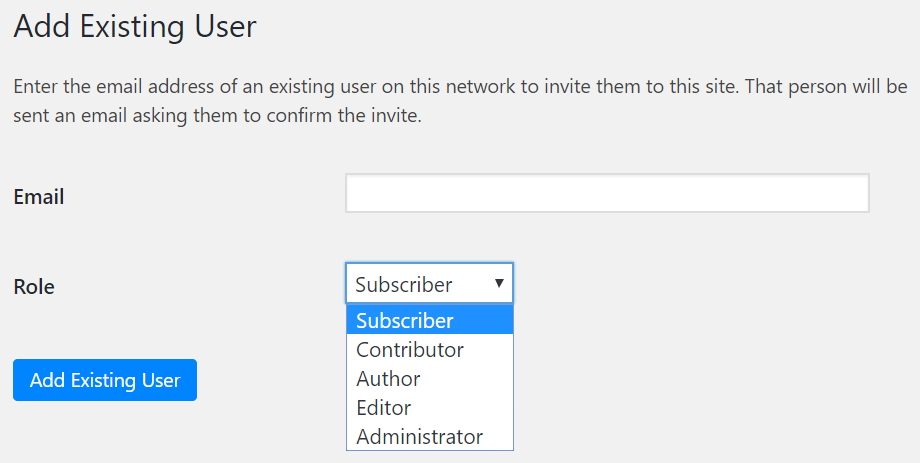
- Go to the blog’s Dashboard > Users > Add Existing.
- Type in their account’s recovery email and select the role (Subscriber, Contributor, Author, Editor or Administrator).

The new user will get an invitation to their email, which they have to accept before they can access your blog as a contributor.
The different roles can be summarized as follow:
- Administrator – somebody who has access to all the administration features within a single site.
- Editor – somebody who can publish and manage posts including the posts of other users.
- Author – somebody who can publish and manage their own posts.
- Contributor – somebody who can write and manage their own posts but cannot publish them.
- Subscriber – somebody who can only manage their profile.
Read more about user roles on wordpress.org.
Source: wordpress.org