Add a new blog post
This post is also available in:
![]()
![]()
![]()
![]()
![]()
![]()
![]()
![]()
This article will show you how to add a new blog post to your blog on blogs.vivaldi.net.
Write a new blog post
You can start writing a new blog post in a few different ways:
- On blogs.vivaldi.net, click on Write a New Post below your avatar near the top right corner of the page.
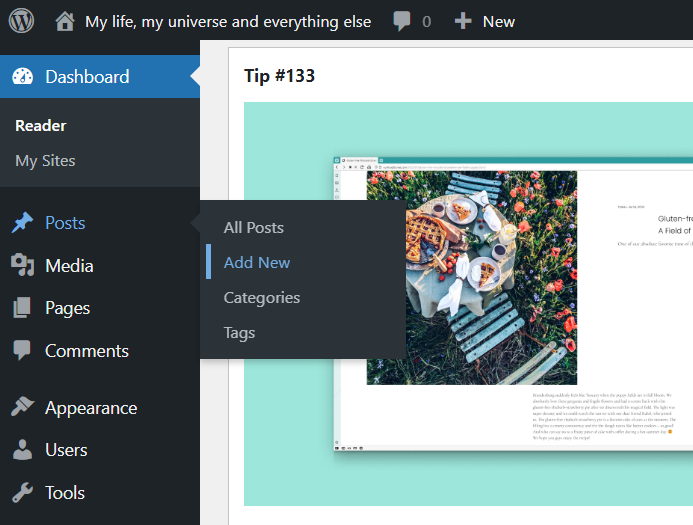
- On your blog’s Dashboard, select Posts > Add New from the menu on the right side.
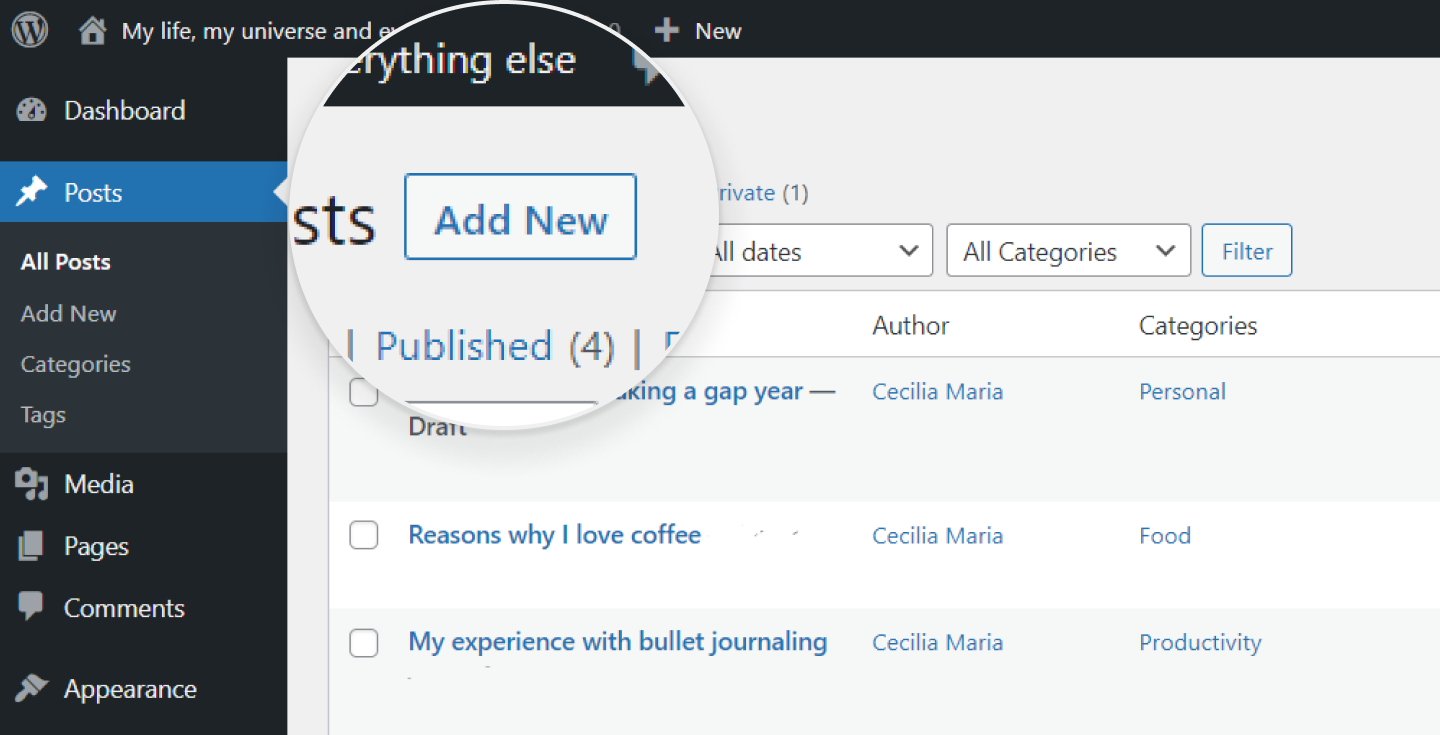
- On the Posts’ page, click Add New above the list of posts.
- From the horizontal menu on top of your blog and blog’s dashboard, select New > Post.

Content Blocks
WordPress’ Gutenberg editor uses blocks for building posts and pages. The selection is wide, from basic text paragraphs and images to embeds from other sites. Occasionally new blocks are added too.
There are many ways to add new blocks. Use an option you prefer:
Option 1
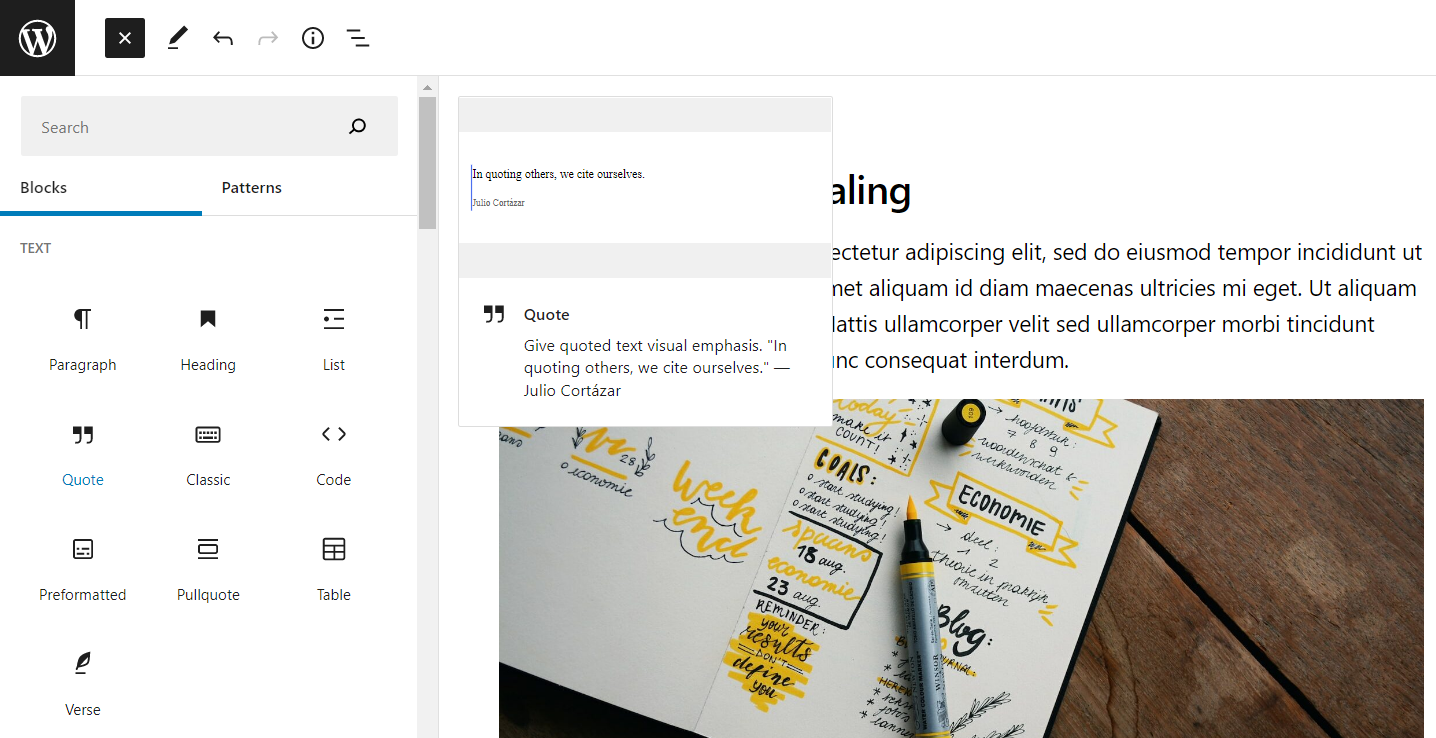
Next to the WordPress logo in the top left corner, click on ![]() Toggle block inserter and select the type of block you want to add: paragraph, heading, image, list, table, etc. When hovering over a block option, you can see a preview of the block on the right from the blocks menu. To close the menu, click on
Toggle block inserter and select the type of block you want to add: paragraph, heading, image, list, table, etc. When hovering over a block option, you can see a preview of the block on the right from the blocks menu. To close the menu, click on ![]() Toggle blocks inserter or focus elsewhere on the page.
Toggle blocks inserter or focus elsewhere on the page.
Option 2
Add a new line to the content section in the editor and click on the ![]() Add Block button that appears on the right side.
Add Block button that appears on the right side.
Option 3
Add a new line to the content and type / to choose a block.
Option 4
Hover your mouse between two blocks and when a blue line appears, click the ![]() Add Block button.
Add Block button.

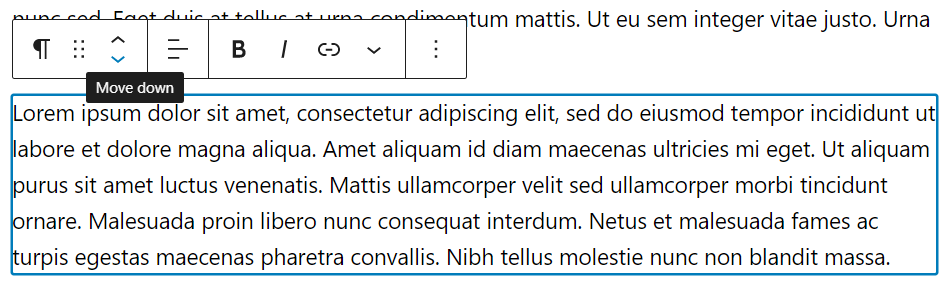
You can reorder blocks by using the arrows on the menu in the top left corner of each block or by dragging them to the desired location from the ![]() Drag button.
Drag button.
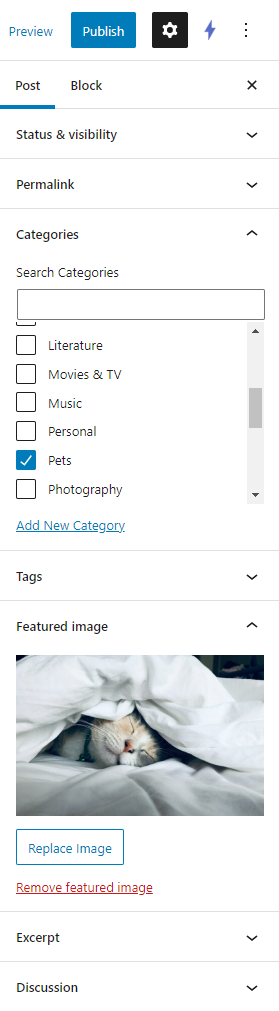
You can find some block-specific settings in the menu above the selected block as well. Additional block customization options can be found in the Settings menu on the right (see image below).
From the same panel, where the block editor is located, you can also adjust settings for the whole post.
For more advanced blogging, you can add or remove fields from ![]() Options > Preferences in the top right corner.
Options > Preferences in the top right corner.
Block Patterns
Patterns are a collection of blocks you can reuse in your Vivaldi blog’s posts and pages. If you regularly add the same things to your blog posts that require lots of setting changes, Patterns can help you save time and maintain consistency across your posts. For example, you might want to create a cover that is shown at the top of each post which includes headings with edited typography and an image with specific color overlay settings. Instead of creating one from scratch in each post, you can set it up once and save it as a Pattern. That way, in future posts you just need to find the pattern and insert it.
To create a Pattern:
- Create the blocks you want to save as a Pattern.
- Select them all.
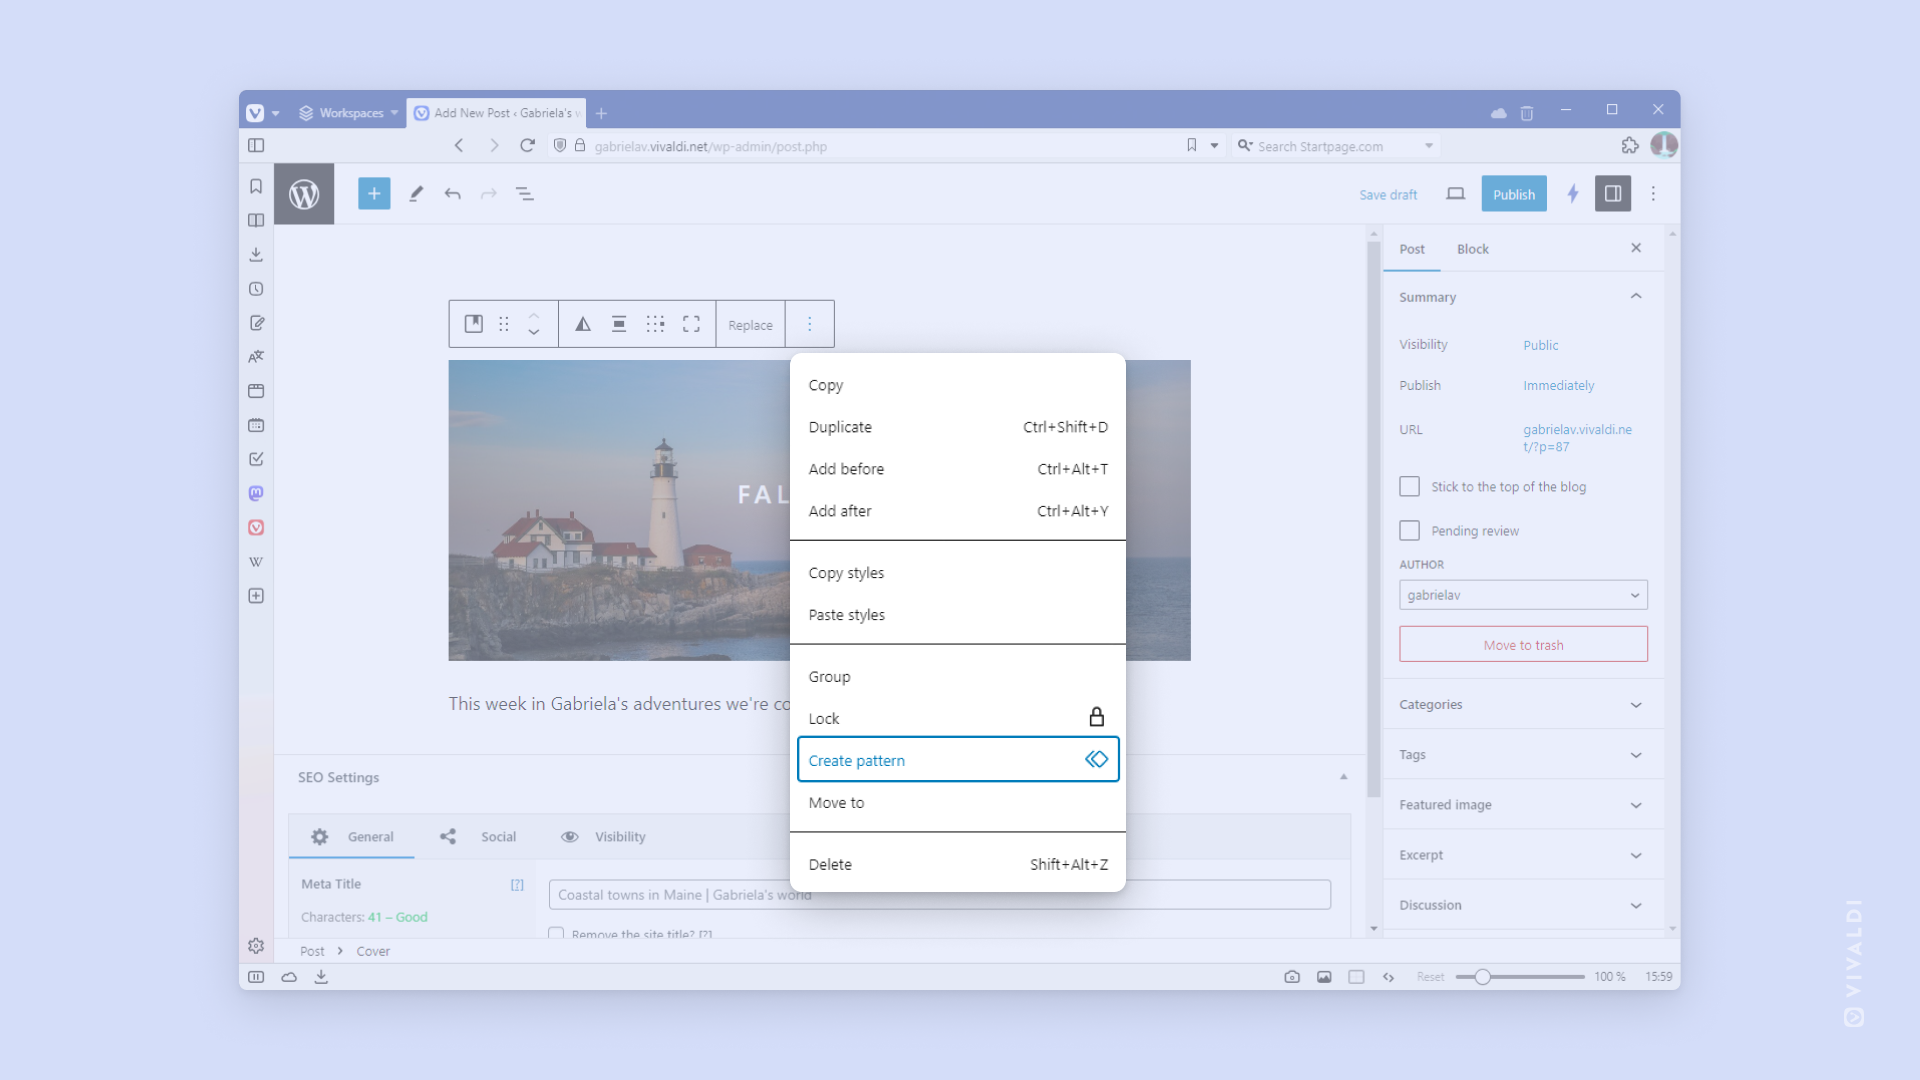
- Click on
 Options in the block’s menu.
 - Select “Create pattern”.
- Give the new pattern a name, add it to a category, and decide, whether any changes made to the pattern should be synced.
- Finish by clicking “Create”.
To use a saved Pattern:
- Click on
 Toggle block inserter and go to the Patterns tab.
 - Find your patterns and click on the one you want to add to your post/page.
Add media
To include media files in the post, add an Image or Gallery block to the post and choose whether you want to add the media by:
- uploading the file(s);
- choosing from already uploaded files in the Media Library;
- adding high-quality and free images from Instant Images;
- inserting an image from a URL.
Attachment details can be edited prior to inserting the media file into the post:
- Select the image;
- Click Edit Image in the Attachment details section on the right;
- Make the changes and click Save.
Instant Images
We’ve added a plugin that lets you easily browse through and use thousands of high-quality images from Unsplash, Openverse, Pixabay, Pexels and Giphy. To add images from Instant Images to your Media Library:
- Go to your blog’s Dashboard > Media > Instant Images;
- Once you’ve found an image you want to use in your blog, click on it and it will be added to your Media Library.
To add a photo to your blog from Instant Images while editing a post or a page:
- In the post or page editor, add a new image or gallery block.
- Select Media Library and go to Instant Images tab.
- Search through the files from Unsplash, Openverse, Pixabay, and Pexels.
- When you’ve found one you like, click on the image.
- After it has been added to your library, click Select in the bottom right corner of the Media Library window to add it to the post/page.
Classic Editor
If you don’t like to write posts by using blocks, you can switch to the older version of the editor.
To switch to the Classic Editor:
- Go to your blog’s Dashboard > Settings > Writing.
- For “Default editor for all users” select Classic Editor.
- Click Save Changes.
Edit a blog post
You can easily make changes to the blog post by:
- clicking Edit next to the post information (date, category)
- while on the blog post’s link click Edit Post on the top horizontal menu
- while on Dashboard > Posts > click Edit under the post title (becomes visible when hovering the mouse over the post)
Once finished with the changes, click Save.
Add a new page to the blog
In addition to blog posts, it’s also possible to add pages to the blog. The difference between posts and pages is that posts are blog entries that will show up in the Reader and RSS feeds and are organized in chronological order. They can be found in Recent Posts, Categories, Archives, etc. Pages, on the other hand, are static and don’t have a time stamp. If you’re using the Pages widget, they will be visible in the blog’s widget section on the side or bottom of the page (depending on the theme) or you can add a link to them to the blog menu. A good example of a page is the About page with information about the blog’s author(s).
To add a page to the blog:
- Go to Dashboard > Pages > Add Page.
- From the top horizontal menu select New > Page.