Escrever mensagens de correio eletrónico
This post is also available in:
![]()
![]()
![]()
![]()
![]()
![]()
![]()
![]()
![]()
Enviar uma nova mensagem de correio eletrónico
Para enviar uma nova mensagem no webmail:
- Click on Compose in the top left corner;
- Add the recipient(s), subject, content and, if you wish, attachments;
- Click Send.
Se não pretender enviar a mensagem imediatamente, clique em Guardar no menu por cima do editor de mensagens. Depois pode abrir a mensagem mais tarde a partir da pasta Rascunhos, para continuar a escrever. Também pode definir a frequência com que os rascunhos devem ser guardados automaticamente em Definições > Preferências > Composição de mensagens > Opções > Guardar rascunho automaticamente.
Responder a uma mensagem
Para responder a uma mensagem:
- Open the email you want to reply to;
- On the menu above the email, click either:
- Reply, if you only want to send an email to the person who sent the email, or
- Reply all, if you want to send an email to the sender and everyone else who received the same email.
Reencaminhar uma mensagem
Para reencaminhar uma mensagem:
- Open the email you want to reply to;
- On the menu above the email, click Forward.
A partir da pequena seta junto ao botão pode escolher se pretende reencaminhar o texto da mensagem ou incluí-la como anexo.
Adicionar destinatários
Pode adicionar destinatários à sua mensagem digitando-os no campo Para. À medida que escreve vão aparecendo sugestões a partir dos contactos guardados.
Em alternativa, pode abrir o livro de endereços à direita do campo de destinatários, escolher o(s) contacto(s) e clicar em “Inserir”.
A partir do botão +, junto ao botão do livro de endereços, pode também adicionar destinatários CC, BCC, Responder-a e No-seguimento-de.

Anexar ficheiros
Para adicionar um ficheiro a uma mensagem, tem várias opções:
- Click Attach on the menu above the email composer;
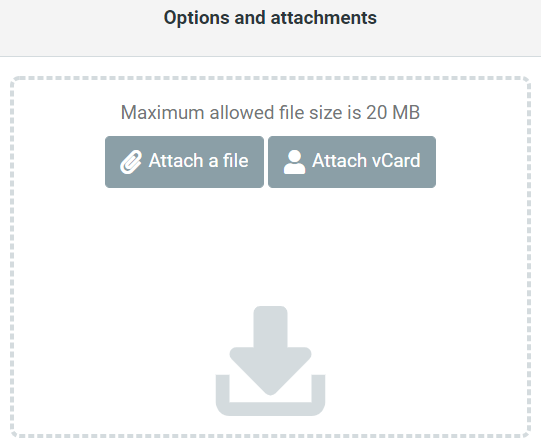
- Click on Attach a File in the Options and attachments section on the right side of the composer;
- Drag the file from your File Manager/Finder and drop it to the attachment section on the right.
Adicionar imagens
Para adicionar uma imagem junto ao texto:
- Make sure you’re using the HTML editor;
- Click on
 Insert/Edit image button;
 - Click on
 Browse folder button to look through already attached files or upload a new image from your computer;
 - Click on the image you want to add and then click OK.
Alterar o editor de mensagens
HTML vs Texto simples
By default, the editor is in Plaint text mode, but you can switch to the HTML editor by changing the ![]() Editor Type from the top left corner of the email field. Click on X in the same corner to return to the Plain Text editor.
Editor Type from the top left corner of the email field. Click on X in the same corner to return to the Plain Text editor.
Para compor sempre mensagens com o editor HTML, vá a Definições > Preferências > Composição de mensagens e escolha em que casos pretende compor mensagens em HTML.
Respostas guardadas
Caso tenha de enviar frequentemente a mesma mensagem, pode guardá-la como uma resposta, em vez de a estar sempre a escrever.
Para adicionar uma nova resposta:
- Click Responses on the menu above the email composer and select Create new response.
Alternatively, go to Settings > Responses and click Create above Response editor; - Give the new Response a name and type the message text;
- Click Save.
Para usar uma resposta:
- Click Responses on the menu above the email composer;
- Select a saved response.
Para editar respostas guardadas:
- Click Responses on the menu above the email composer and select Edit responses.
Alternatively, go to Settings > Responses; - Select the Response you want to edit;
- Make the changes;
- Click Save.
Para eliminar respostas:
- Go to Settings > Responses;
- Select the Response you want to delete;
- Click Delete above the response editor.