Add and manage calendars
This post is also available in:
![]()
![]()
![]()
![]()
![]()
![]()
![]()
![]()
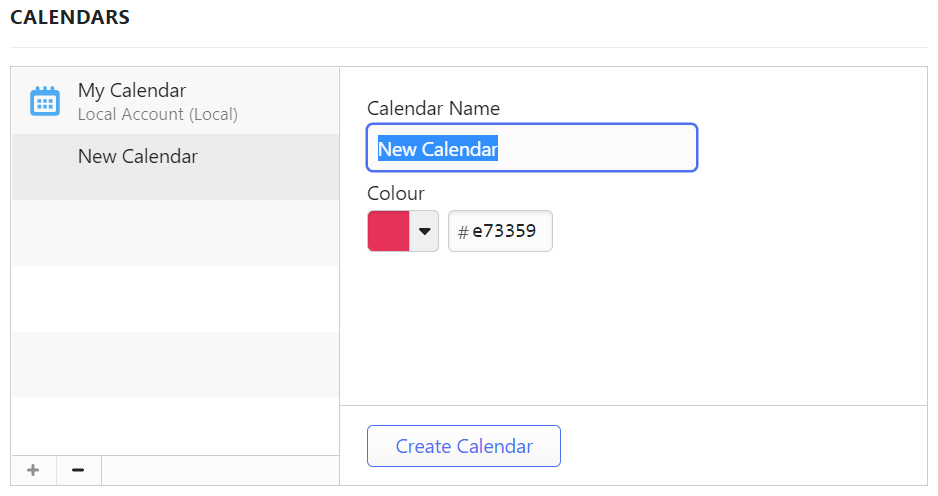
Add calendars
To create a calendar for the local or online account:
- Go to Settings > Calendar > Calendars.
- Click on
 Add Calendar below the list of calendars.
 - Pick for which account you want to create the calendar for.
- Give the calendar a name and pick a color.
- Click Create Calendar.
To create a calendar for online accounts, you can also create the calendar on the calendar service provider’s servers, i.e. in their web interface.
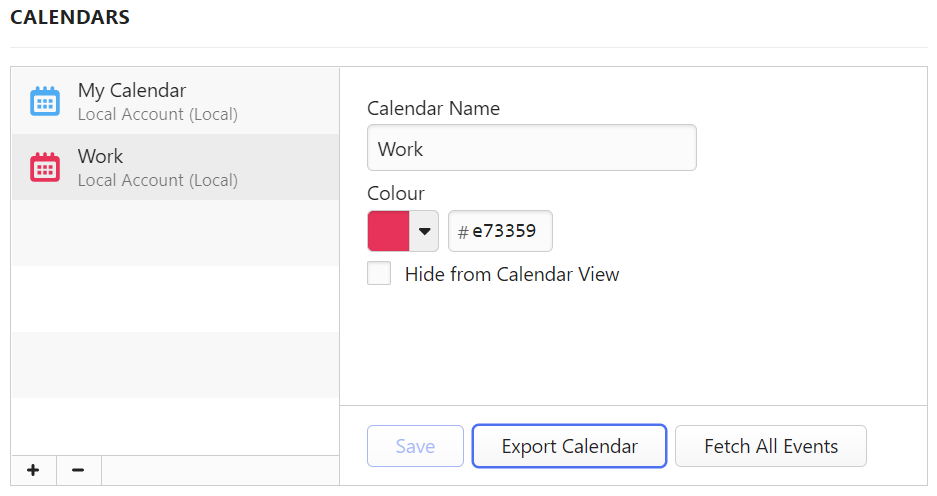
Edit calendars
To edit a calendar:
- Go to Settings > Calendar > Calendars.
- Select a calendar you want to update.
- Make the changes.
- Click Save.
You can change:
- Calendar name for local calendars,
- Calendar color,
- Toggle calendar’s visibility in Calendar View,
- Toggle syncing online calendars on and off.
Export calendars
You can export both local and online calendars as ICS files.
To export a calendar:
- Go to Settings > Calendar > Calendars.
- Select the calendar you want to export.
- Click on Export Calendar.
- Select a folder in your File manager/Finder to save the file to.
- Click Save.
Delete calendars
To delete a calendar:
- Go to Settings > Calendar > Calendars.
- Select the calendar you want to delete.
- Click on
 Delete calendar below the list of calendars.
 - Click Delete on the confirmation dialog.
Was this helpful?
Thanks for your feedback!