Tile Tabs for a split screen view
This post is also available in:
![]()
![]()
![]()
![]()
![]()
![]()
![]()
![]()
![]()
![]()
![]()
![]()
Instead of constantly switching back and forth between tabs, you can tile tabs to create a split-screen view. Tab Tiling lets you compare, reference, monitor, and think in parallel.
Tiling Tabs
To tile two or more tabs:
- Select the tabs by holding down the Ctrl/⌘ or Shift key and clicking on the tabs on the Tab Bar or Windows and Tabs Panel.
- Tile the tabs by:
- Drag the tab(s) from the Tab Bar into the main content window of your currently active tab. When you see a box with the text Drop to tile, release the mouse button.
- Right-clicking on one of the selected tabs and select Tile.
- Clicking on the
 Page Tiling button on the Status Bar and selecting the tiling layout.
 - Typing “Tile Vertically/Horizontally/to Grid” in Quick Commands.
- Using a Keyboard Shortcut.
- Creating a Mouse Gesture for the action.
To tile the active tab with the previous tab, you can simply click on the ![]() Page Tiling button on the Status Bar and select the tiling layout without needing to select the tabs on the Tab Bar first.
Page Tiling button on the Status Bar and select the tiling layout without needing to select the tabs on the Tab Bar first.
Open Link as a Tiled Tab
If you’ve come across a link on a web page that you’d like to open in a tiled view with the active tab:
- Right-click on the link.
- Select Open Link in > Open Link as Tiled Tab.
There’s no limit to how many tabs you can tile at once, but from a certain point onwards (depends on your screen size), seeing the page content can become difficult.
Tiling Tab Stacks
Tile a Tab Stack either by:
- Right-clicking on the Tab Stack on the Tab Bar or Windows and Tabs Panel and selecting Tile.
- Clicking on the Page Tiling button on the Status Bar and selecting the tiling layout.
- Typing “Tile Vertically/Horizontally/to Grid” in Quick Commands.
- Using a Keyboard Shortcut.
- Creating a Mouse Gesture for the action.
Untiling Tabs
You can untile tabs by:
- Click on the
 Untile button on the right side of the tiled tab’s title bar.
 - Right-clicking on one of the tiled tabs and selecting Tile to remove a single tab from the tiled view.
- Right-clicking on the tab stack and selecting Tile to untile all tabs.
- Clicking on the Page Tiling button on the Status Bar and selecting Untile pages.
- Typing “Untile Tabs” in Quick Commands.
- Using a Keyboard Shortcut.
- Creating a Mouse Gesture for the action.
Tiled Tabs layout
To change the layout of the tiled tabs, use one of the following options.
Option 1
- Clicking on the Page Tiling button on the Status Bar.
- Select between vertical, horizontal, or grid tiling.

Option 2
Type “Tile Vertically / Horizontally / to Grid” in Quick Commands.
Option 3
Use Keyboard Shortcuts to switch layouts.
- Vertically Ctrl+F9 / ⌘F9
- Horizontally Ctrl+F8 / ⌘F8
- Grid Ctrl+F7 / ⌘F7
Option 4
Create Mouse gestures for the actions.
Option 5
To split tiles further into smaller tiles:
- Click on and hold down the mouse button on the tiled tab’s title bar.
- Drag it over another tiled tab, closer to the edge of the tile rather than the middle.
- When you see a box with the text Drop to tile, release the mouse button.
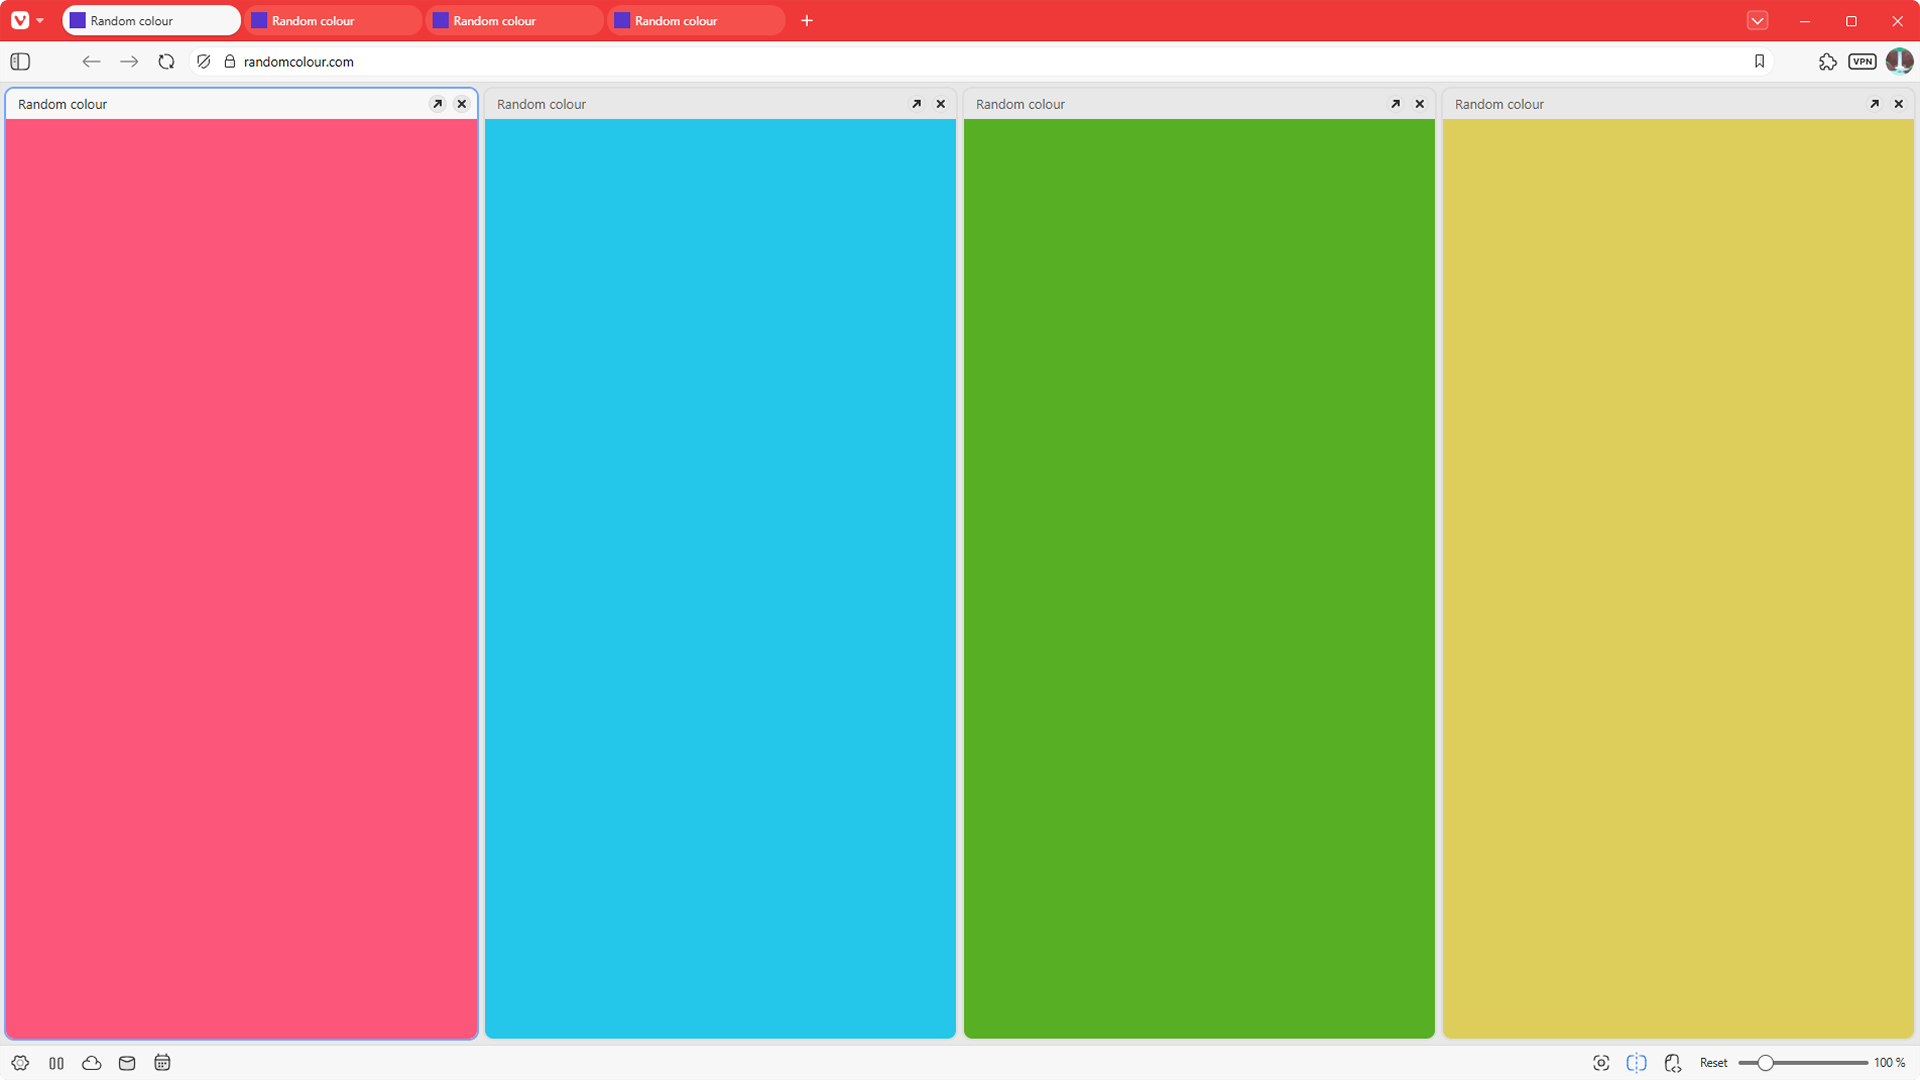
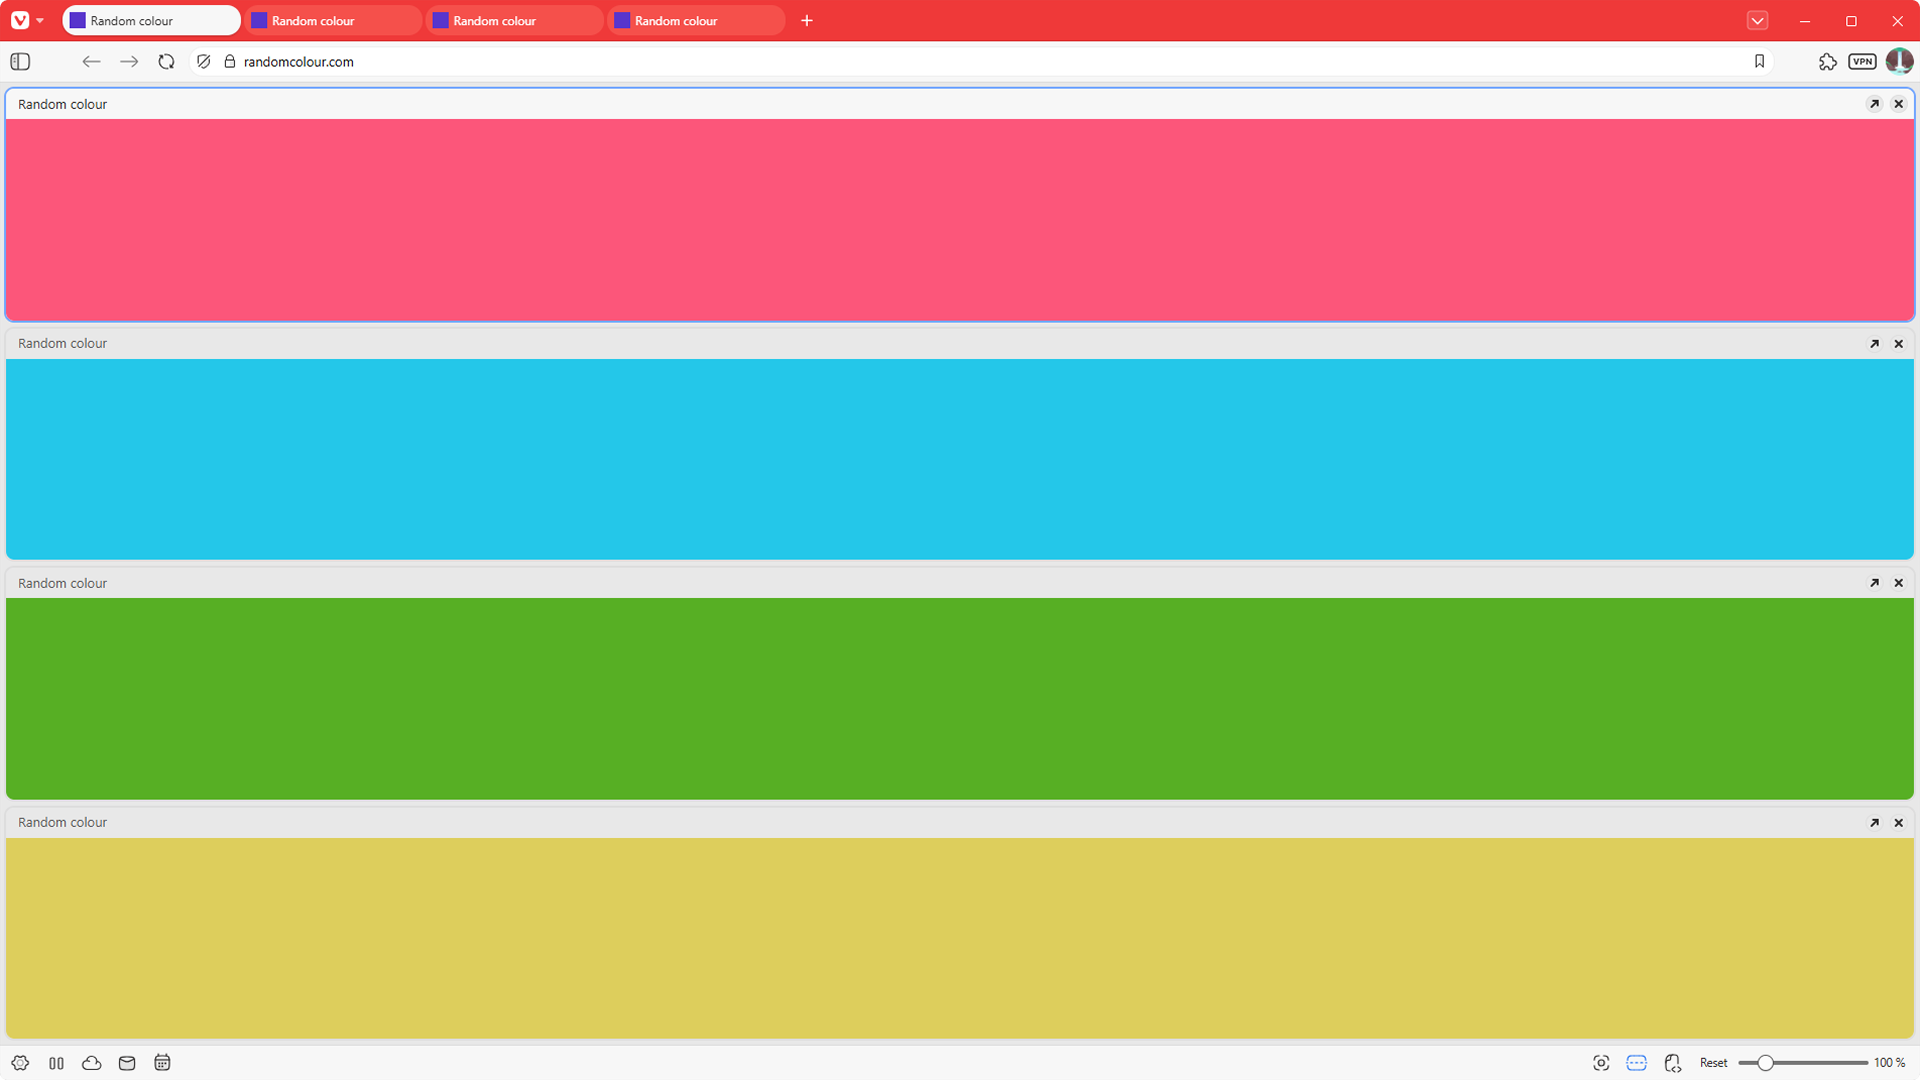
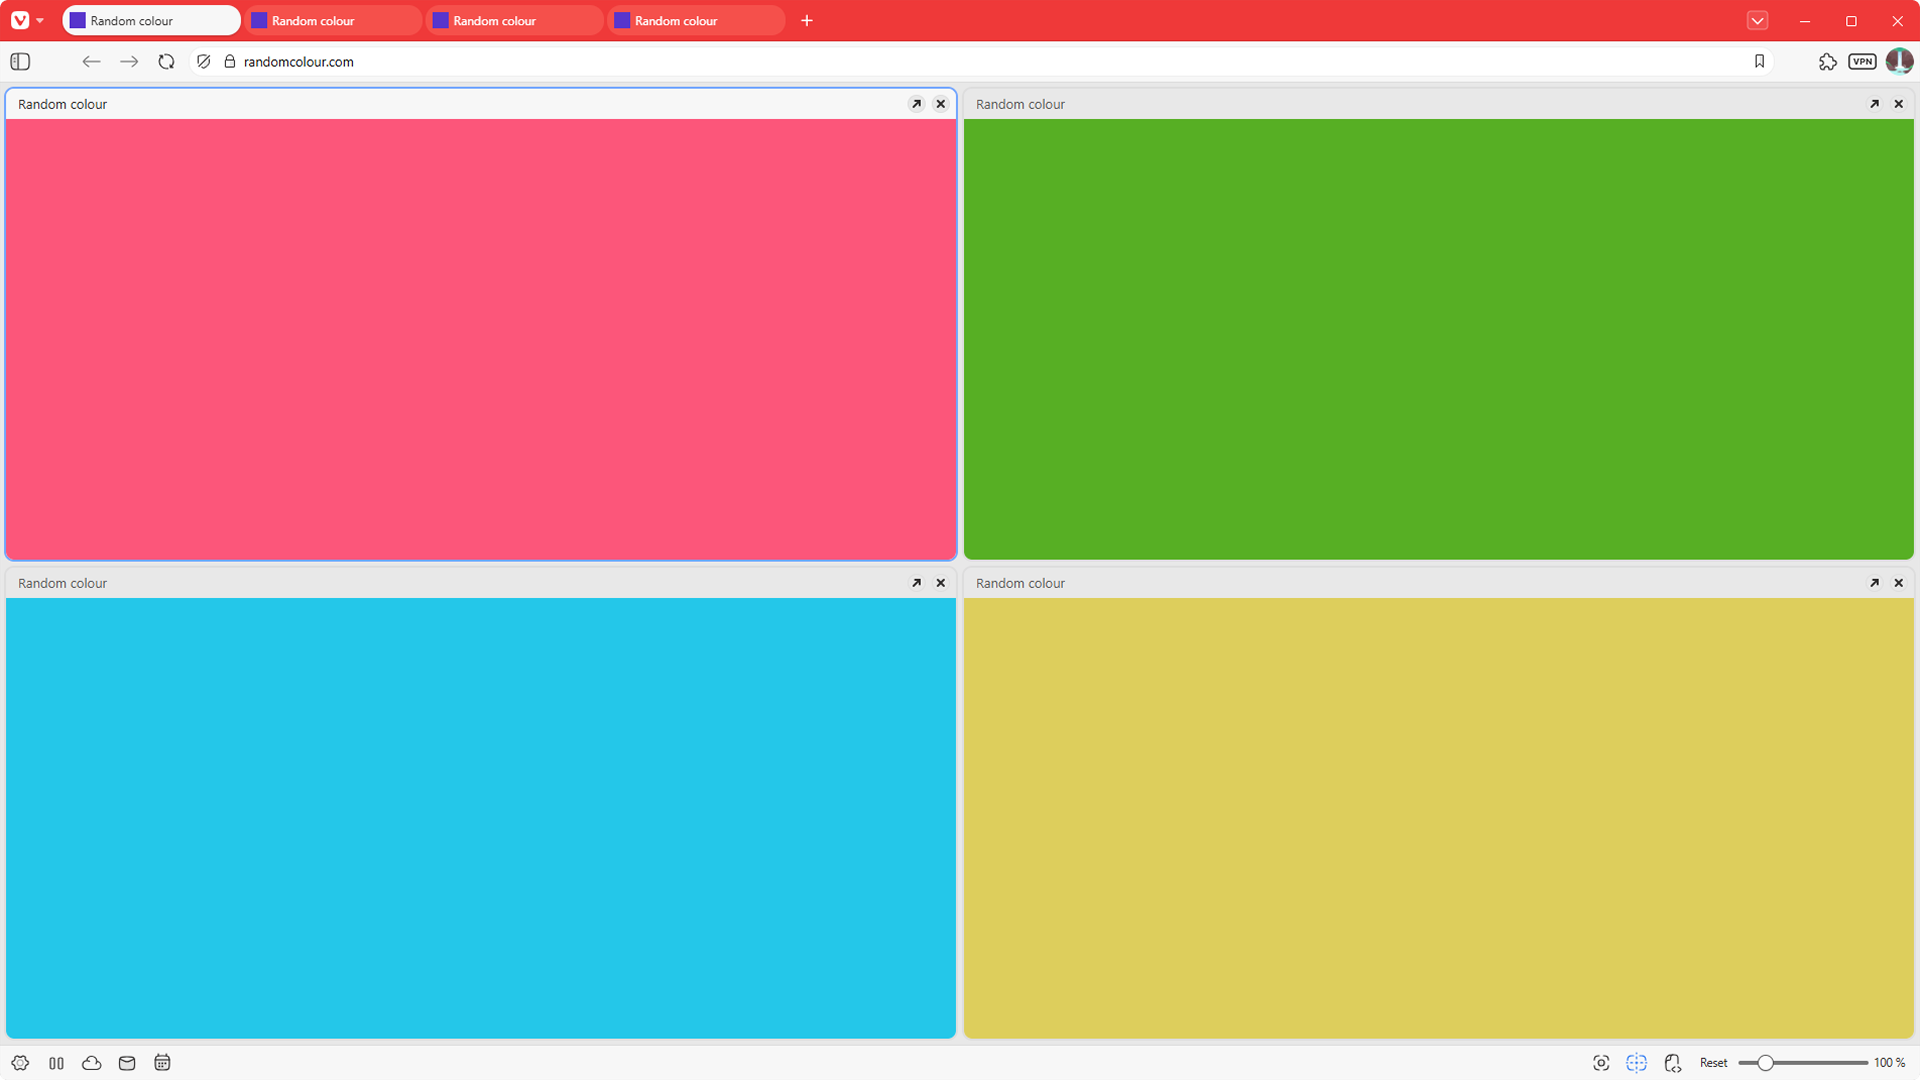
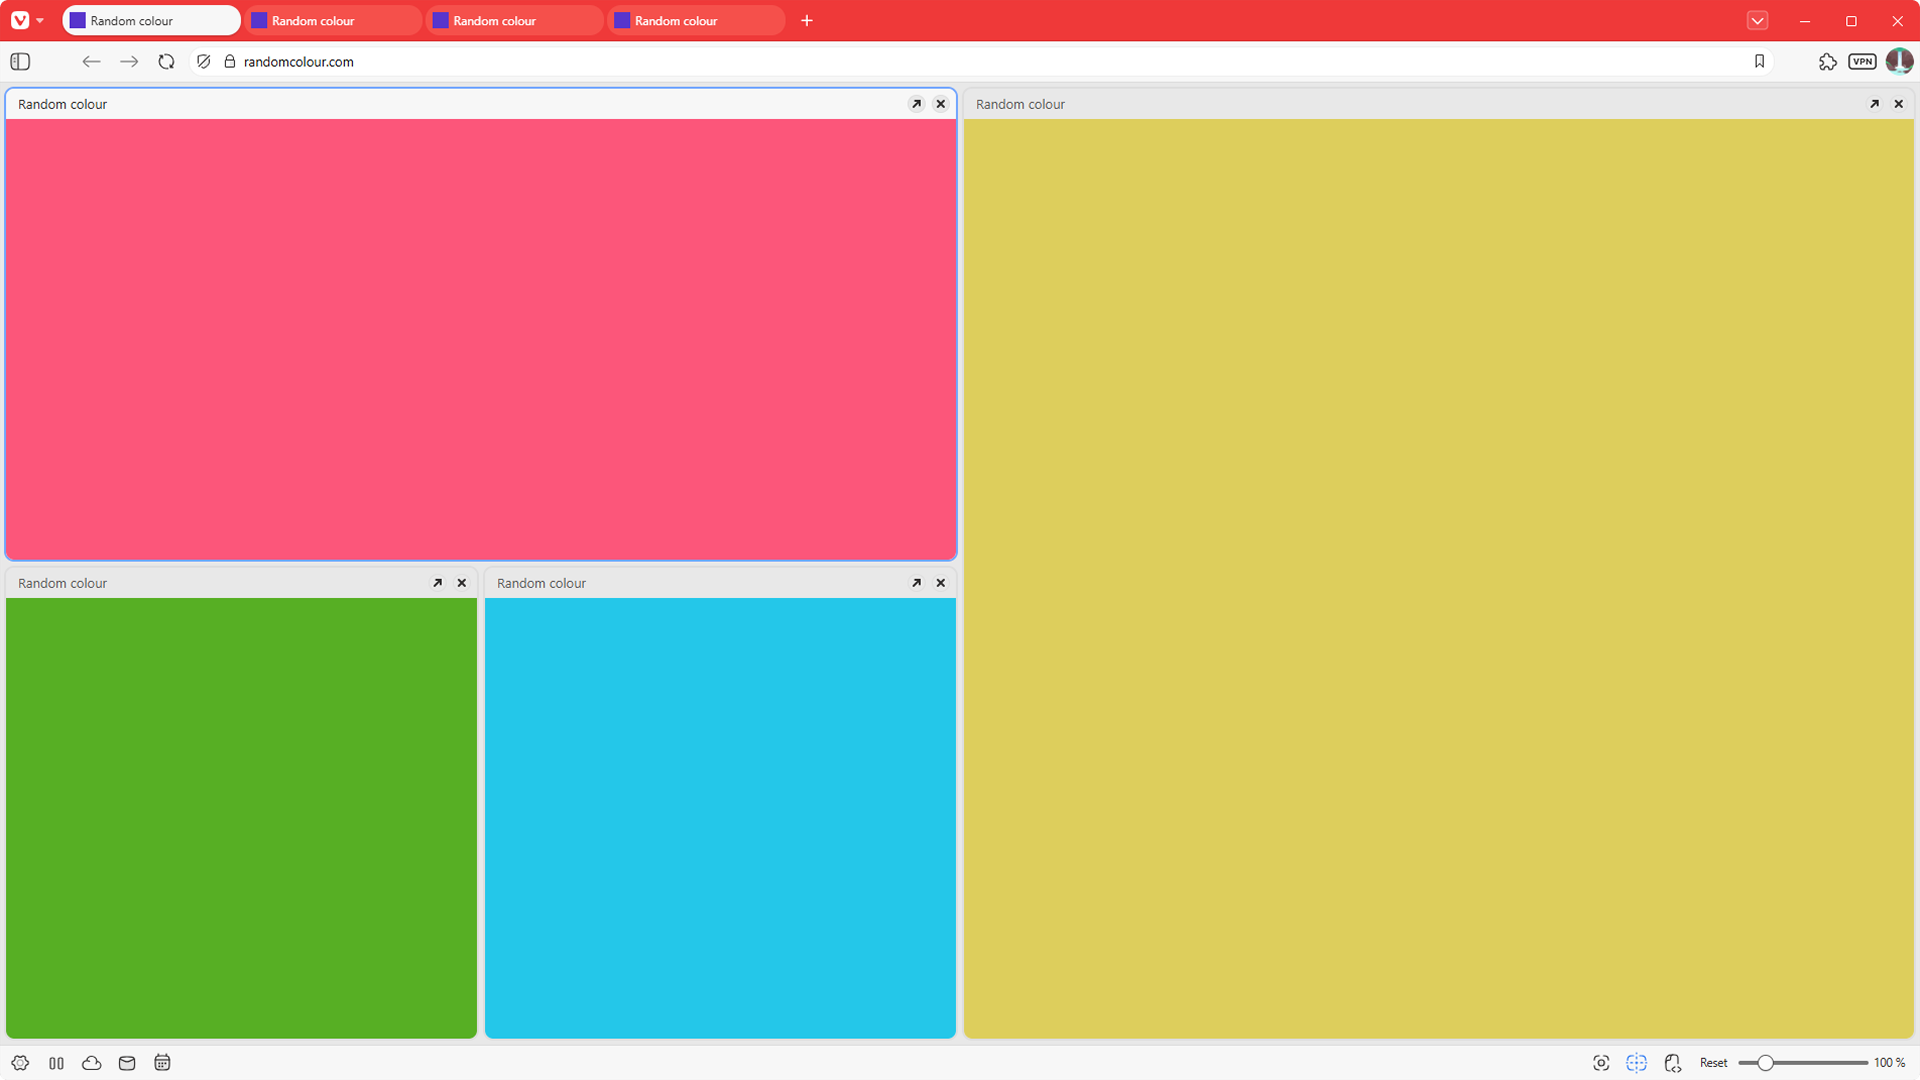
Take a look at the screenshots below, where each color represents a different tab.
Vertical tiles
Horizontal tiles
Grid tiles
Custom
Resizing Tiled Tabs
To resize tiled tabs:
- Hover your mouse between two of the tiled tabs.
- Drag in desired direction.
To return to the default layout:
- Click on the Page Tiling button on the Status Bar.
- Click on the highlighted option or select a different layout.
Reordering Tiled Tabs
To reorder tiles:
- Click on and hold down the mouse button on the tiled tab’s title bar.
- Drag it in the middle of the tiled tab you want to change places with.
- When you see a box with the text Move tile here, release the mouse button.