Change the look of Vivaldi with Themes
This post is also available in:
![]()
![]()
![]()
![]()
![]()
![]()
![]()
![]()
![]()
![]()
![]()
![]()
![]()
![]()
Add your touch to Vivaldi with custom colors, wallpapers, tab edge rounding, and other settings. There are thousands, if not millions, of ways to put your personal touch on Vivaldi.
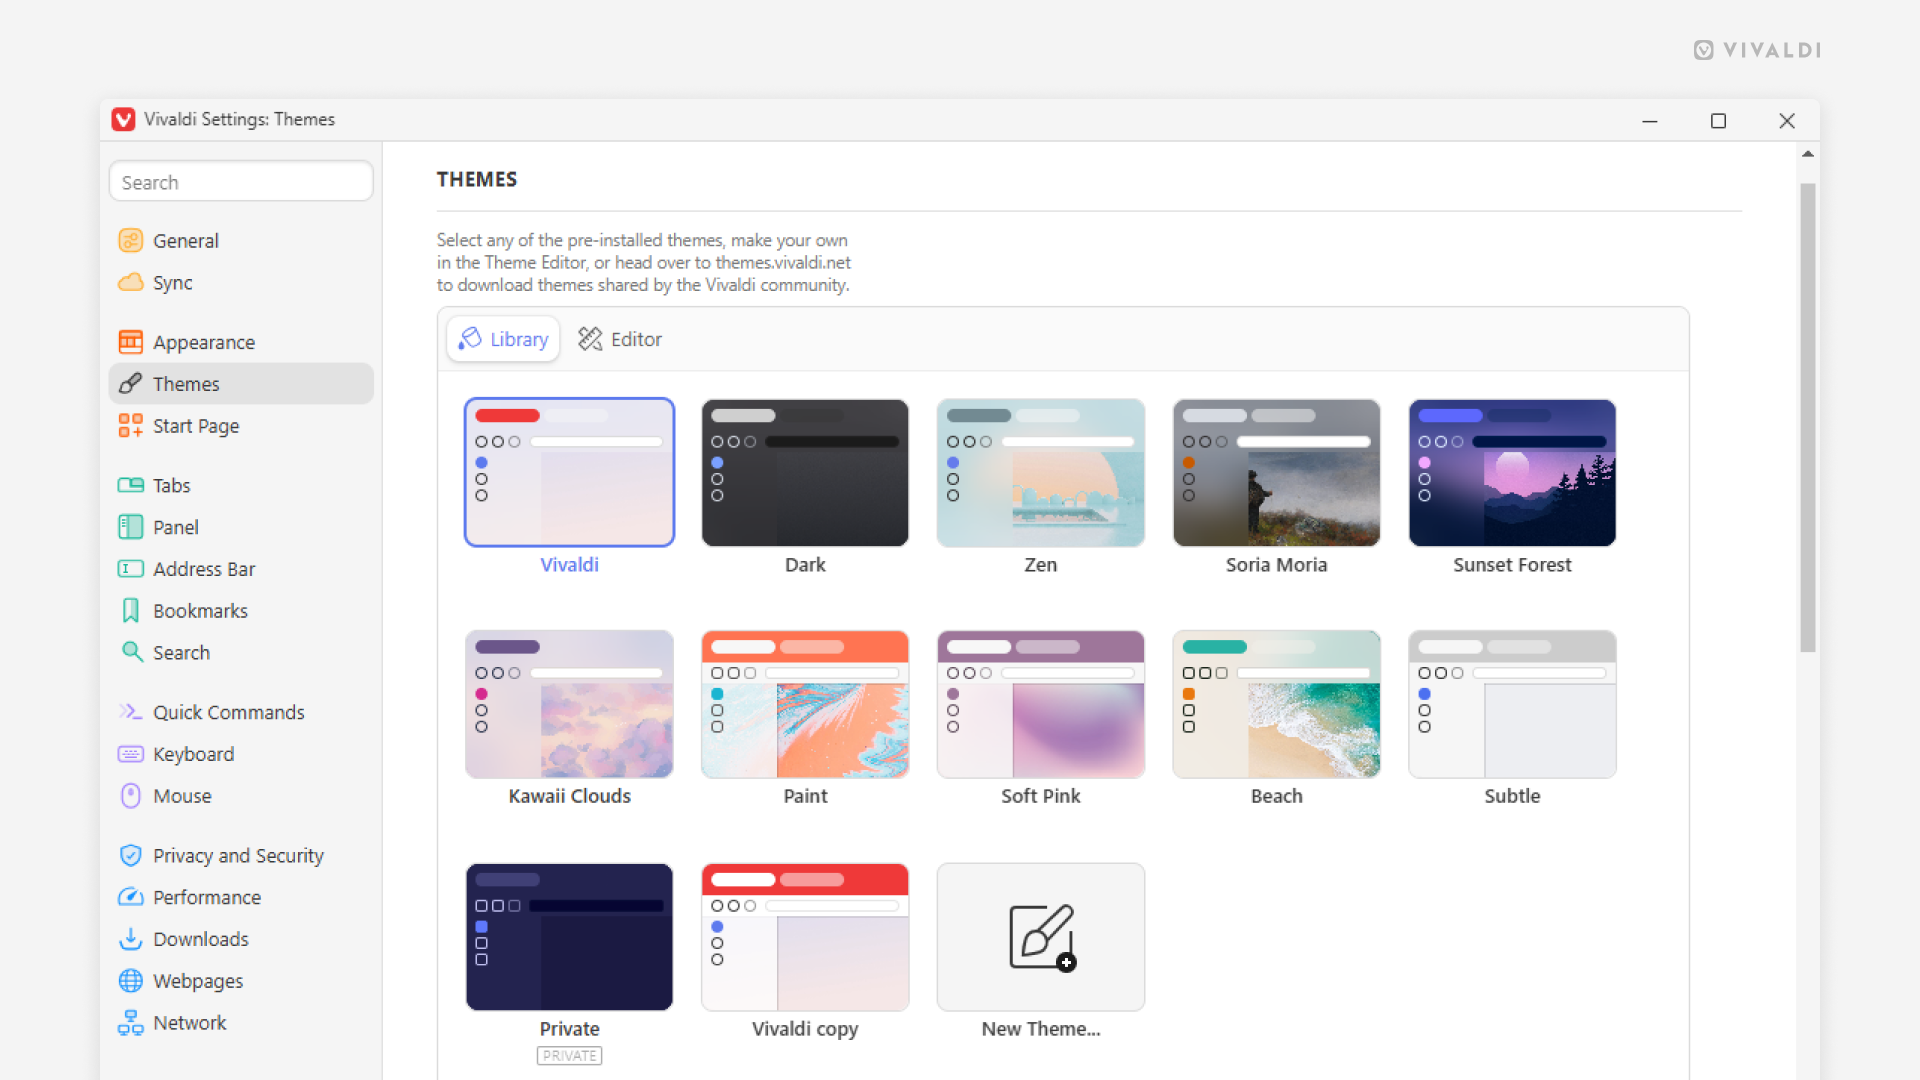
Go to Settings > Themes to:
- Select one of the predefined themes.
- Create your own theme.
- Edit a preinstalled theme.
- Install a theme from Vivaldi Themes.
Create a new theme
To make your own theme:
- Go to Settings > Themes.
- Click on New Theme after the existing themes in the theme library.
- Give the new theme a name.
- Use the color picker or input a hex color code to change the Background, Foreground, Highlight and Accent colors. Also, change other color related settings, if you wish.
- Switch to the Background tab in the theme editor and set a background for the new theme. You can choose between:
- An image from Vivaldi’s selection.
- Daily Image, where the background updates automatically each day with high-quality photography from Unsplash.
- A predefined color or set your own color of choice.
- Using the desktop image (newer OS versions).
- An image file from your computer.
- Then, go to the Settings tab to tweak the theme further.
- Last but not least, you can replace the default icons for toolbar buttons with your own.
For a detailed overview of the colors used in the active theme and their contrast, go to vivaldi:themecolors.
Theme settings explained
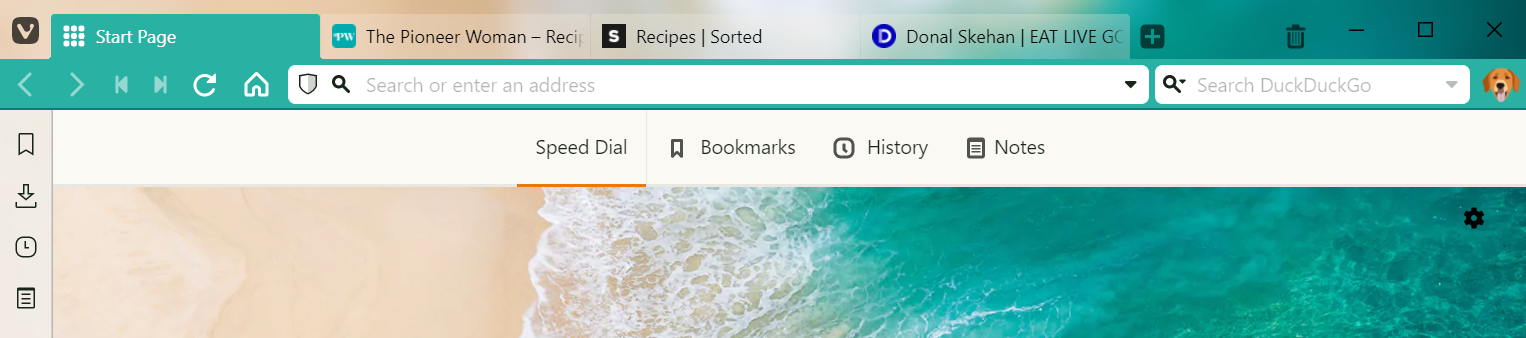
Coloring Mode – Choose whether the Accent color should be on the Tab Bar or on the Address Bar with the rest of the toolbars following the Background color. Or go for the third option – Unified, where the toolbars all blend into one and the Background image shines through.
Get Accent Color From Webpage – When the accent color is shown on the Tab Bar, Address Bar or on active Tabs, instead of the accent color defined in Settings, the focused website’s color will be used.

Limit Accent Color Saturation – This setting allows you to limit the amount of color (saturation) applied to the theme’s accent color.

Contrast – Increase contrast of the browser’s user interface elements to improve visibility.
Transparency – Make the toolbars see-through, to let the Start Page background shine through.
Transparent Tab Bar – Enable the setting, if you’d like to see your Start Page background also on your Tab Bar. This setting is not available with the Unified Coloring Mode, as all toolbars are transparent by default.
Blur – You can add a blur effect to the transparent toolbars, which can be useful if the background image is very busy.
Transparent Background Tabs – When enabled, background tabs won’t be visually confined into their own box.


Corner rounding – Adjust corner rounding to get the corners as sharp or soft as you like.
You can see the changes you make in the theme immediately and the changes get saved automatically.
When you’re done adjusting the theme settings in the Editor, go back to the Library to see the new theme listed with your other themes.
Custom Icons
To make the browser’s user interface truly unique you can replace the default toolbar buttons with your own icons.
To change icons:
- Go to Settings > Themes > Editor > Icons.
- Select a button you want to update.
- Click on the current icon and locate the new icon image in your File Manager/Finder.
Alternatively, drag the new icon over the current one.
Take a look at the Help page about creating Custom Icons for suggestions about the best icon size, format and more.
Edit a theme
To change one of the default themes or one you’ve created:
- Go to Settings > Themes.
- Select the theme in the Library and switch to the Editor tab.
Alternatively, go to the Editor tab first and select the theme you want to edit from the drop down menu. - Make your changes to the theme.
You can see the changes you make in the theme immediately and the changes get saved automatically.
The theme editor allows for endless variations of Themes. To see and install Themes made by other Vivaldi users and to share your own, visit themes.vivaldi.net. To learn more about it, check the Help page about Shareable Vivaldi Themes.
Private Window Theme
Vivaldi has a separate theme for Private Windows to make it easier to differentiate them from regular Windows. To change the Private Window Theme:
- Go to Settings > Themes > Private Window Theme.
- Select a theme from the drop down menu.
Scheduling Themes
With theme scheduling you can set your favourite themes to be enabled during specified times throughout the day. For example, enabling a light theme during daylight hours, and switching to a darker theme in the evening.
- Go to Settings > Themes > Theme schedule.
- Choose between:
- No scheduling,
- Following the operating system’s schedule,
- Manual scheduling.
Operating system’s schedule
When following the operating system’s schedule, you can assign which one of your themes is used during the light and which one during the dark hours.
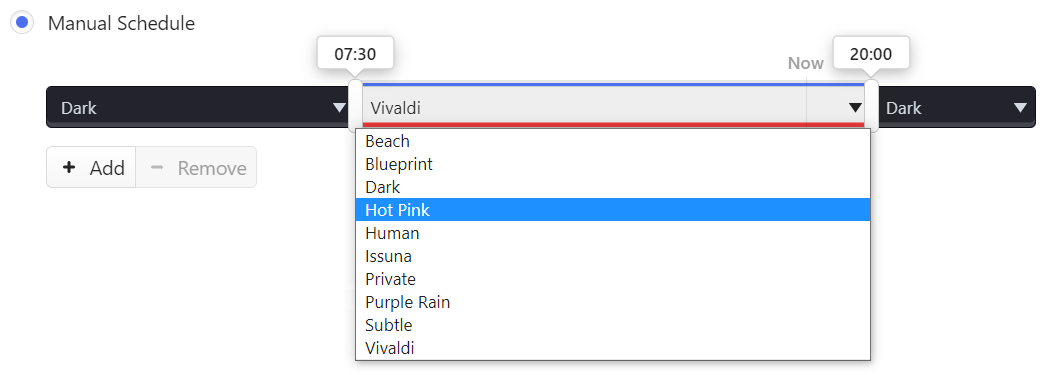
Manual scheduling
With manual scheduling you can add as many theme changes as you wish.
- Click on a time slot to open a drop down menu and choose which theme you want to use.
- Click and drag on the vertical bar between the timeslots, to adjust the theme change time.
- Click on
 and
and  buttons to add/remove theme changing times.
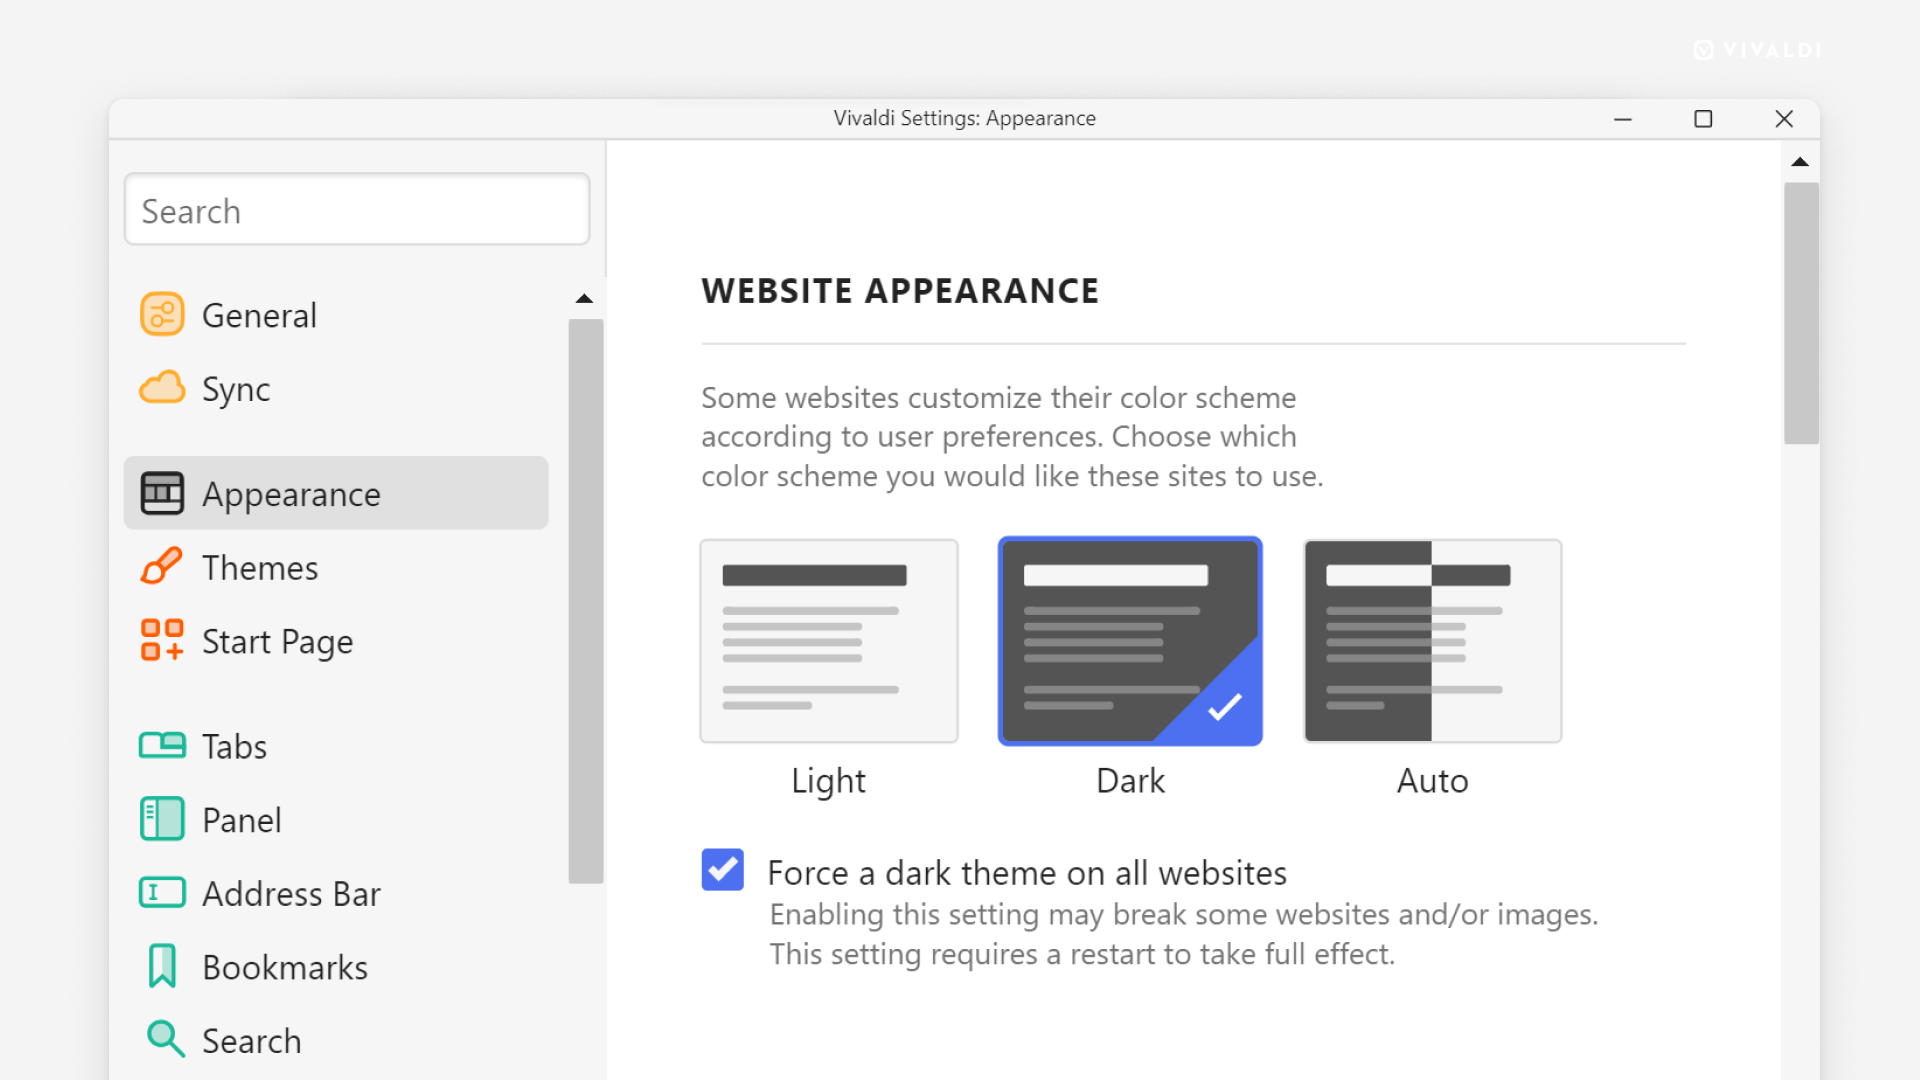
Dark mode for web pages
If you prefer dark themes and want the web page content to match:
- Go to Settings > Appearance > Website Appearance.
- Select between:
- Light,
- Dark, or
- Auto.
Some websites do not offer their site in dark mode. In that case, you can force dark mode, by selecting the “Dark” option and enabling Force a dark theme on all websites.