Tab Features
In Vivaldi, you are in control of tabs from the word go. This article lists important options that determine how your tabs behave.
Grouping tabs into Tab Stacks
To learn about Tab Stacks in Vivaldi, take a look at the Help page, which describes the feature in depth here.
Cycling tabs
To cycle through your open Tabs:
- Use the keyboard shortcut Ctrl+Tab and Ctrl+Shift+Tab to move in the opposite direction, or
- Enable Switch Tabs by Scrolling in Settings > Tabs > Tab Features > Tab Cycling to switch tabs by holding down the Alt key or right mouse button and scrolling with the mouse wheel.
In Settings > Tabs > Tab Features > Tab Cycling, you can decide whether:
- Tabs are cycled in recently used or in the displayed order;
- A preview of the open Tabs is shown or you’re taken directly to the next tab.
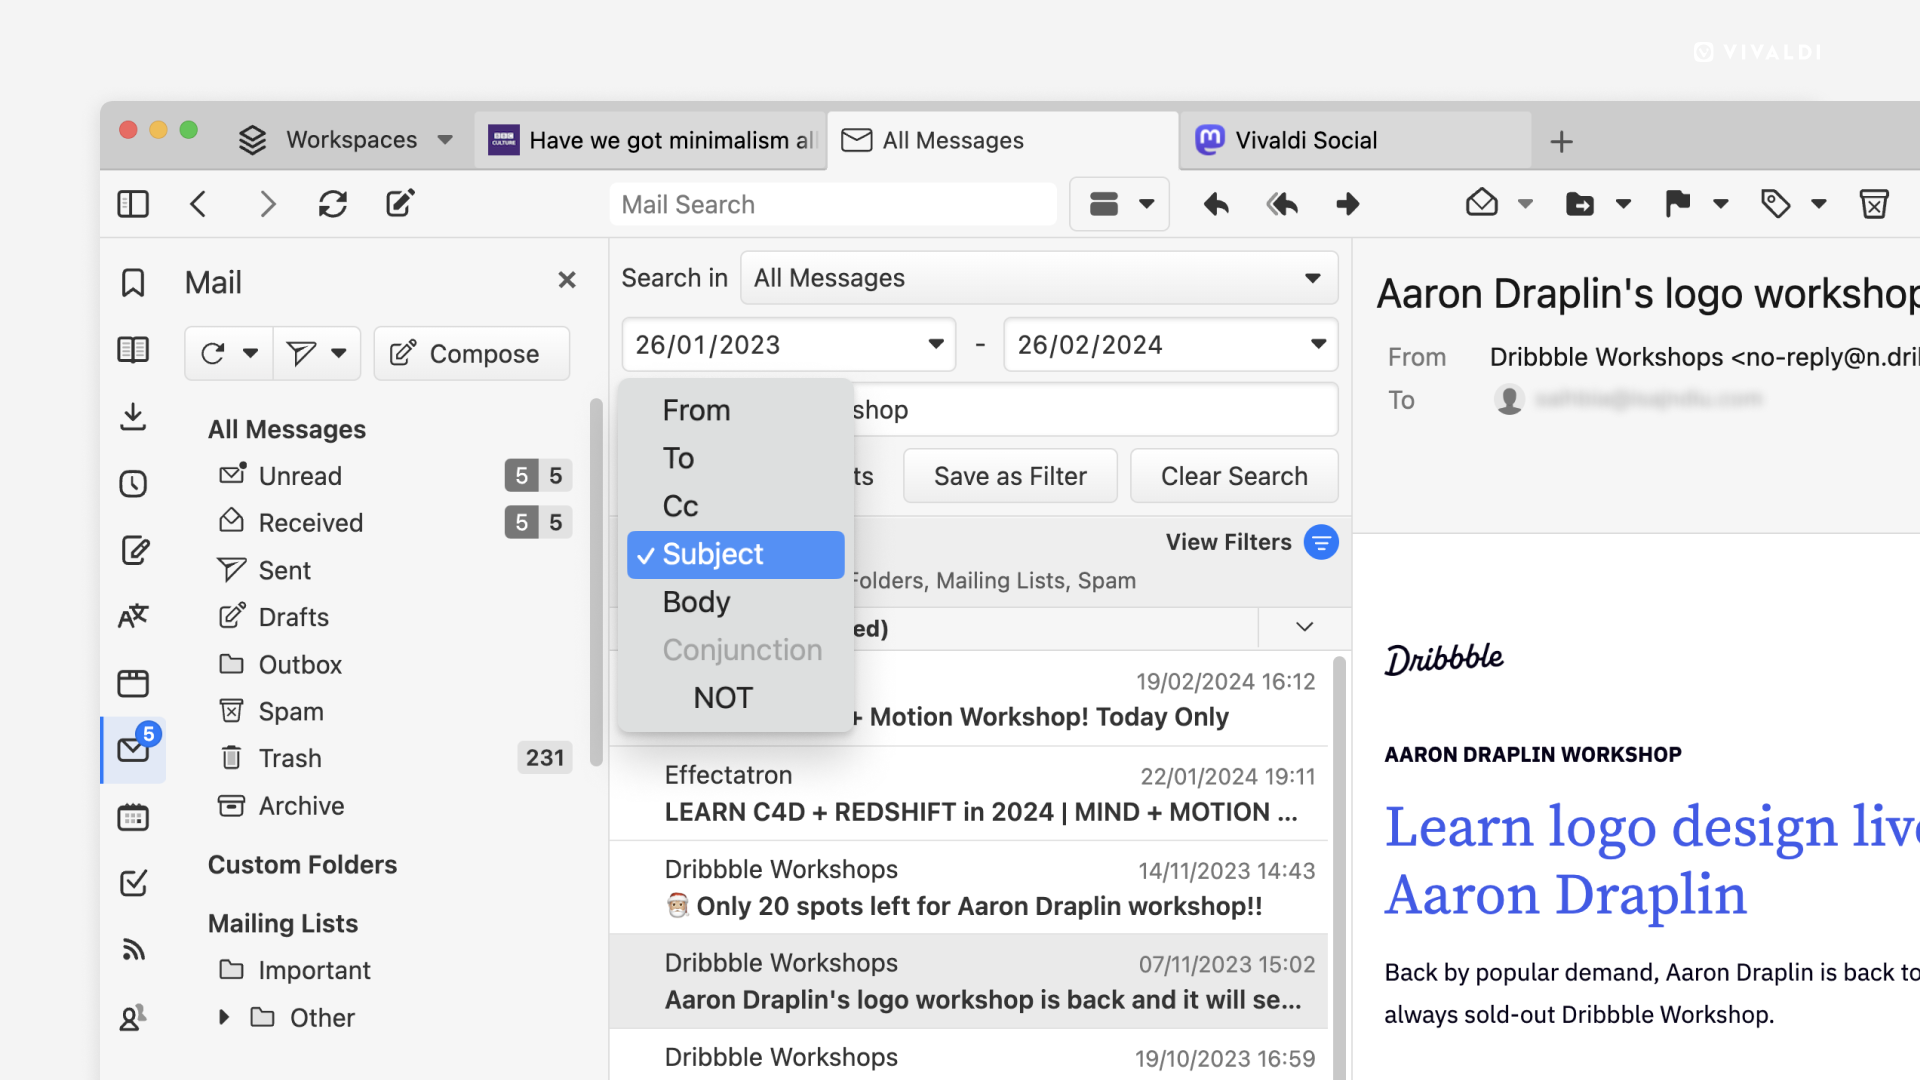
In case you’ve enabled Show Tab Cycler, you can decide whether to show tab previews as thumbnails side by side or in a list (as in the image below).

Switching Tabs
Probably the most common way to switch between Tabs is to just click on a Tab you want to view on the Tab Bar or in the Window Panel, but there are a couple of other options that can come in handy.
Switch Tabs using the mouse’s scroll wheel
When the mouse is hovering over the Tab Bar or while you’re holding down the Alt key, you can switch Tabs by scrolling. This feature can be enabled in Settings > Tabs > Tab Features > Tab Cycling > Switch Tabs by Scrolling.
Switch Tabs using keyboard shortcuts
You can move to the next tab with the Keyboard Shortcuts Ctrl+Page↑ / Shift ⌘ ] and to the previous tab with Ctrl+Page↓ / Shift ⌘ [.
On Windows and Linux the first 9 Tabs in the Window menu are numbered for quick tab-switching. Press Alt+W to access the menu, and type the number of the tab you want to switch to.
Switch Tabs from the Address Field
When you know the title or URL of the tab you want to view, you can switch to it by typing the title/URL in the Address Field and selecting the tab from the list of suggestions.
To narrow down the search results in the Address Field to just tabs, first type “@tabs” followed by a space and then the search keyword.
Switch Tabs with Quick Commands
Press F2 / ⌘ E to open Quick Commands. Before you enter a search term all open Tabs in all Windows will be listed. If you do a search, only Tabs meeting the search criteria will be shown. Click on the listed Tab to open it.
Minimise Tabs
Furthermore, when you enable Active Tab minimising in Settings > Tabs > Tab Cycler > Minimise Active Tab, you can move to the previous active tab by clicking on the current Active Tab.
Moving Tabs
Tab’s location on the tab bar or in the Window Panel‘s list can be changed by dragging them to the preferred location. The same can be done with multiple Tabs, when the Tabs are selected using either the Ctrl/⌘ or Shift key.
Active Tab’s location can also be changed by using the following keyboard shortcuts:
- On Windows and Linux: Ctrl+Shift+Page↑/Ctrl+Shift+Page↓
- On macOS: ⌘ ⇧ ↑/⌘ ⇧ ↓
Read about moving Tabs between windows on our Help Page about Windows.
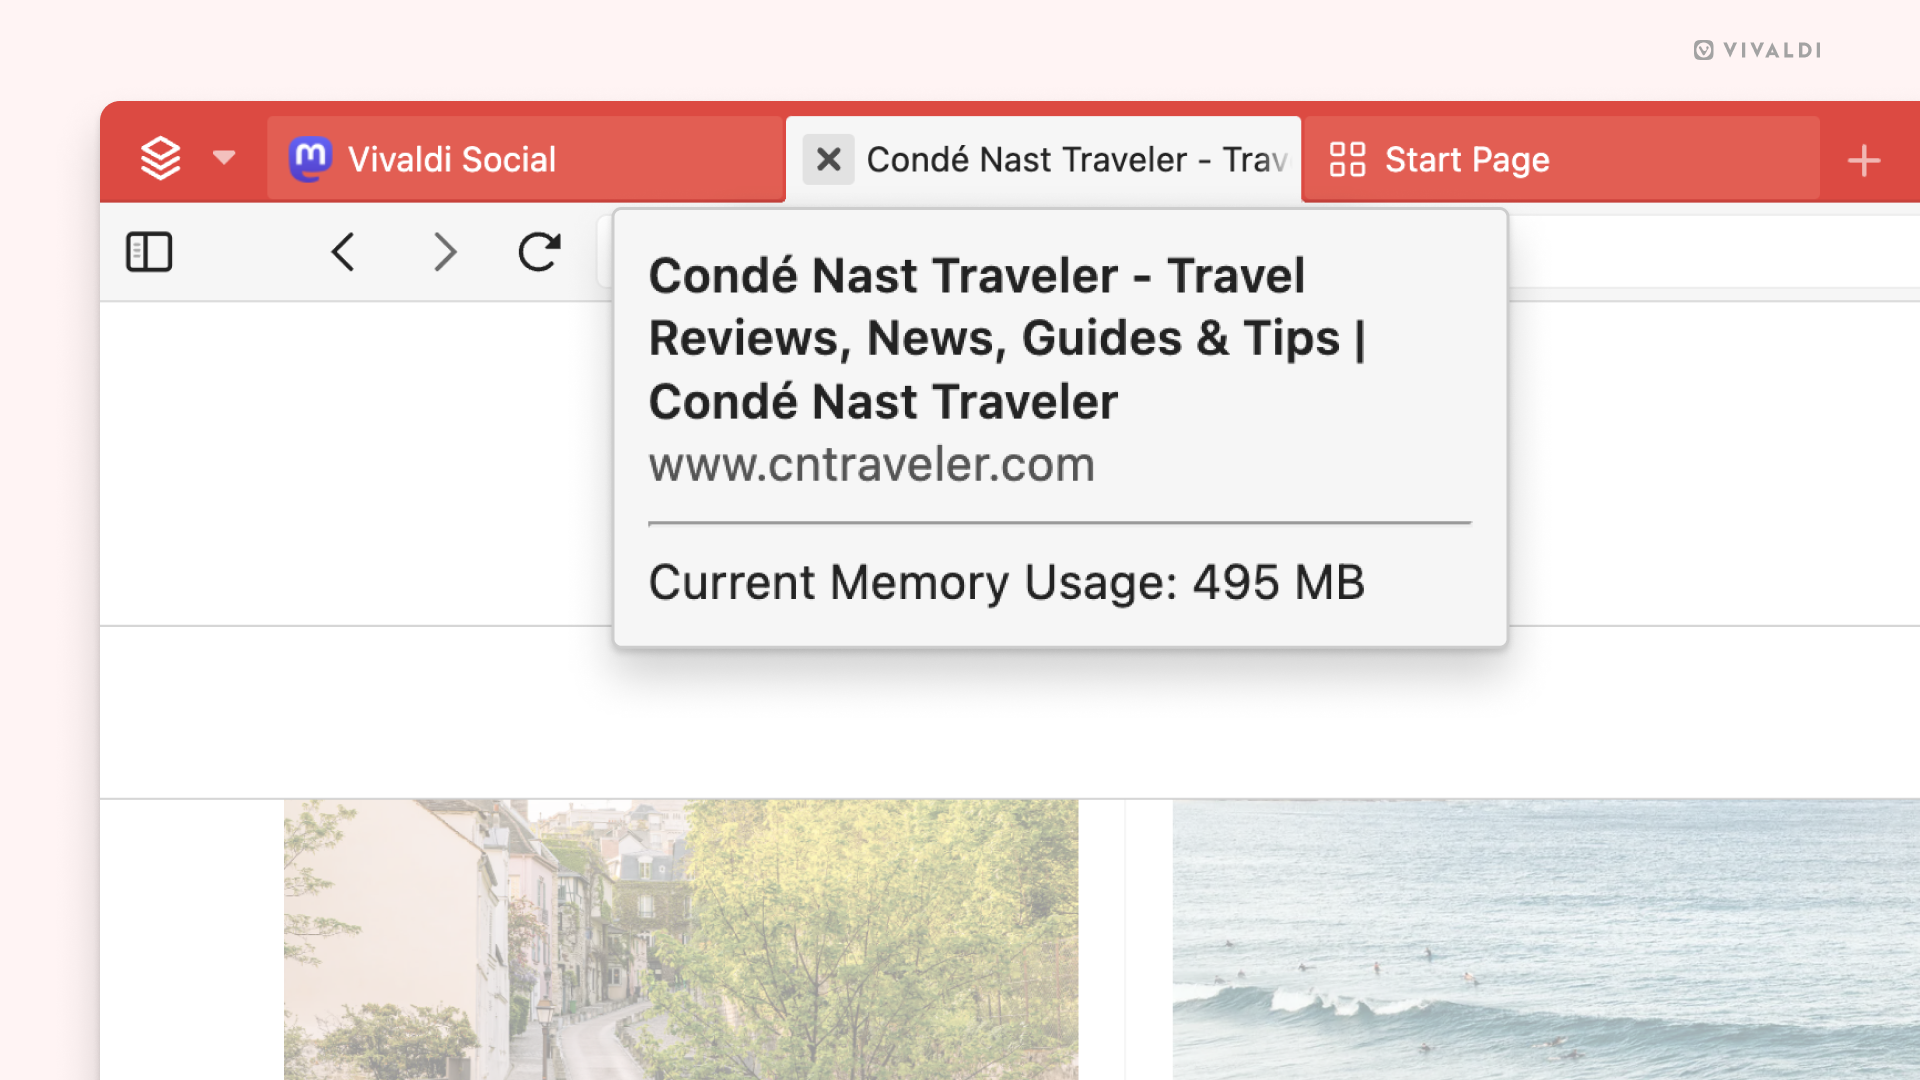
Hibernating Tabs
Hibernating Tabs helps you to reduce the browser’s memory usage. To hibernate a tab or a Tab Stack, right-click on it in the Tab Bar and select whether you want to:
- Hibernate a single tab (can’t be the active tab);
- A Tab Stack, or
- Background Tabs.
To hibernate Tabs in the Window Panel, right-click on:
- A single tab (can’t be the active tab);
- Tab Stack or
- Select multiple Tabs with Shift or Ctrl/⌘ keys to hibernate them.
When you have enabled Dim Icon when Hibernated in Settings > Tabs > Tab Display you can easily see which Tabs and Tab Stacks are currently hibernating.

Lazy Loading
When opening the browser with your previous session or a Saved Session, lazy loading opens the background tabs of the session in a hibernated state to save resources. To enable it, go to Settings > General > Startup with and tick the box for Lazy Load Restored Tabs. If you don’t want Pinned Tabs to hibernate, tick the box also for Always Load Pinned Tabs.
Duplicating Tabs
To create an exact copy of a tab, including its history, use one of the following options:
- Choose Duplicate Tab from the right-click context menu.
- Click on
 Reload current page on the Address Bar with a middle mouse button.
 - Hold down the Shift key while clicking the Reload current page button.
- Type “Duplicate Selected Tabs” in Quick Commands.
- Create a Keyboard Shortcut or Mouse Gesture for the action.
In Settings > Tabs > Duplicated Tab Position you can decide whether the cloned tab should open next to the original one, or as the last tab.
In case you have enabled New Tab from Link Opens in Background in Settings > Tabs > New Tab Position, the cloned tab will also open in a new background tab.
Copy Tabs
In addition to duplicating tabs, you can clone them with copy-paste. This method allows you to create the duplicate in a location of your choice, for example, in a different Tab Stack, Workspace or a browser window.
To make a copy of a tab:
- Right-click on the tab on the Tab Bar or in the Windows and Tabs Panel.
- Select Copy from the context menu.
- Right-click on the tab after which the copied tab should be opened.
- Select Paste from the context menu.
Renaming Tabs
If the page title displayed on the tab is not useful and you often struggle to find the right tab, you can give it a better name. Furthermore, you can rename Tab Stacks.
To rename a tab:
- Right-click on the tab on the Tab Bar or in the Windows Panel and select Rename from the context menu.
Alternatively, to rename the active tab, type “Rename Tab” in Quick Commands, or create a Keyboard Shortcut or Mouse Gesture for the action. - Enter the new title.
- Press Enter or click somewhere else in the browser.
To rename a tab stack:
- Right-click on the stack on the Tab Bar or in the Windows Panel and select Rename Tabs Stack from the context menu.
Alternatively, to rename the active stack, type “Rename Tab Stack” in Quick Commands, or create a Keyboard Shortcut or Mouse Gesture for the action. - Enter the new title.
- Press Enter or click somewhere else in the browser.
Muting Tabs
To mute a tab:
- When the tab is currently playing audio, click on the speaker icon in place of the site’s favicon on the tab on the Tab Bar, in the Windows and Tabs Panel, Tab Button menu, or Workspaces menu.
- Right-click on the Tab and select Mute Tab;
- To mute multiple Tabs, select the Tabs, right-click on one of them and select Mute # Tabs from the context menu.
- To mute all background tabs when the active tab is playing audio, right-click on the Tab and select Mute Other Tabs.
- Type “Mute / Unmute Tab” in Quick Commands
- Set a Keyboard Shortcut or a Mouse gesture for the action.
Tabs can also be unmuted using the options listed above.
Muting one tab will not automatically mute the sound in other tabs of the same website.
In Settings > Tabs > Tab Features > Mute Tab Audio, you can decide whether:
- All audio is always played in all Tabs;
- Audio will only play in the Active Tab;
- Audio can play in a Background Tab but will be muted if you play something in the Active Tab.
Periodic Reload of Tabs
Periodic tab reload can be used on sites where the page is often updated, but the new content isn’t automatically displayed.
To reload a tab every X minutes:
- Right-click on the Tab;
- Select Periodic Reload;
- Pick the interval between 1 and 30 minutes.
Alternatively:
- Go to the tab you want to periodically reload;
- Open Quick Commands;
- Type “Periodic Reload” and the time interval.
There are two ways to enter the time interval. For example, to reload the tab every one and a half minutes, type the time either in seconds “Periodic Reload 90” or “Periodic Reload 1’30” ” (single quote for minutes and double for seconds).
You can see the countdown until the next reload on the Tab, below the page’s favicon and title.
To disable Periodic Reload of Tab, either:
- Right-click on the Tab and select Periodic Reload > Disable or Disable all, if you have multiple active timers.
- Open Quick Commands and type “Disable Periodic Timers“.
- Create a Keyboard Shortcut for the action.