Scan QR codes with Vivaldi on Android
QR (Quick Response) Codes are an easy way to share links and other information. With Vivaldi’s QR Code scanner on Android you can quickly scan QR Codes and barcodes to open links, menus, payment screens, apps and get specific information unique to the code without the need to type anything. In addition to scanning, you can also create codes to share links.
Open the QR Code scanner
There are three ways to access the QR Code scanner:
- From the right side of the URL field;
- Through the search widget;
- By long pressing on the app icon and selecting Scan QR Code.
Scan a QR Code
To scan a QR code:
- Open the QR Code scanner using one of the methods mentioned above;
- On first use, grant Vivaldi access to your phone’s camera;
- Place the frame on the phone’s screen over the QR Code or barcode;
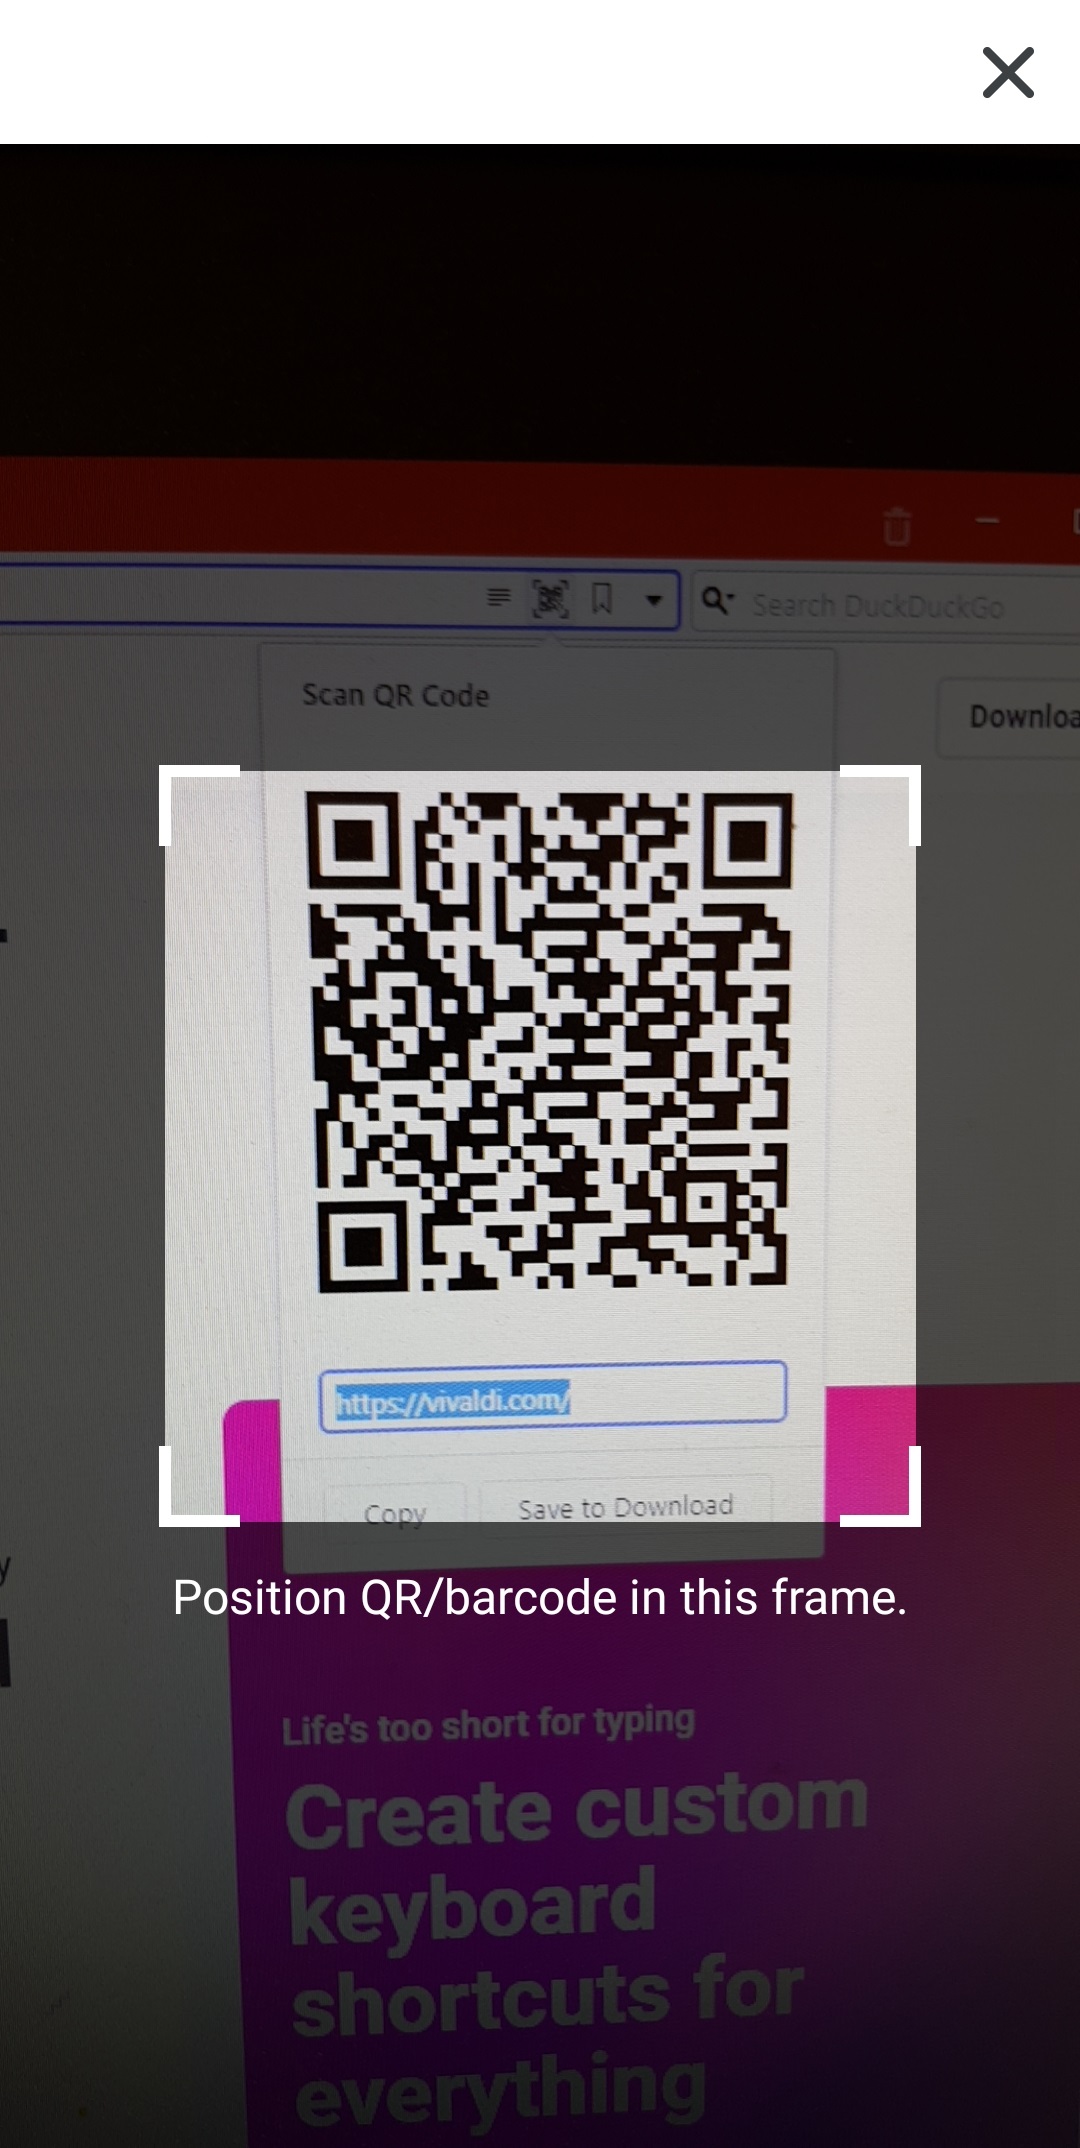
If the scanner detects a URL, it’ll automatically open the link in a new tab. In case it detects some other information, it offers to copy the information or to do a search with it.
Create a QR code
To create a QR code:
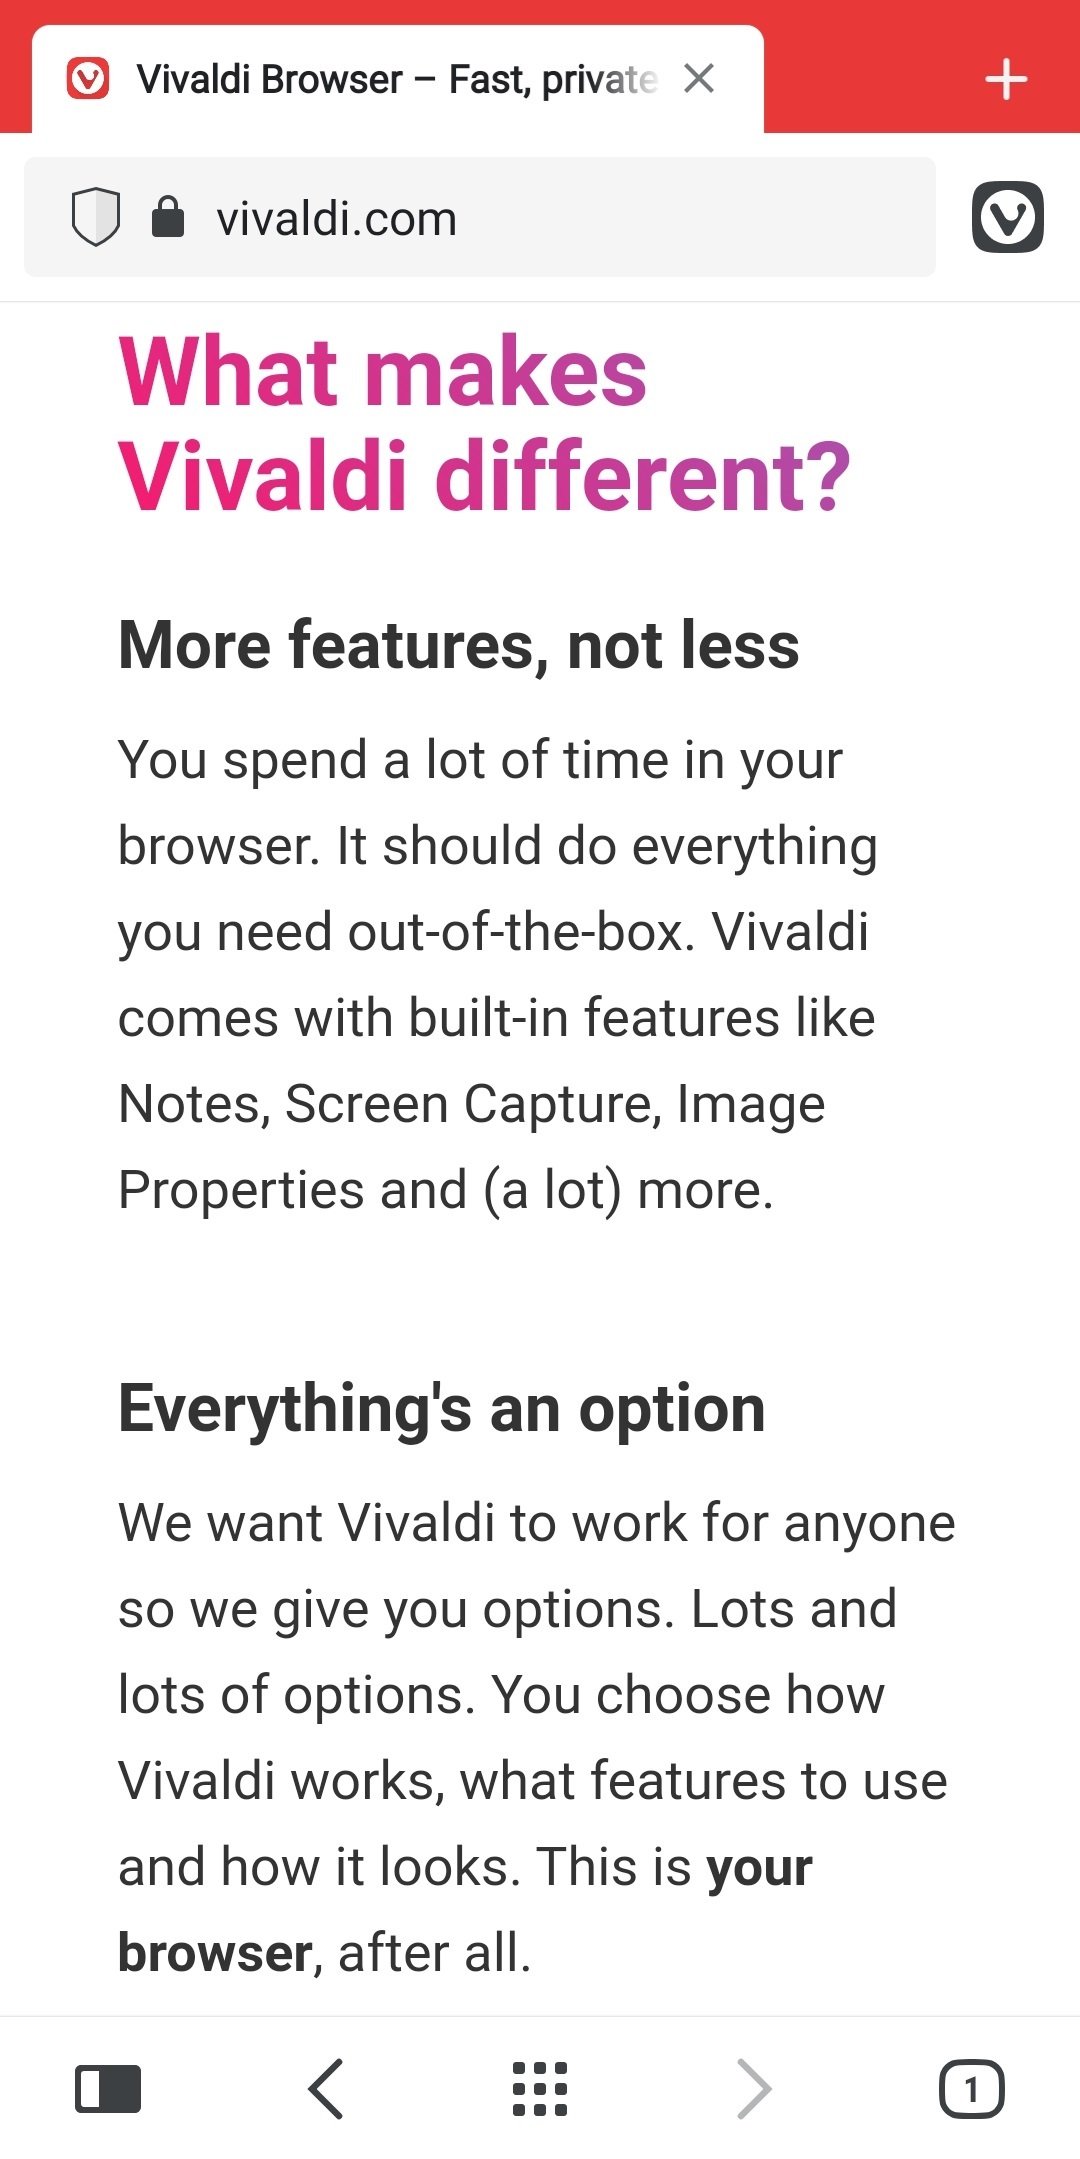
- Open the web page you want to share;
- Go to
 Vivaldi menu > Share;
 - Select QR code;
- Show your phone to someone, so they could scan the code or download the QR code as an image.
Was this helpful?
Thanks for your feedback!

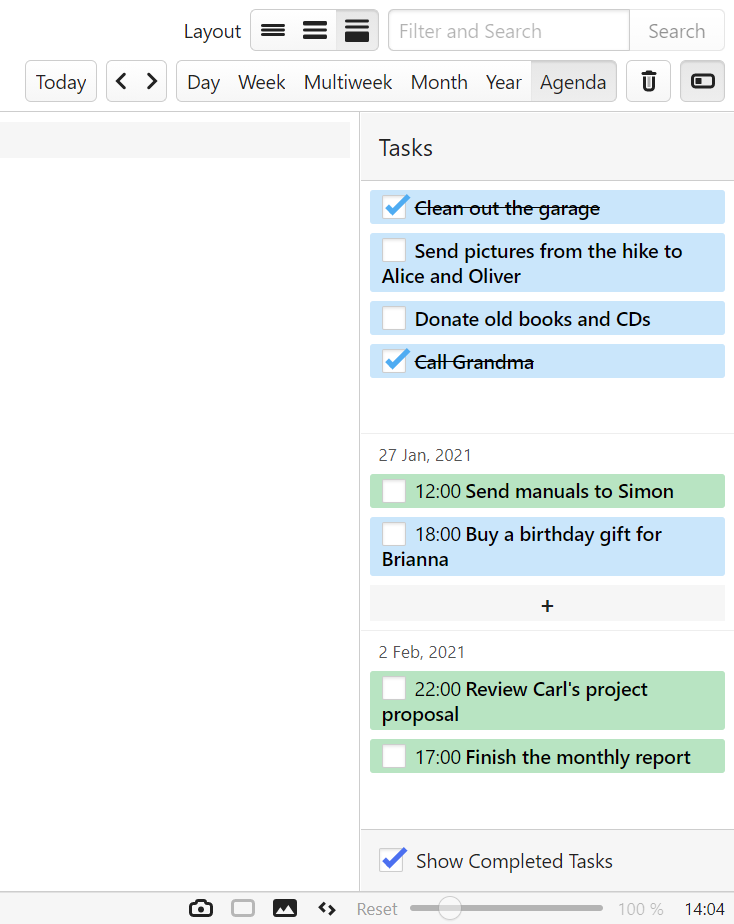
 Task section, tick the box for Is a Task.