Settings in Vivaldi Webmail
To customize Vivaldi webmail, click on ![]() Settings on the menu on the left side of the page.
Settings on the menu on the left side of the page.
You can change settings in the following categories:
- Preferences:
- User Interface,
- Mailbox View,
- Displaying Messages,
- Composing Messages,
- Contacts,
- Special Folders,
- Server Settings,
- Encryption,
- Calendar,
- Folders,
- Identities,
- Responses,
- PGP keys,
- Filters.
Storage
In Vivaldi mail each account gets 10GB of storage space.
To see how much space you’ve used:
- In the Mail view, look at the bottom left corner of the window, next to the Logout button.
- You’ll see the percentage of used space immediately, but you can hover the mouse cursor over the section to see how many megabytes of the allocated 10GB you’ve used.
To see the size of specific folders:
- Go to Settings > Folders > select a folder > Information > Size;
- Click Click to get folder size.
When you start running out of space, you’ll get a warning, asking you to create more space by deleting some emails. When you reach the 10GB limit, new incoming emails won’t be delivered and the sender needs to send the email again after you’ve created enough space in your mailbox.
Folders
In the folder settings, you can add, edit and delete your mail folders. In addition, you can delete all message in your mail folders.
Archiving emails
To archive your emails:
- Go to Settings > Preferences > Special Folders;
- Select a folder for your archive (or create one first in Settings > Folders) and choose how to sort them into additional folders.
- Select the email(s) you want to archive and click Archive on the menu above the email view.
Identities
In Vivaldi Mail all emails need to be delivered to and sent from [email protected]. This means that different aliases, unfortunately, can’t be used. But, if you have set your Vivaldi Mail up in a mail client, you may use plus addressing (also known as sub-addressing). With plus addressing you can add a keyword to your email address ([email protected]) which allows you to create different variations of the email address. Everything between the + and @ symbols is ignored when deciding, to which account the email belongs to.
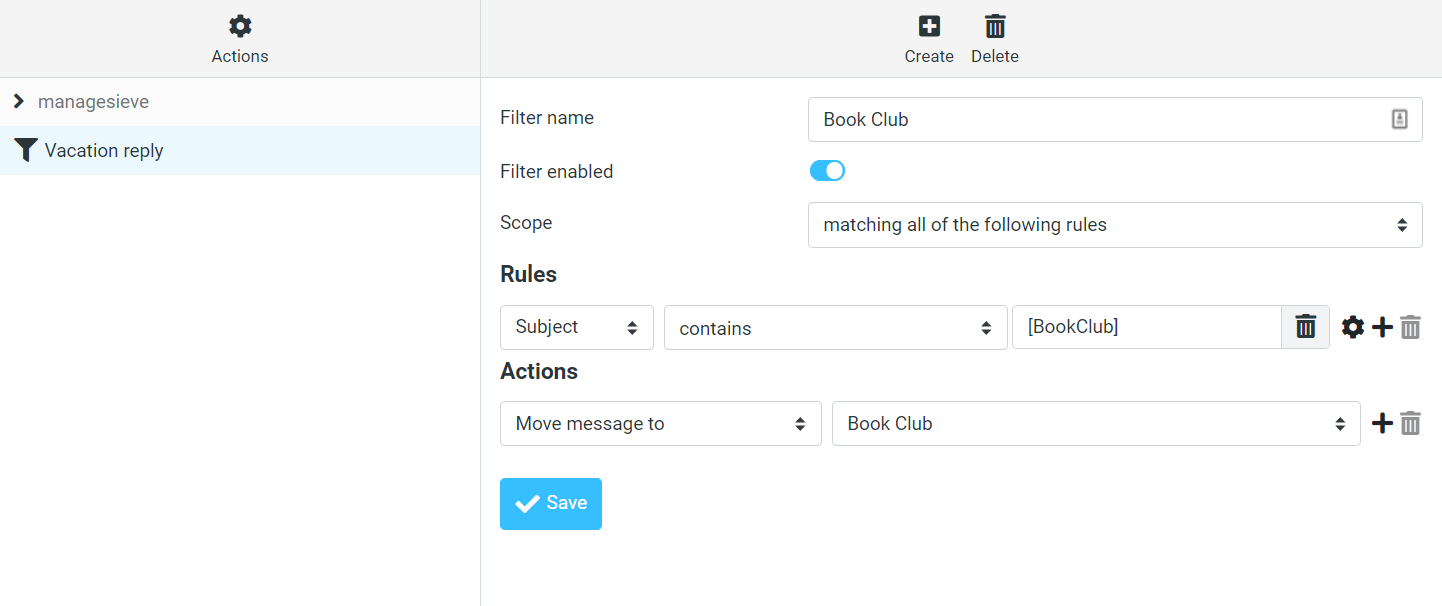
You can also create Filters with these addresses to automatically organise your emails into different folders.
Signature
To add a signature to your emails:
- Go to Settings > Identities;
- Select your identity;
- Write your signature.
You can add either a Plain Text or HTML signature.
For additional signature options, go to Settings > Preferences > Composing emails > Signature Options.
Spellcheck
To check the spelling:
- Select the email language from the small arrow next to Spell on the menu above the email composer.
- Click Spell;
You can enable automatic spellcheck before sending an email and other options in Settings > Preferences > Composing Messages.


 Vivaldi menu > File;