Address Bar
Vivaldi browser’s Address Bar is home to a lot more than just the URL field and basic navigation buttons. Continue reading to get to know all the available options that help you navigate the web.

What’s on the Address Bar?
History back and forward

Click on the arrow pointing left to return to the previous page and on the arrow pointing right to revisit a page you have returned from.
“Long-click” or right-click on either of the history navigation buttons to bring up the sub-menu, then Shift or Ctrl + click or middle mouse button click on an entry to open it in a new tab.
Learn more about History on the Help Page about Vivaldi’s History feature.
Fast Forward and Rewind

Jump back or forward several pages at a time.
Learn more about the feature on the Help Page about Fast Forward and Rewind.
Reload / Stop loading current page


To reload the webpage you’re on:
- Click on the
 Reload current page button on the Address Bar;
 - Use the Keyboard Shortcuts F5 or Ctrl R / ⌘ R;
- Use a Mouse Gesture for Reload Page – while holding down the right mouse button drag the mouse up and down; or
- Type “Reload Page” in Quick Commands.
To do a hard reload of the page (without loading content from cache):
- Use the Keyboard Shortcuts Ctrl+F5 or Ctrl+Shift+R / ⌘ Shift R;
- Type “Force Page Reload” in Quick Commands;
- Create a Mouse Gesture for the action.
To stop a page from finishing loading:
- click on the
 Stop button on the Address Bar;
 - use the Keyboard Shortcut Esc;
- use a Mouse Gesture for Stop Loading – while holding down the right mouse button drag the mouse up;
- Type “Stop loading” in Quick Commands.
Home

The homepage can be either the Start Page or a specific web page of your choice. You can change the homepage in Settings > General > Homepage.
Address field

- Use the Keyboard Shortcut Ctrl+L/⌘ L to focus on the Address Field.
- After typing a search term or a URL press Enter or click on the
 button in front of the Address Field to open the search results or link.
Press Alt+Enter to open the link or search results in a new tab. - The URL’s base domain (eTLD+1) is highlighted and the rest lowlighted to help recognise which company controls the domain and prevents scams and phishing attacks.

- Enable/disable searching in the address field in Settings > Search.
- To enable/disable auto-complete go to Settings > Address Bar > Address Auto-Complete and tick the box. You can give auto-complete priority to Bookmarks, by ticking the box Always Prefer Bookmarks.
- Ctrl / ⌘ + Click on the URL to cut the link at the point you clicked and go to that page. For example, when you click on the word “blog” in https://vivaldi.com/blog/address-field-drop-down-guide/, you’ll be taken to https://vivaldi.com/blog/.
- When there’s not enough space to show the full domain name, a
 warning icon will be shown. Make sure you trust the website before submitting any data on the page.
Read more about the main section of the Address Bar on the Help Page about the Address Field.
Content Blocker and Site Info

Clicking on the button will open a menu with information about the connection security, Cookies and Site Data, Site Settings, and Tracker and Ad Blocker status and will allow you to manage your data and settings.
Usually, the icon will give you a hint about the blocking status on the current website, but when you’re on an unsafe website it will change to an icon to show that the site is not secure  or even dangerous
  .
.
Start dragging from the button to your desktop or file folder, to the Bookmarks Panel/Bar or to the Panels sidebar to create a webpage shortcut.
Permissions
When a website wants access, for example, to your location or camera, the button with options to allow or block access can be accessed from the right side of the Address Field.
Learn more about the feature on the Help Page about Website permissions.
Feeds

The icon will appear when the website offer feeds. Click on the button to preview and subscribe to the feed.
Learn more about the feature on the Help Page about Feed Reader.
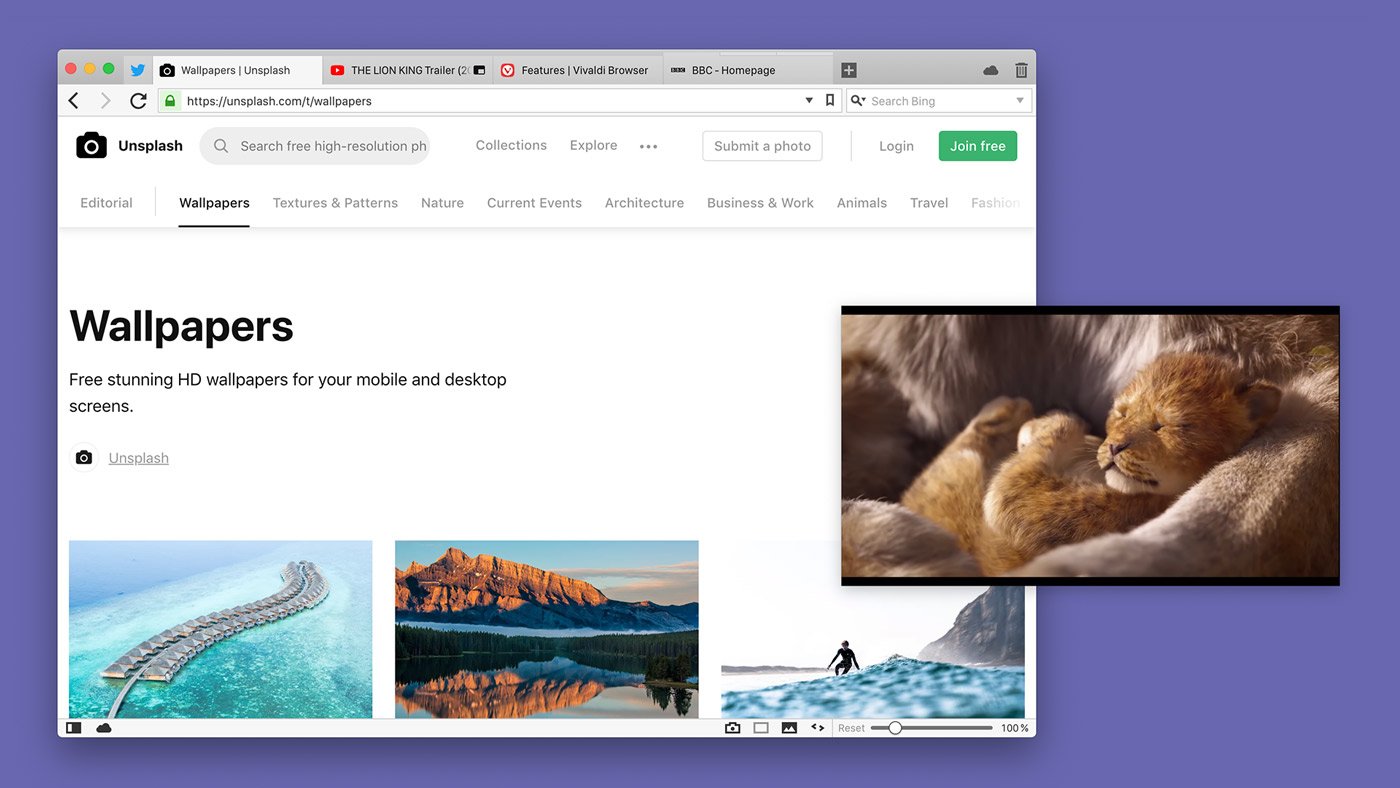
Reader view

To concentrate on the main content of the web page and hide all distractions, switch to reader mode.
Learn more about the feature on the Help Page about Reader View.
Translate web pages
With Vivaldi Translate, you can translate full web pages with just a click of a button.
Learn more about the feature on the Help Page about Translate.
Add Bookmark

Add web pages to bookmarks to find them easily later.
Learn more about the feature on the Help Page about Bookmarks.
Typed history

Search field

Click on the magnifying glass to switch the search engine. Click on the arrow on the right to view search history.
Learn more about the feature on the Help Page about Search.
Reading List

Reading List allows you to add web pages to a list to keep for later. It prevents endless tabs from accumulating on your Tab Bar and Bookmarks being filled with entries you only need once.
Learn more about the feature on the Help Page about Reading List.
Downloads

Files downloaded from the Internet are added and managed through the Downloads Panel or Downloads Popup.
Learn more about the feature on the Help Page about Downloads.
User Profile

Place to access and manage your User Profiles and Guest Profile. When you’re logged in to Sync, your Vivaldi account‘s avatar will be displayed on the Address Bar instead of the user profile avatar.
Learn more about the feature on the Help Page about User Profiles.
Extensions

Vivaldi has countless features which make the use of many extensions redundant. But there are still a ton of extensions which can take browsing to another level.
Learn more about the feature on the Help Page about Extensions.
VPN

The VPN feature in the Vivaldi browser is provided through a partnership between Vivaldi and Proton.
Learn more about the feature on the Help Page about Proton VPN for Vivaldi.
Share Link

The Share button is not on the Address Bar by default, but you can add it there or to any other toolbar using the Toolbar Editor.
When you click the button, it opens your operating system’s Share menu, where you can copy the web page’s link, create a QR code for it, email it and more.
Update available
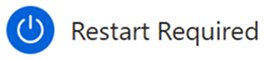
When a new version is available and it has been downloaded in the background, a Restart Required button will appear on the Address Bar. Click the button and on Restart in the menu to install the update.
Learn more about it on the Help Page about updating Vivaldi on desktop.
Address Bar location
You can decide whether to display the Address Bar at the top or bottom of the browser window. Make the choice in Settings > Address Bar > Address Bar Position.
Show / Hide Address Bar
To toggle the visibility of the Address Bar, either:
- Go to Settings > Address Bar and (un)tick the box Show Address Bar;
- Type “Address Bar” in Quick Commands;
- Set a Keyboard Shortcut or Mouse gesture for the action.
When the Address Bar is hidden, use the Keyboard Shortcut Ctrl+L/⌘ L to focus on the Address Field and other shortcuts to execute commands usually completed by clicking on buttons on the Address Bar.
Customise the Address Bar

All components on the Address Bar can be removed by right-clicking on the button > Customise > Remove From Toolbar. To remove the Address or Search Field, open the Toolbar Editor and drag the field off the Address Bar.
To reset the changes right-click on a button > Customise > Reset Toolbar to Default. In case you’ve removed all of the buttons, go to Settings > Appearance > Window Appearance > Toolbar Customisation > Reset Address Bar.
To change the order of the buttons. Hold down the Ctrl / ⌘ key and drag and drop the button to it’s new location.
You can also bring buttons from the Status Bar to the Address Bar and vice versa, move buttons from the Address Bar to the Status Bar. To do that, hold down the Ctrl / ⌘key and drag and drop them from one bar to another.
Learn more about customizing the browser’s toolbars on the Help page about Editing Toolbars.


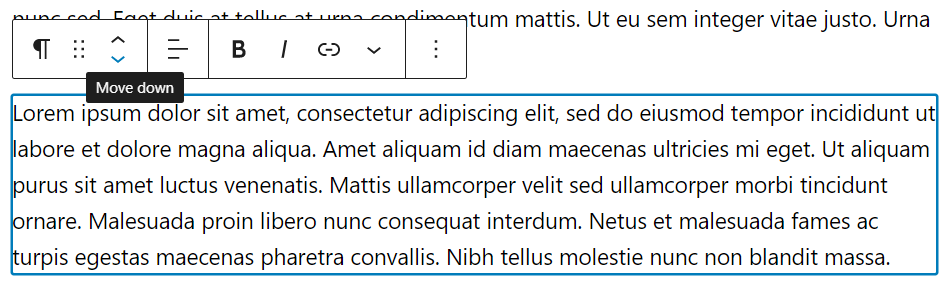
 Options in the block’s menu.
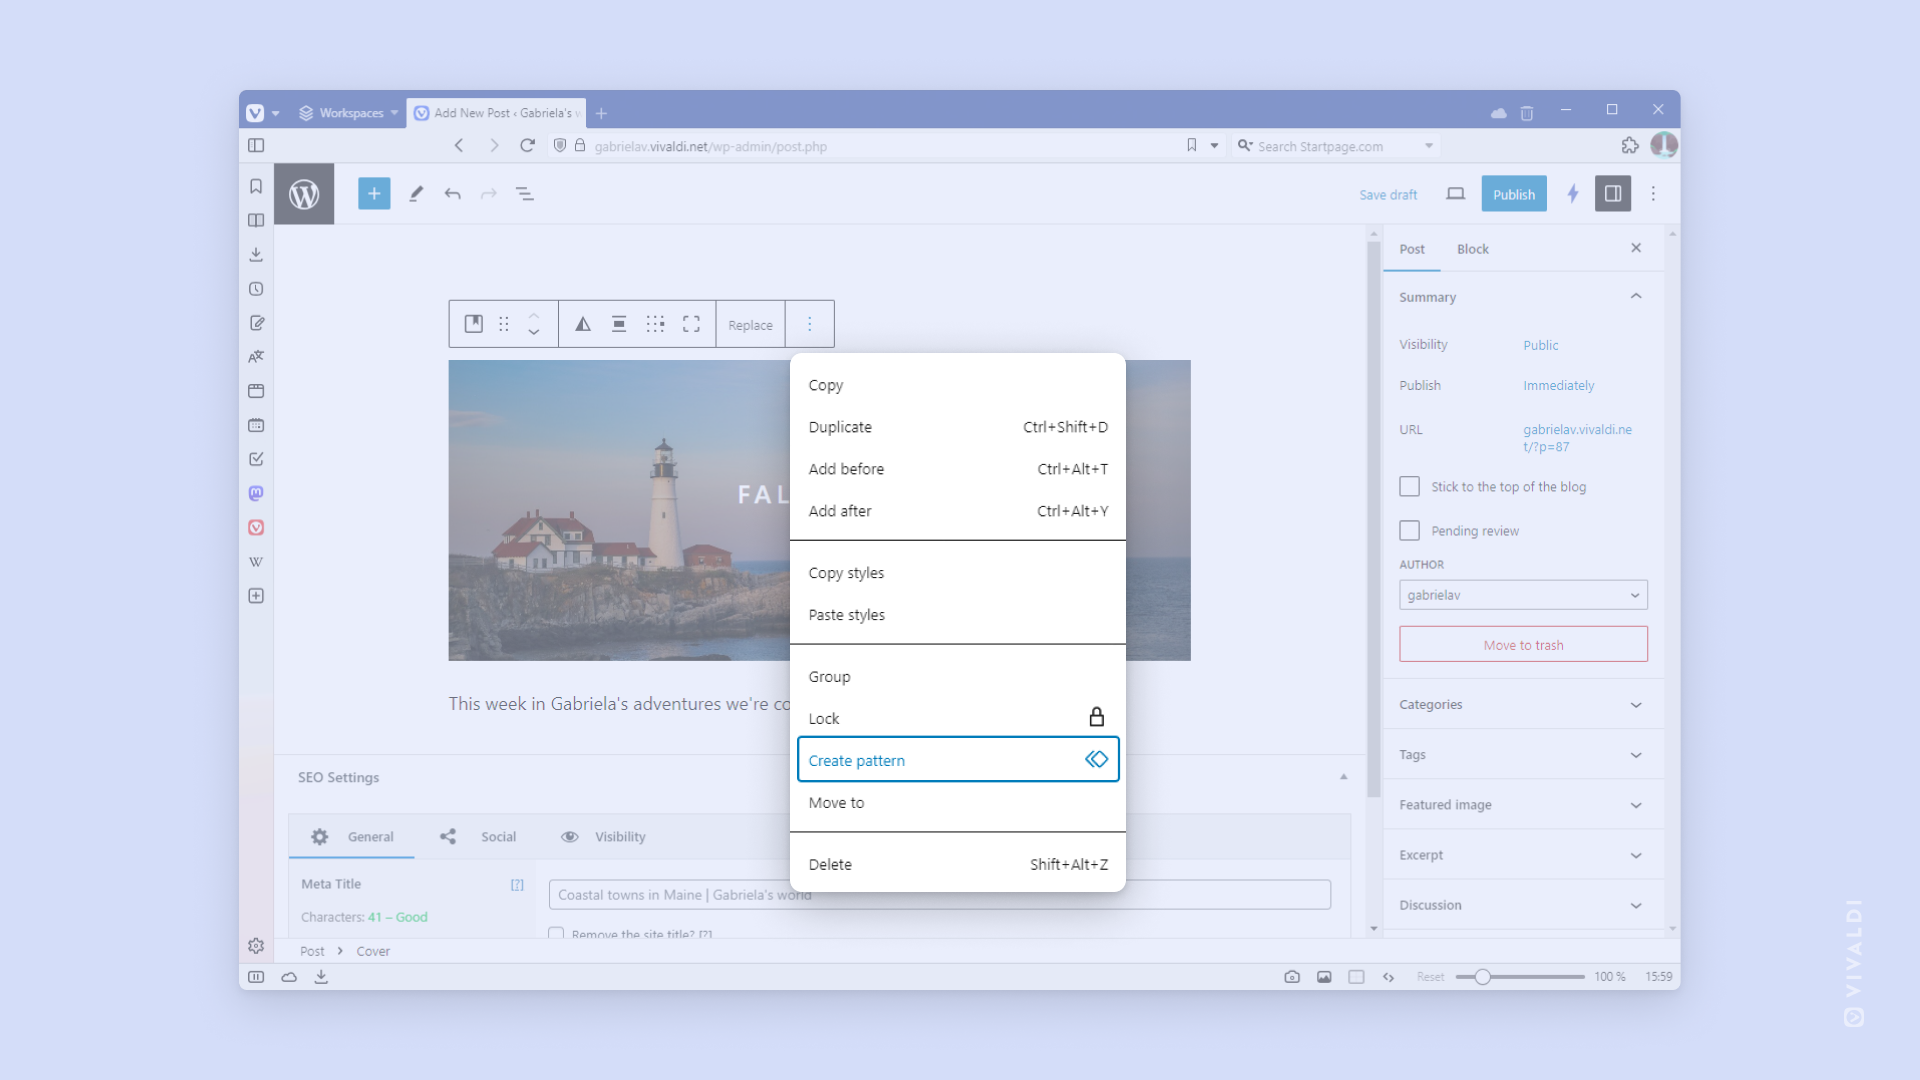
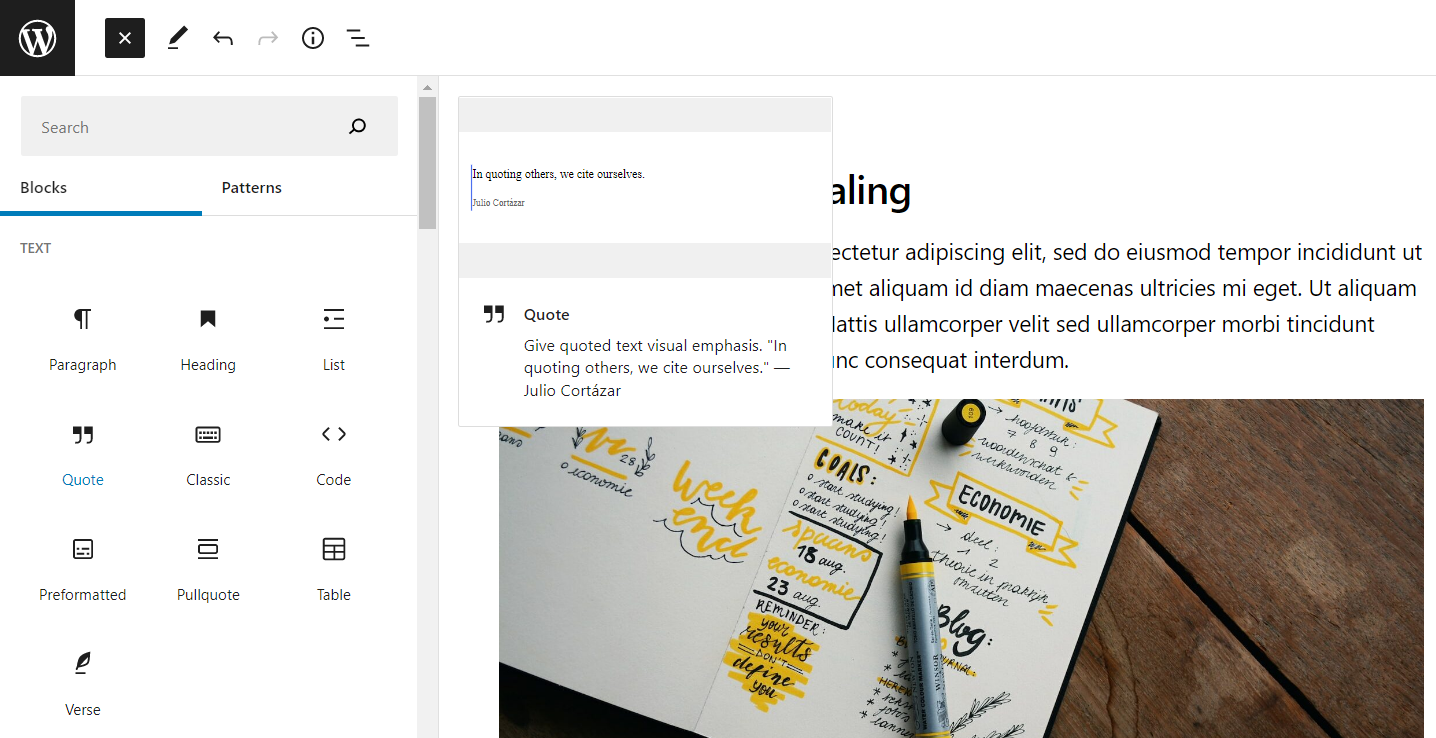
 Toggle block inserter and go to the Patterns tab.
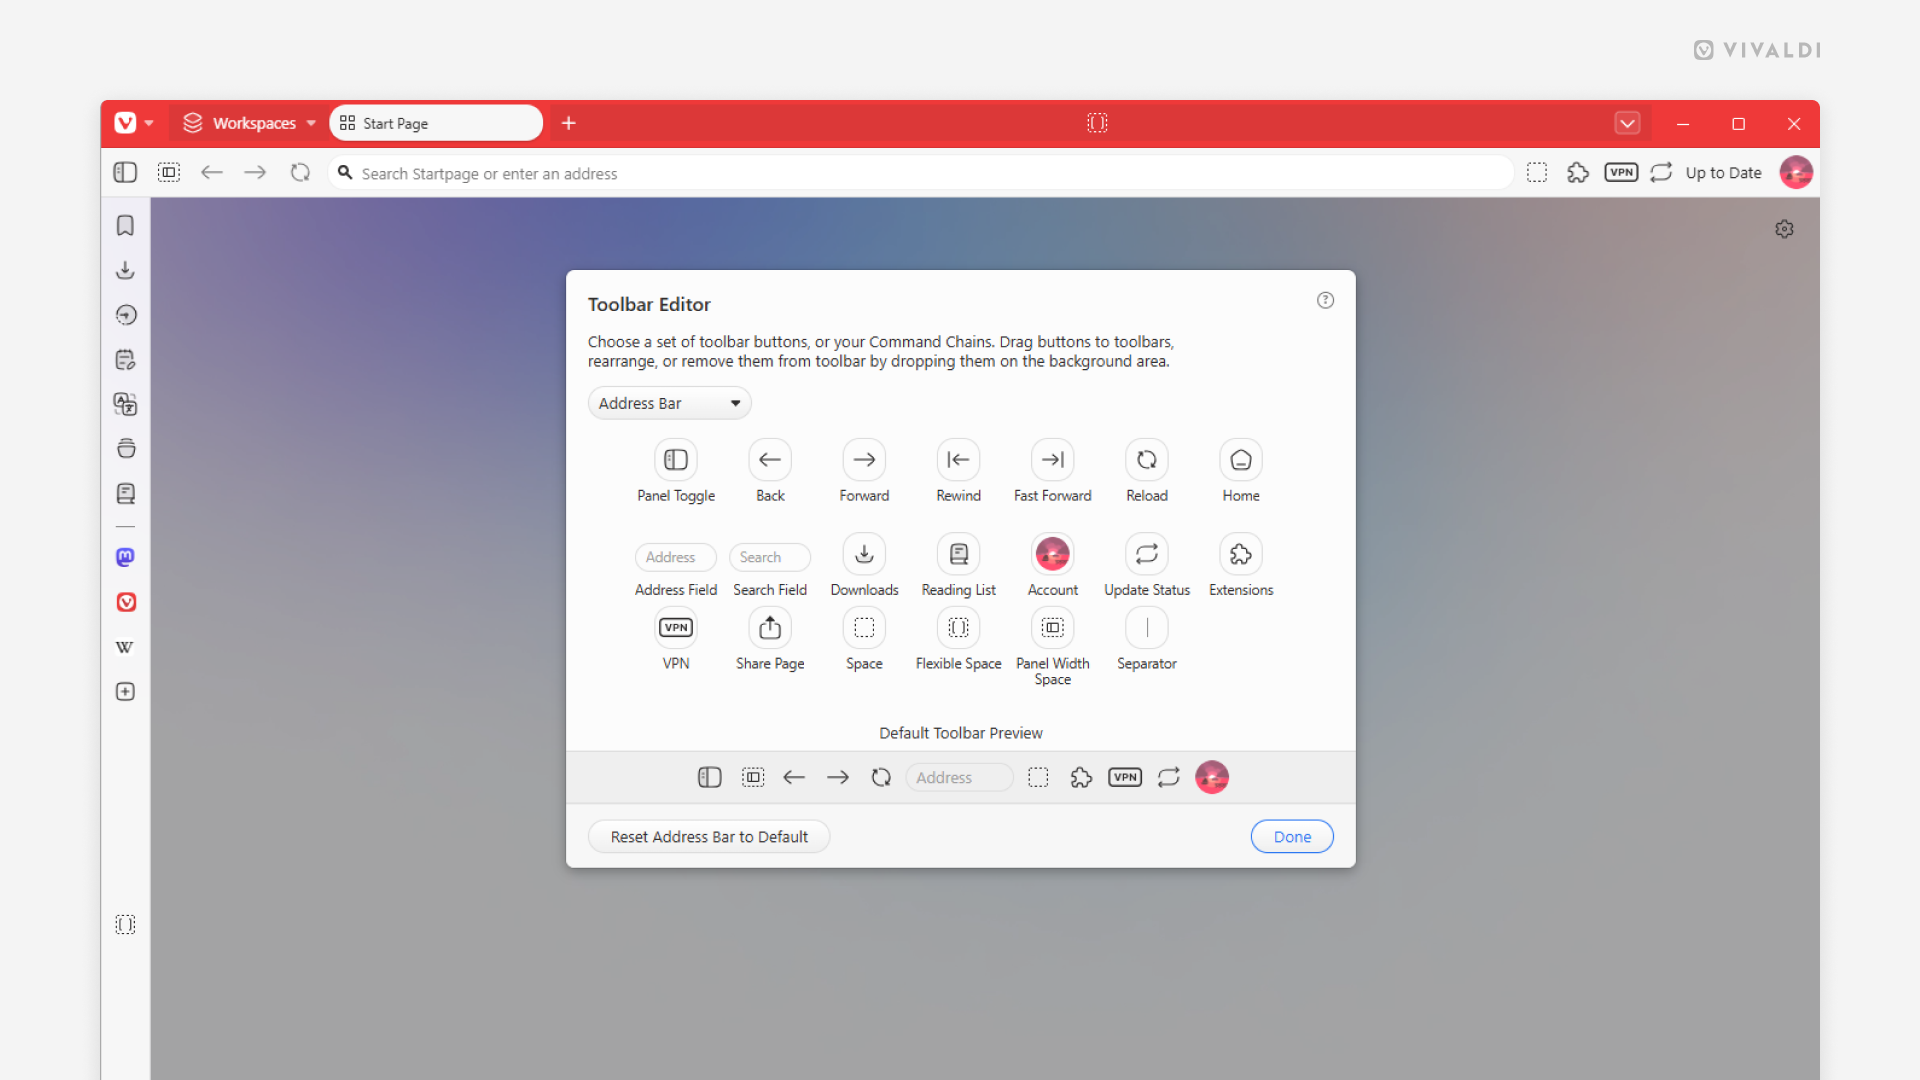