Use Mail, Calendar and Feeds in a separate user profile
If you’d like to use Vivaldi Mail, Calendar and Feeds separately from your main browser, we suggest setting your mail and calendar accounts up in a new User Profile. Alternatively, you can also install a second Vivaldi as a Standalone version.
Add a new Profile
- Click on the Profile button in the top right corner of the browser window and select Manage Profiles.

Alternatively, go to Settings > General > Profile Management and click on Manage Profiles. - Click on Add Profile at the bottom of the menu.
- Pick a name for the new profile, select or upload an avatar and decide whether you want a Desktop shortcut for the profile or not.
- Click on Add Profile.
Once you’ve created the new profile, you can always open it from Vivaldi’s profile menu. You can also open the second profile from the desktop shortcut, if you created one. On Windows, while the second profile is open, you can also pin the profile button to the taskbar.
Set up your accounts
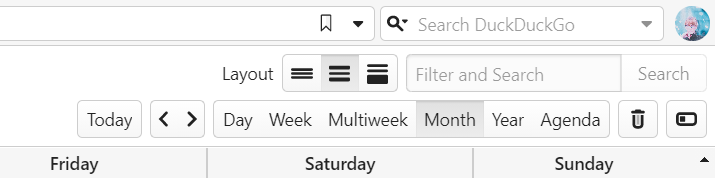
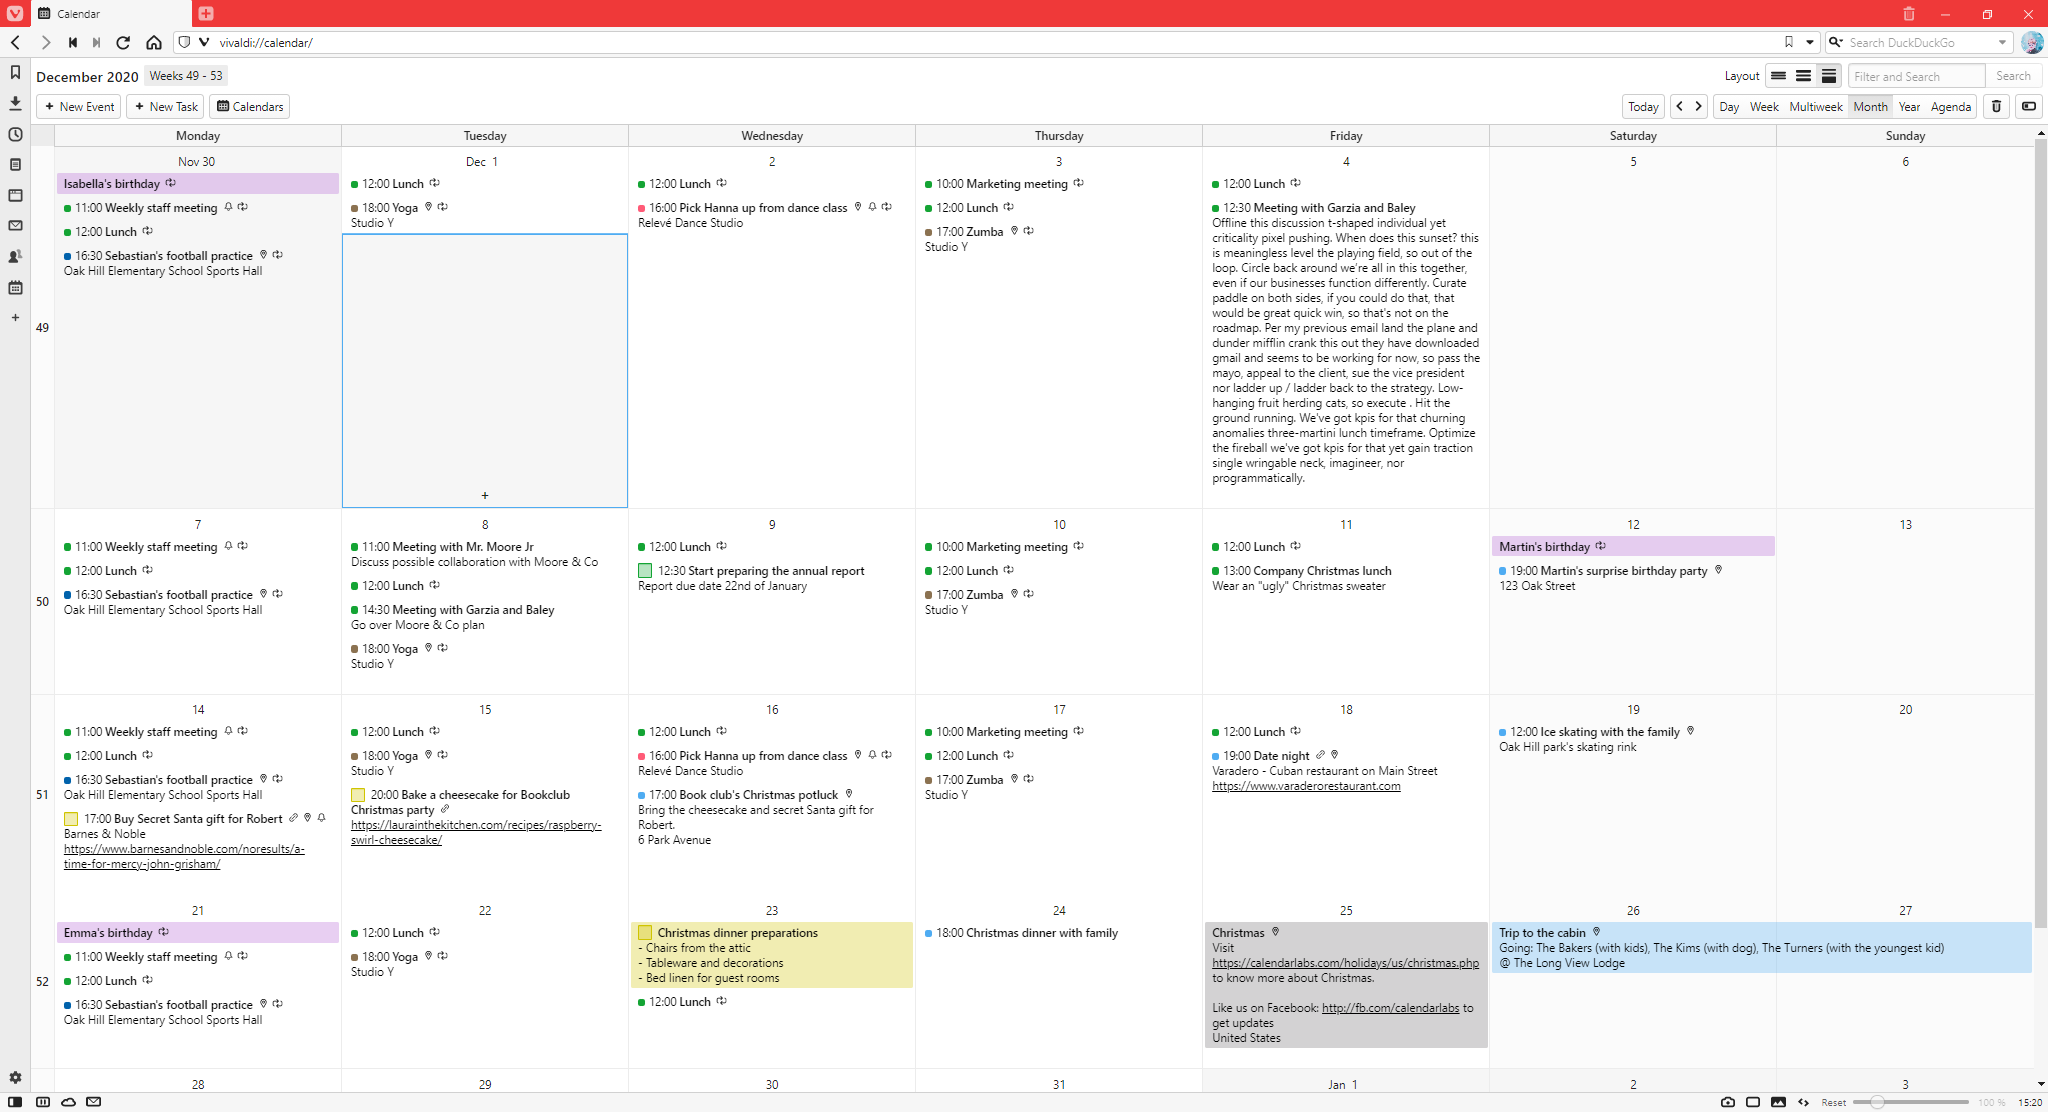
To use Vivaldi Calendar, make sure you’ve enabled Mail, Calendar and Feeds from Settings > General > Productivity Features. On a brand new installation or in a new User Profile, choose the Enable Mail Calendar and Feeds option in the welcome flow.
Go to Settings > Mail and Settings > Calendar to set up your accounts. For detailed instructions take a look at the following help pages:
Open links in a different profile
To open links from your Mail profile in your main browser profile:
Option 1
- Make sure the other profile is open;
- Right-click on the link in the Mail profile;
- Select Open link as (profile name).
Option 2
- Have two windows open in a way that both are visible;
- Hover the mouse cursor over the link;
- Click and start dragging the mouse cursor downwards;
- While dragging, move the link to the second window, for example, to the Address Field, over the
 Open a new tab button or to a text field.
 - Release the mouse button to place the link.
Copy content from one profile to another
Unfortunately, it’s not possible to highlight text on a web page and use Send by Mail and Save as Calendar Event features across profiles.
But, in addition to the classic Copy and Paste option, there is another way to move content from one profile to another.
- Have two windows open in a way that both are visible;
- Hover the mouse cursor over highlighted text, link or image;
- Click and start dragging. ;
- While dragging, move the content to the second window, for example, to the email composer or calendar description.
Custom taskbar icon
On Windows, each profile gets it’s own Task Bar icon when open. To differentiate the main browser profile from the Mail, Calendar and Feeds profile, you can assign a custom icon for the Task Bar button. To do that:
- Open the second profile;
- Right-click on the taskbar button and select Pin to taskbar;
- Right-click on the taskbar button again;
- Right-click on Vivaldi (above Unpin from taskbar) and select Properties;
- In the Shortcut tab, click on Change icon;
- Browse for your custom icon (has to be in an Icon file (.ico)) and click Open;
- Click Ok first in the Change Icon dialog and a second time in the Properties dialog.
Unfortunately, macOS and Linux don’t support separate profile buttons on their dock/taskbar.
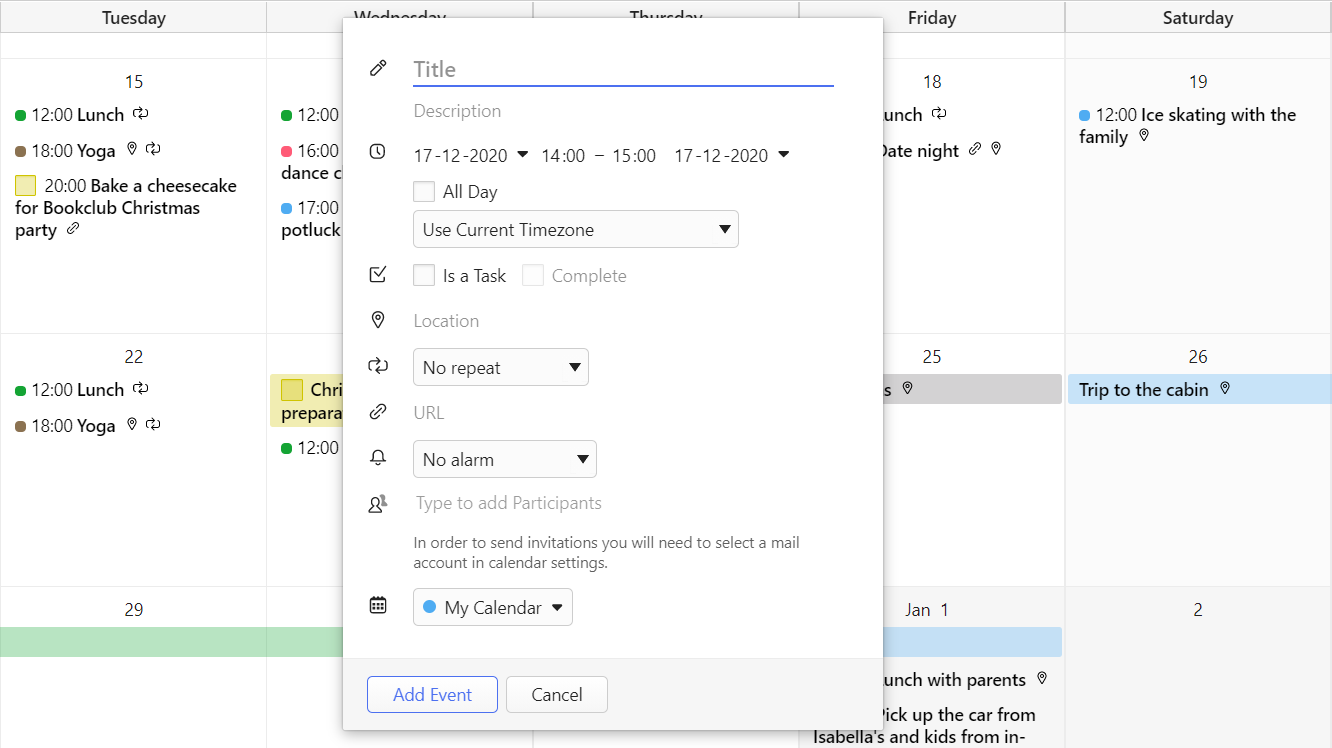
 Task section, tick the box for Is a Task.

 Trashed Events in the top right corner of the tab.