View all correspondence between you and the contact;
Send a message to a contact or contacts.
Add a new contact
To add a new contact:
Open the Contacts Panel;
Click on New Contact on the Contacts Panel toolbar;
Fill in the contact information.
The new contact will be added automatically.
Edit a contact
To edit contact’s information:
Open the Contacts Panel;
Select a contact you want to edit and click on the available info in the contact information section at the bottom of the Panel. Alternatively, right-click on a contact and select Edit;
Update the information.
Changes will be saved automatically.
Delete a contact
To delete a contact:
Open the Contacts Panel;
Select a contact you want to delete;
Choose one of the following options:
Click Delete on the Contacts Panel toolbar;
Right-click on the contact and select Delete from the context menu;
Press Delete on your keyboard.
To delete multiple contacts, select them using either the Shift or Ctrl/Cmd key and use one of the options listed above.
View all messages
One of the default Contact Panel actions is viewing all messages you’ve received or sent to the contact.
To view these messages:
(Double-)click on a contact to open a new Tab with all the messages (if it’s your default contact action in Settings > Panels > Contacts Panel);
Select a contact and press Enter (if viewing messages is your default action)
Right-click on the contact and select View All Messages from the context menu.
Other ways to view messages from or to and from sender:
Right-click on one of the messages in the message list in Mail, select Sender > Show messages from sender;
Open a message and use the keyboard shortcut E (enable single key shortcuts for Mail in Settings > Keyboard > Keyboard Shortcuts).
Open a message, right-click anywhere on the header and select Show messages from sender.
Open a message, hover over sender’s or recipient’s name/email, click on the small arrow and select See messages to and from sender.
Compose a new message
The other default contact action is opening the mail composer to send the contact a new message.
To start composing a new email to chosen contact:
(Double-)click on the contact to open the composer (if it’s your default contact action in Settings > Panels > Contacts Panel);
Select the contact and click on Compose mail to contact on the Contacts Panel toolbar;
Right-click on the contact and select Compose Mail from the context menu;
Select the contact and click on the envelope icon in front of their email address in the contact info section.
To start composing a new message to multiple contacts:
Select the contacts you want to add as recipients by holding down the Shift or Ctrl/Cmd key;
Click on Compose mail to contact on the Contact Panel toolbar. Alternatively, right-click on one of the chosen contacts and select Compose Mail.
When you open the mail composer from Mail, you’ll get contact recommendations as soon as you start typing in To, CC and BCC fields.
Contacts Panel settings
Default contact action
In Settings > Panel > Contacts Panel, you can choose whether clicking on a contact should:
open the list of messages you’ve sent each other, or
open the mail composer to send the contact a message.
In Contacts Panel settings you can also choose whether your preferred action should take place after a single or double-click. You can access the other option from the right-click context menu.
Sorting contacts
You can sort contacts by name. To change the sorting order, click on the sorting menu title between the Contacts Panel toolbar and the list of contacts to switch between ascending and descending ordering.
Contacts Panel width
By default changing the side panel width for one Panel will change it for all other Panels. To give Contacts Panel a separate width:
Right-click on the Contacts Panel button;
Select Separate Width;
From the outer edge of the Panel, drag the Panel to desired width.
Contact Info section
At the bottom of the Contacts Panel, you see information about the contact you’ve selected.
To resize the section, place your mouse-cursor at the top edge of the section and drag in preferred direction to either increase or decrease the size.
To hide the information section altogether, either drag the edge all the way down or double-click on the edge. Drag, double-click or start editing a contact to to display the section again.
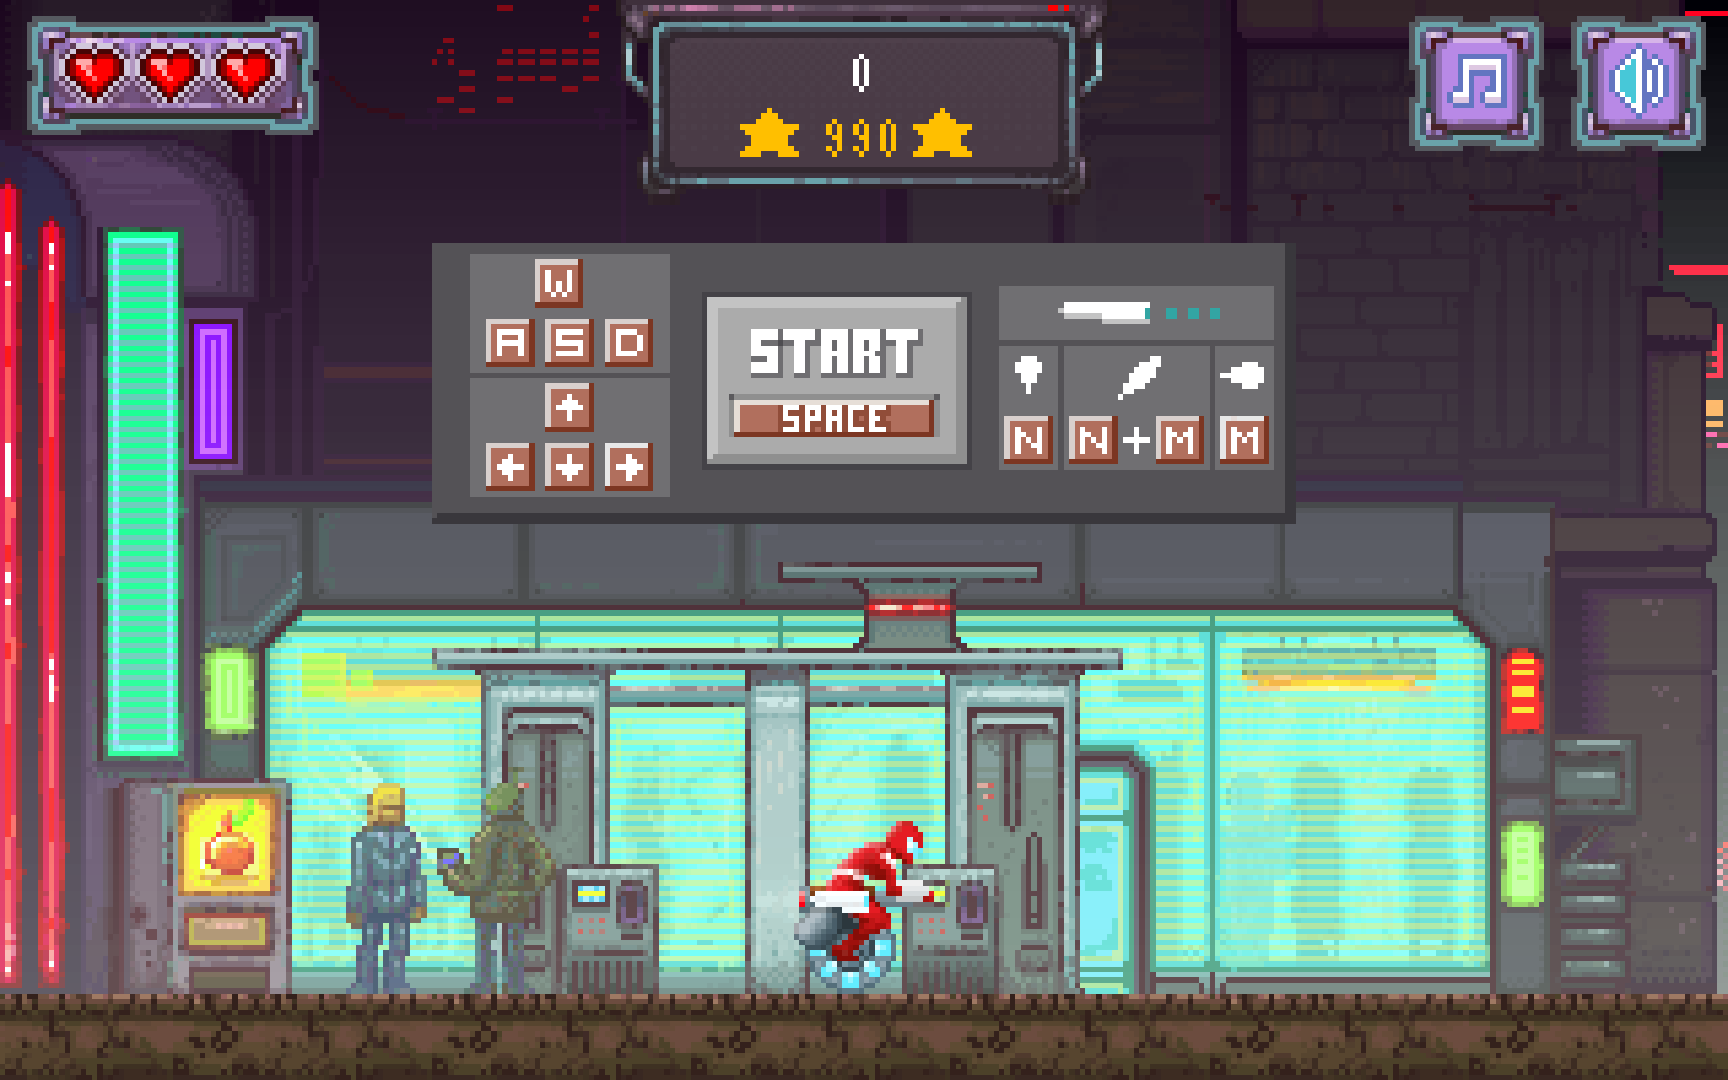
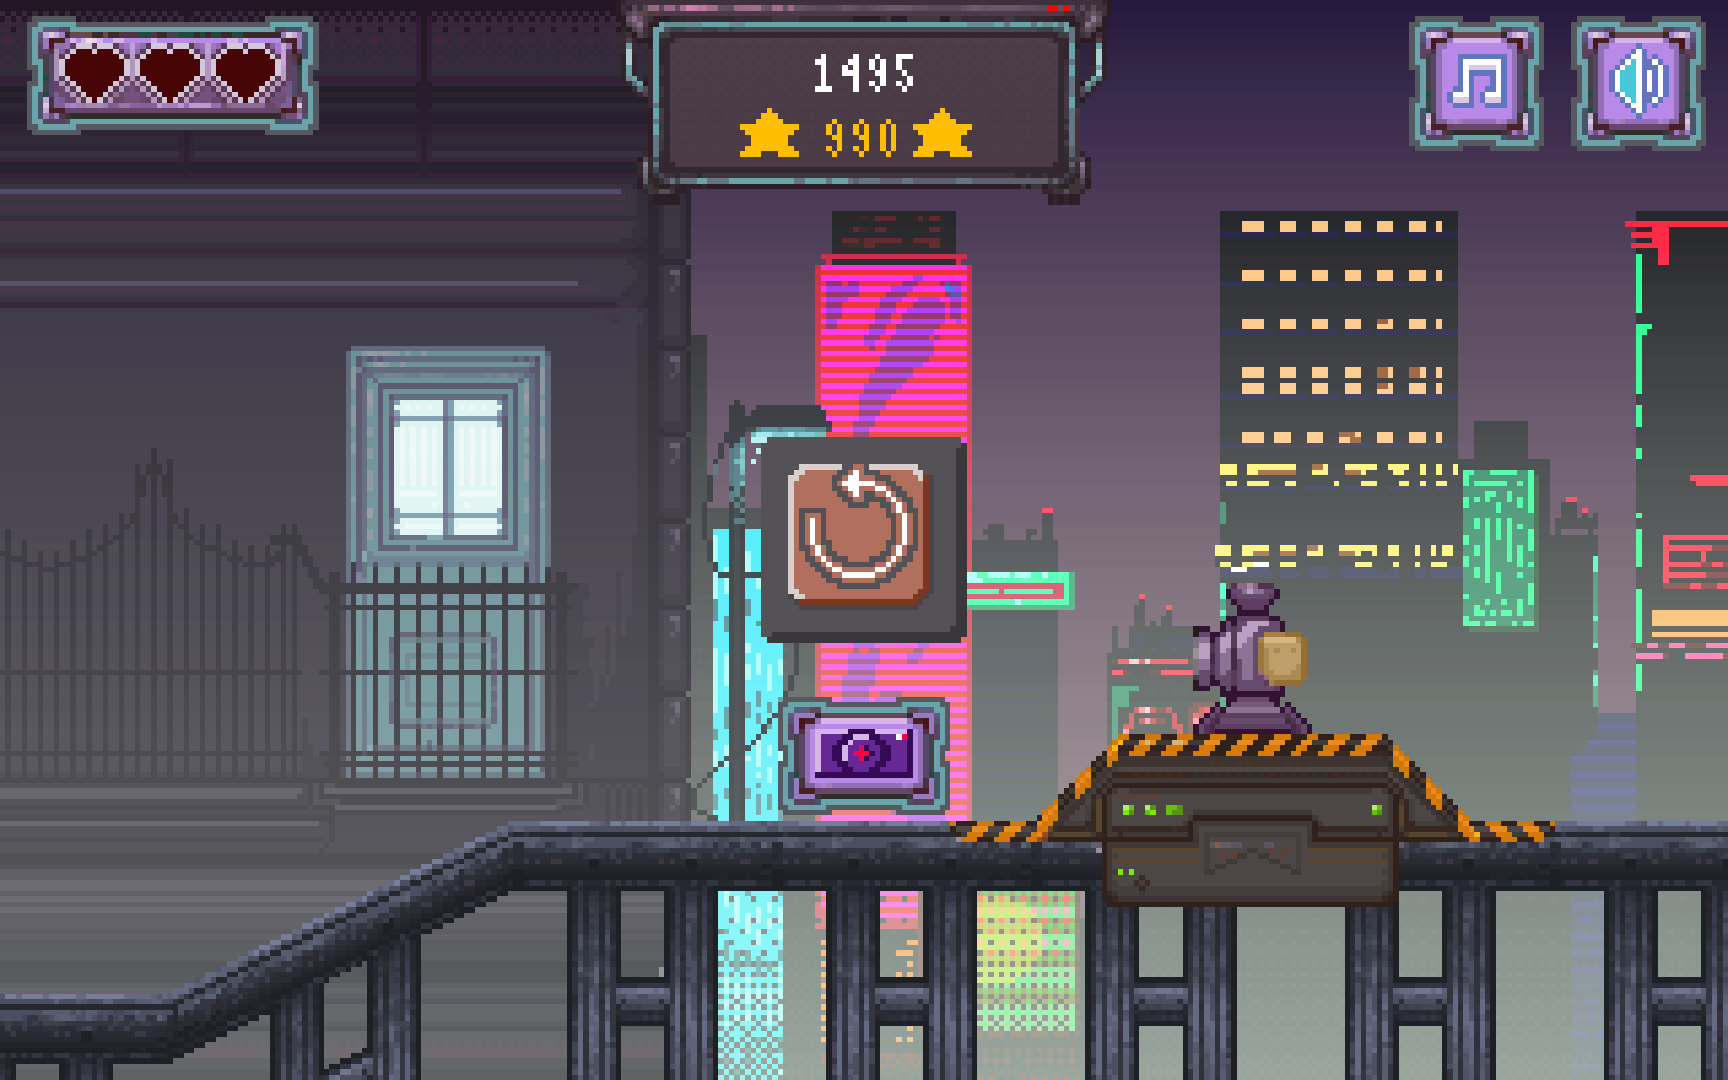
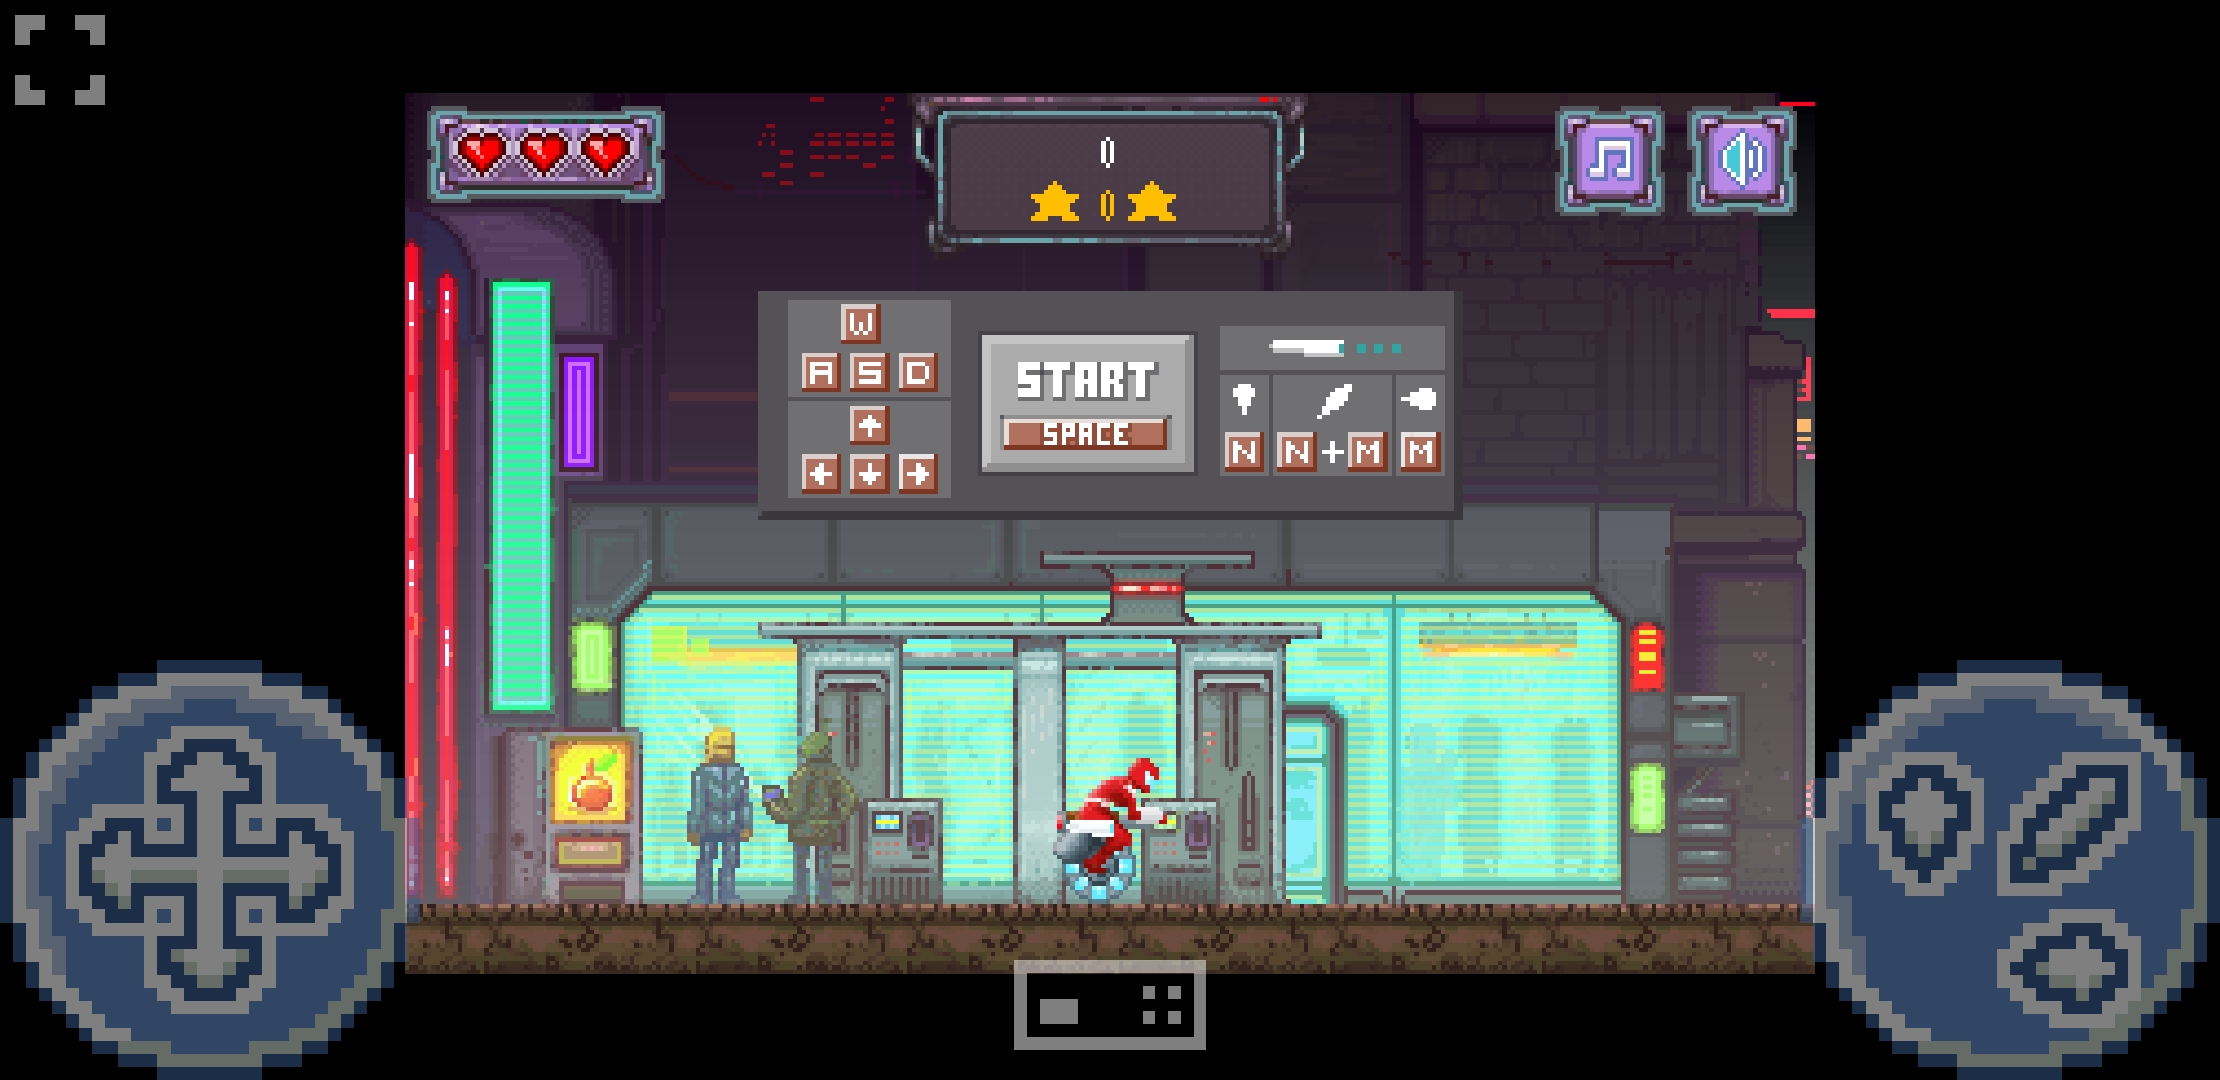
Vivaldia is an arcade-style runner game by Porcelain Fortress integrated into Vivaldi. The game is available for both online and offline playing on desktop and Android.
Playing the game
To play Vivaldia on desktop:
Click on the floating Vivaldia button in the bottom right corner of the Start Page (Speed Dial);
Click on the Vivaldia the game button on one of the toolbars (view instructions for adding the button below).
To start the game either press Space on your keyboard or click on the page.
To move, jump and duck, use either WASD or ←↑↓→ keys on your keyboard. To shoot press N, M or both at the same time. The game also supports using gamepads for playing.
To restart the game after you either finished or ran out of lives, press Space or click on the page.
Settings
Full screen
To play in full screen mode, use the F11 key or click on the full screen button in the top left corner. Press either the F11 or Esc keys or click on the same button to exit full screen.
Audio
You can mute the music and game play sound effects from the top right corner. Alternatively, you can mute the whole tab.
Game button
You can move the hovering game start button from the Speed Dial to one of the toolbars. To do that, hold down the Ctrl / ⌘ key and drag the button either to the Status Bar or left side of the Address Bar.
To hide the Game button from the Speed Dial, either:
Right click on the button and click Show Game on Speed Dial.
Go to Settings > Start Page > Vivaldia, the Vivaldi Game and disable Show Game on Speed Dial.
Share your score
When the game ends, below the restart button is a camera icon. Click on it to capture a screenshot of your end score. Share the score with our community on the Forum or challenge your friends on social media.
Vivaldia is an arcade-style runner game by Porcelain Fortress integrated into Vivaldi. The game is available for both online and offline playing on desktop and Android.
Playing the game
To play Vivaldia on mobile, either:
Go to Vivaldi menu > Start Vivaldia game;
Type vivaldi://game in the Address Field;
To start the game, turn your phone to landscape mode and tap on Click to play and then Start.
There are two game control layouts to choose from (see below). The game also supports using gamepads for playing.
To restart the game after you either finished or ran out of lives tap on the page to start again.
Settings
Full screen
To play in full screen mode, tap on the full screen button in the top left corner. Tap on the same button to exit full screen.
Audio
You can mute the music and game play sound effects from the top right corner.
Share your score
When the game ends, take a screenshot of your score with Vivaldi’s Page Capture feature or your phone’s screenshot tool and share it with our community on the Forum or challenge your friends on social media.
Reading List allows you to add web pages to a list to keep for later. It prevents endless tabs from accumulating on your Tab Bar/Tab Switcher and Bookmarks from being filled with entries you only need once.
Though there are similar services out there, Vivaldi’s Reading List doesn’t require an external app nor do you need to sign up for an account. Also, you can keep your lists in sync on all Vivaldis on all your devices.
Break Mode allows you to pause the Internet and focus on something else until you’re ready to return. Enabling Break Mode mutes and stops HTML5 audio and videos, hides all Tabs, Panels and other content leaving the screen clean.
When you enable Break Mode, you’ll see an introductory pop-up notification describing the feature briefly and an option to edit the Keyboard Shortcut (Status Bar needs to be visible). To close the notification, click anywhere outside the pop-up. In case you don’t want to see the notification in the future, tick the box for Do not show again.
Disable Break Mode
To return to what you were doing:
Click on the End Break button in the middle of the page;
In the top right corner of the Panel, click Remove all Finished. Alternatively, right-click on one of the download entries and select Remove all Finished from the context menu.


 Vivaldi menu.
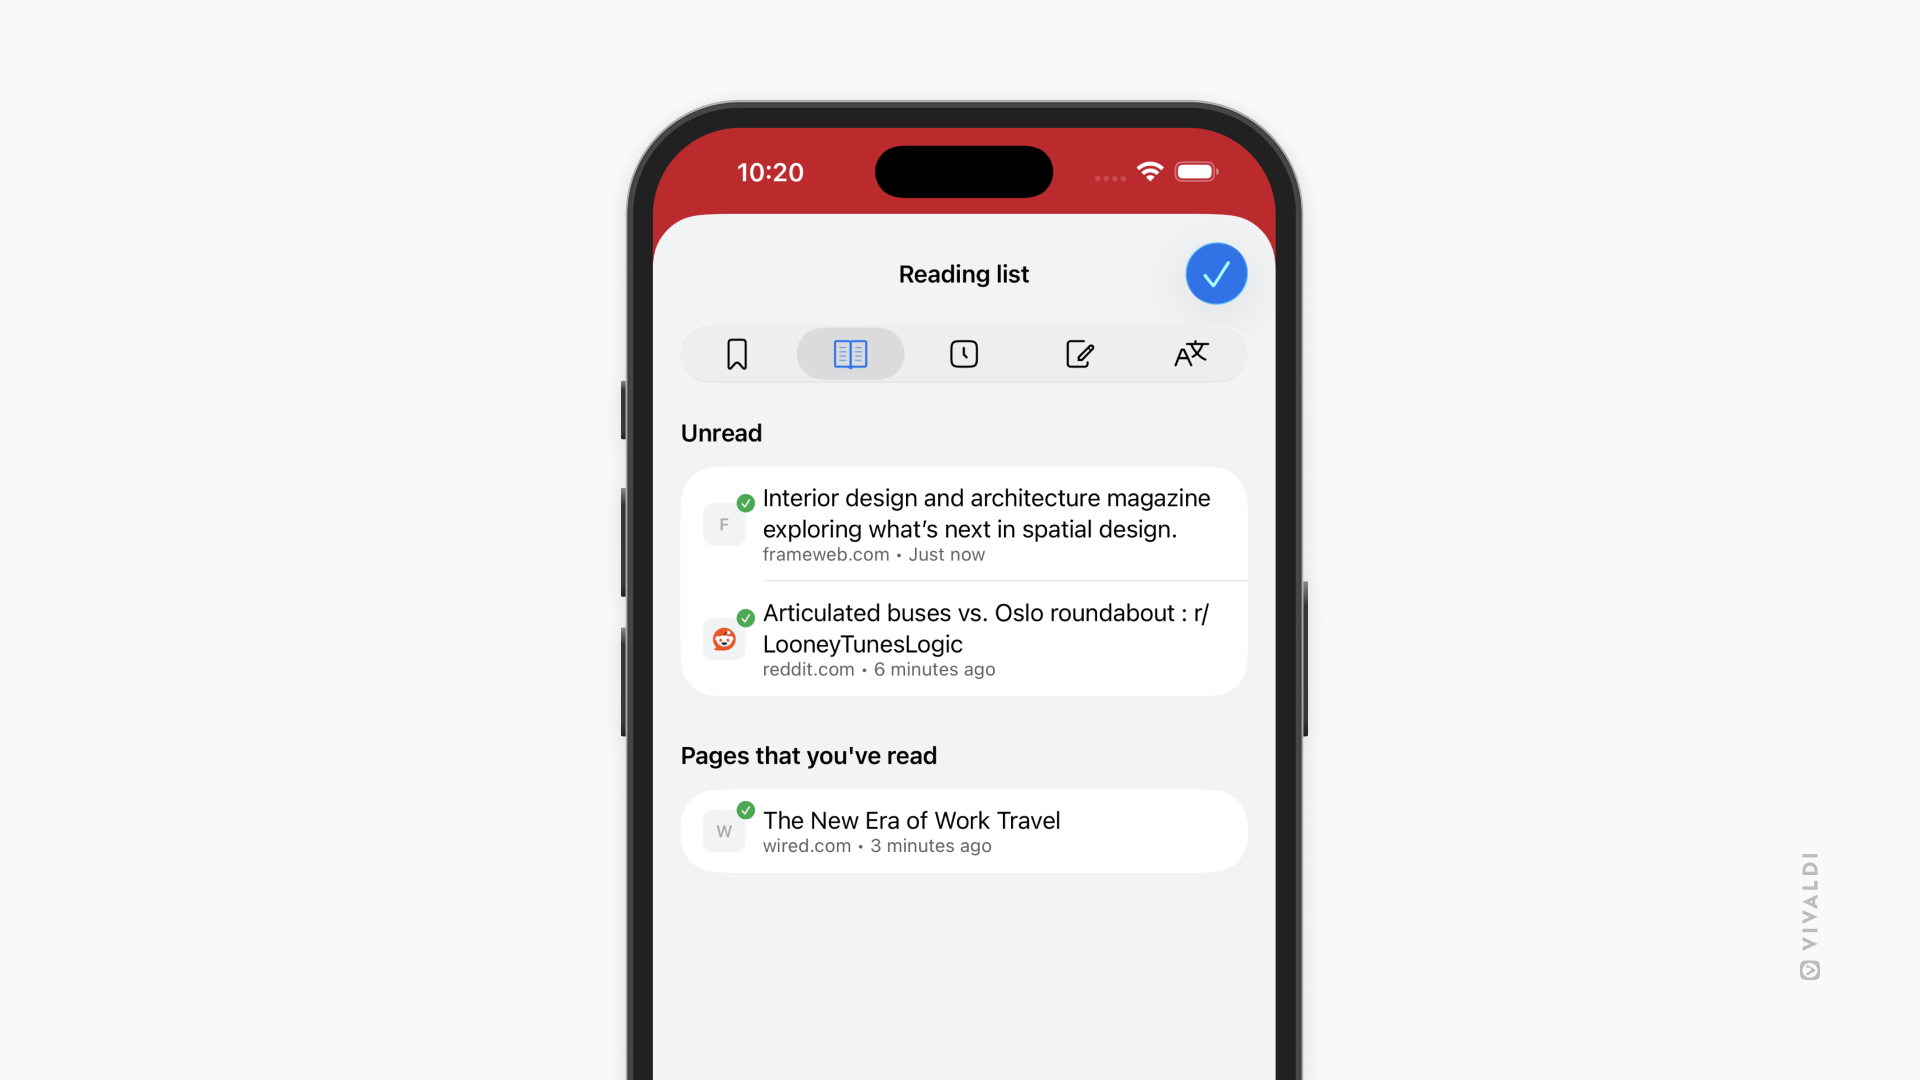
 Remove all Finished.