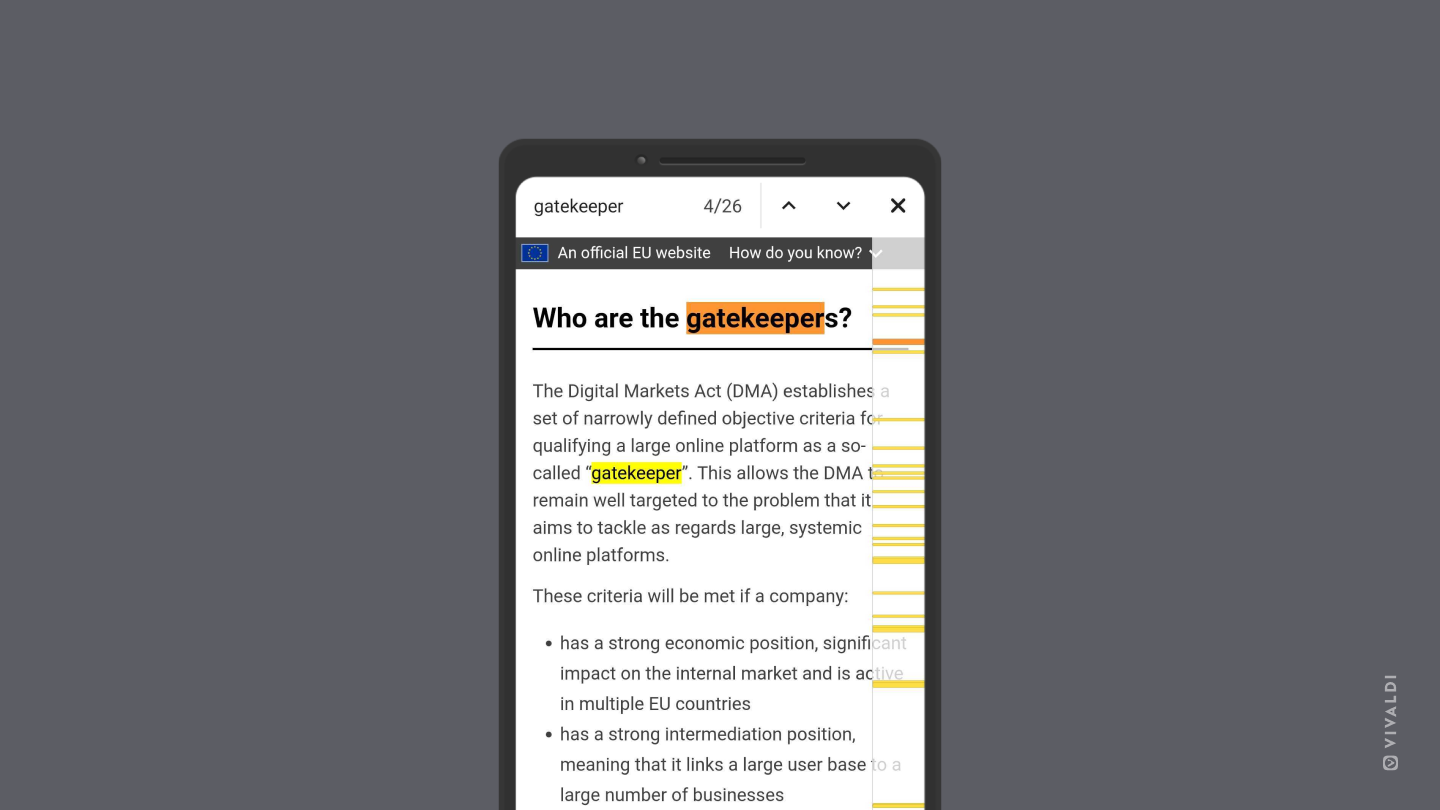
On desktop, Ctrl+F / ⌘ F is a well known Keyboard Shortcut for searching through the open web page. On mobile devices, where the screens fit even less content in the visible area, being able to just search for a keyword is even more useful.
To search in Vivaldi on Android:
Open the Vivaldi menu.
Select Find in Page.
Enter your search keyword.
Search results will start showing as you type. Use the arrows in the top right corner to move to the previous and next results. Tap on the , when you’re done with your search.
To update your account information, first go to your Vivaldi account’s profile:
Hover the mouse over your username or avatar in the top right corner of the page
From the menu select Account.
Profile image
To upload a new profile image:
Click on the current image;
Choose the new image file (max size – 5MB);
Crop, if needed;
Click Done.
Updates to the account are checked during login. If you don’t see the new profile image on the forum, blogs, or Vivaldi Social, log out of the account and in again.
Name
Your name will be displayed on the Forum, Blogs and Themes if you choose to do so.
To change your name in Vivaldi webmail, go to Settings > Identities.
To update the display name on Vivaldi Social, go to Preferences > Profile.
Recovery email
To change your account’s recovery email:
Enter the new email address in the email field on your profile;
Click Save;
Head to the new recovery email’s mailbox and look for a ‘Recovery Email Change Request‘ email from Vivaldi;
Open the link in the email (the link is valid for 48 hours);
Enter your account’s login password and click Verify email address;
When you return to the profile, you’ll see the new email.
Two-Factor Authentication
To keep your account secure, consider enabling Two-Factor Verification. When enabled, in addition to the login password, you’ll be asked to verify yourself with an additional method.
Click on Change password in the bottom left corner of the page;
Enter the current password and then the new password twice;
Click Update.
Log in with the new password.
Alternatively, you can send yourself a password reset email here.
Delete account
For instructions on how to delete your Vivaldi account, please visit a separate help page here.
Trouble updating the profile?
If after clicking Update on the profile you see an error messages, for example, ‘Can’t verify the user‘, try updating the account again in a Guest Profile or a new User Profile. An Extension or some Setting may cause the issue in the browser’s main profile.
In case updating account information didn’t work in a clean profile either, please report the issue to us using the contact form below.
Error message after submitting the registration form
Go back, check that all information is correct and try again. Refresh the page and start again, if necessary.
Try disabling Extensions (especially privacy, security and/or content blocking extensions) to see, if any of them hinder the browser’s work.
Check the status of our services on status.vivaldi.com to see if everything is operational.
Make sure Cookies for Vivaldi.net sites have not been blocked.
Clear Cookies & Storage, Cache, and Application cache from History.
Haven’t received the account activation email?
Make sure a valid email address was entered in the registration form. In case you might have made a typo in the recovery email or gave an invalid email, please contact us below with your account’s username, the email you signed up with and what the email address should be. We’ll fix it for you.
Check all mailbox folders, including the Spam folder, for an email with the title “Vivaldi.net – Account Activation”.
Be patient. Occasionally, email service providers queue emails, so the email might arrive in your Inbox with a delay.
Accidentally closed the activation page?
In case you leave the account activation page, you can return to it by trying to log in to your account on Vivaldi.net. On the activation page you can also request a new code should the one you had have expired.
Account activation failed?
After activating the account you should be asked to log in and then you should find yourself on your account’s profile. In case the code wasn’t accepted (e.g. it had expired), request a new code and try again.
Sometimes Extensions can cause trouble, so try if after disabling them account activation works. For example, dark mode extension, Dark Reader, is known to break functionality on Vivaldi.net, but there may be other extensions as well. You might have to restart the browser for the change to take affect.
Login issues
When instead of being logged in you’re asked to enter a 6 digit code, it means that you haven’t activated the account yet. If you just registered, check your recovery email to find the code. In case the code has expired, request a new one by clicking on the resend link on the activation page or request a new email here.
For login it’s best to use your username, but your Vivaldi email address is also accepted. In case you don’t remember the username, send a username reminder to your recovery email address.
Reset the password with your username. Please note that, password reset won’t work, if the account is locked or hasn’t been activated yet.
In case you’ve already tried logging in with the wrong password at least 5 times, the account will be locked for 5 minutes as a security measure. After the 5 minutes have passed, reset the password to access the account again.
If you only recently registered and are having issues with login to Vivaldi Webmail, you might not have built enough reputation for your account yet to be granted access. In that case, keep being an active member of the community and try again some other time.
Check the status of our services on status.vivaldi.com to see if everything is operational.
Delete Vivaldi Cookies following the instructions in the video:
Check what the error message means
Take a look at this Help page explaining what various Vivaldi account related error messages can mean and what to do when you encounter them.
None of the above was helpful?
In case you tried the troubleshooting steps above, but still can’t access your account, please send us a message below, so we could look into the issue. Make sure to share your account’s username, where you tried to log in and what the error message said. Also, make sure to give a contact email we can reach you on.
You can always access your calendar from any browser on https://webmail.vivaldi.net/ > Calendar, but you can also set your account up in a desktop calendar client or calendar app on your mobile device.
There are many different calendar clients available. To add your Vivaldi account to a calendar client of your choice, follow the calendar client’s instructions for adding a new account.
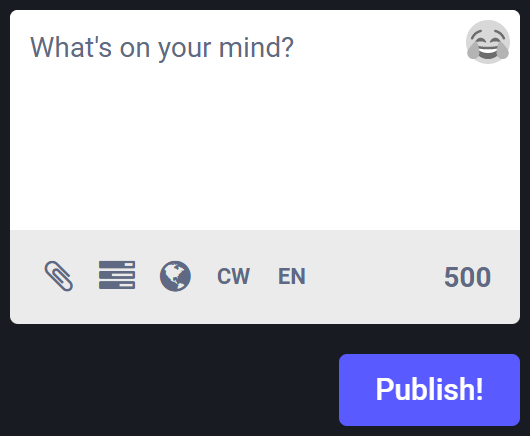
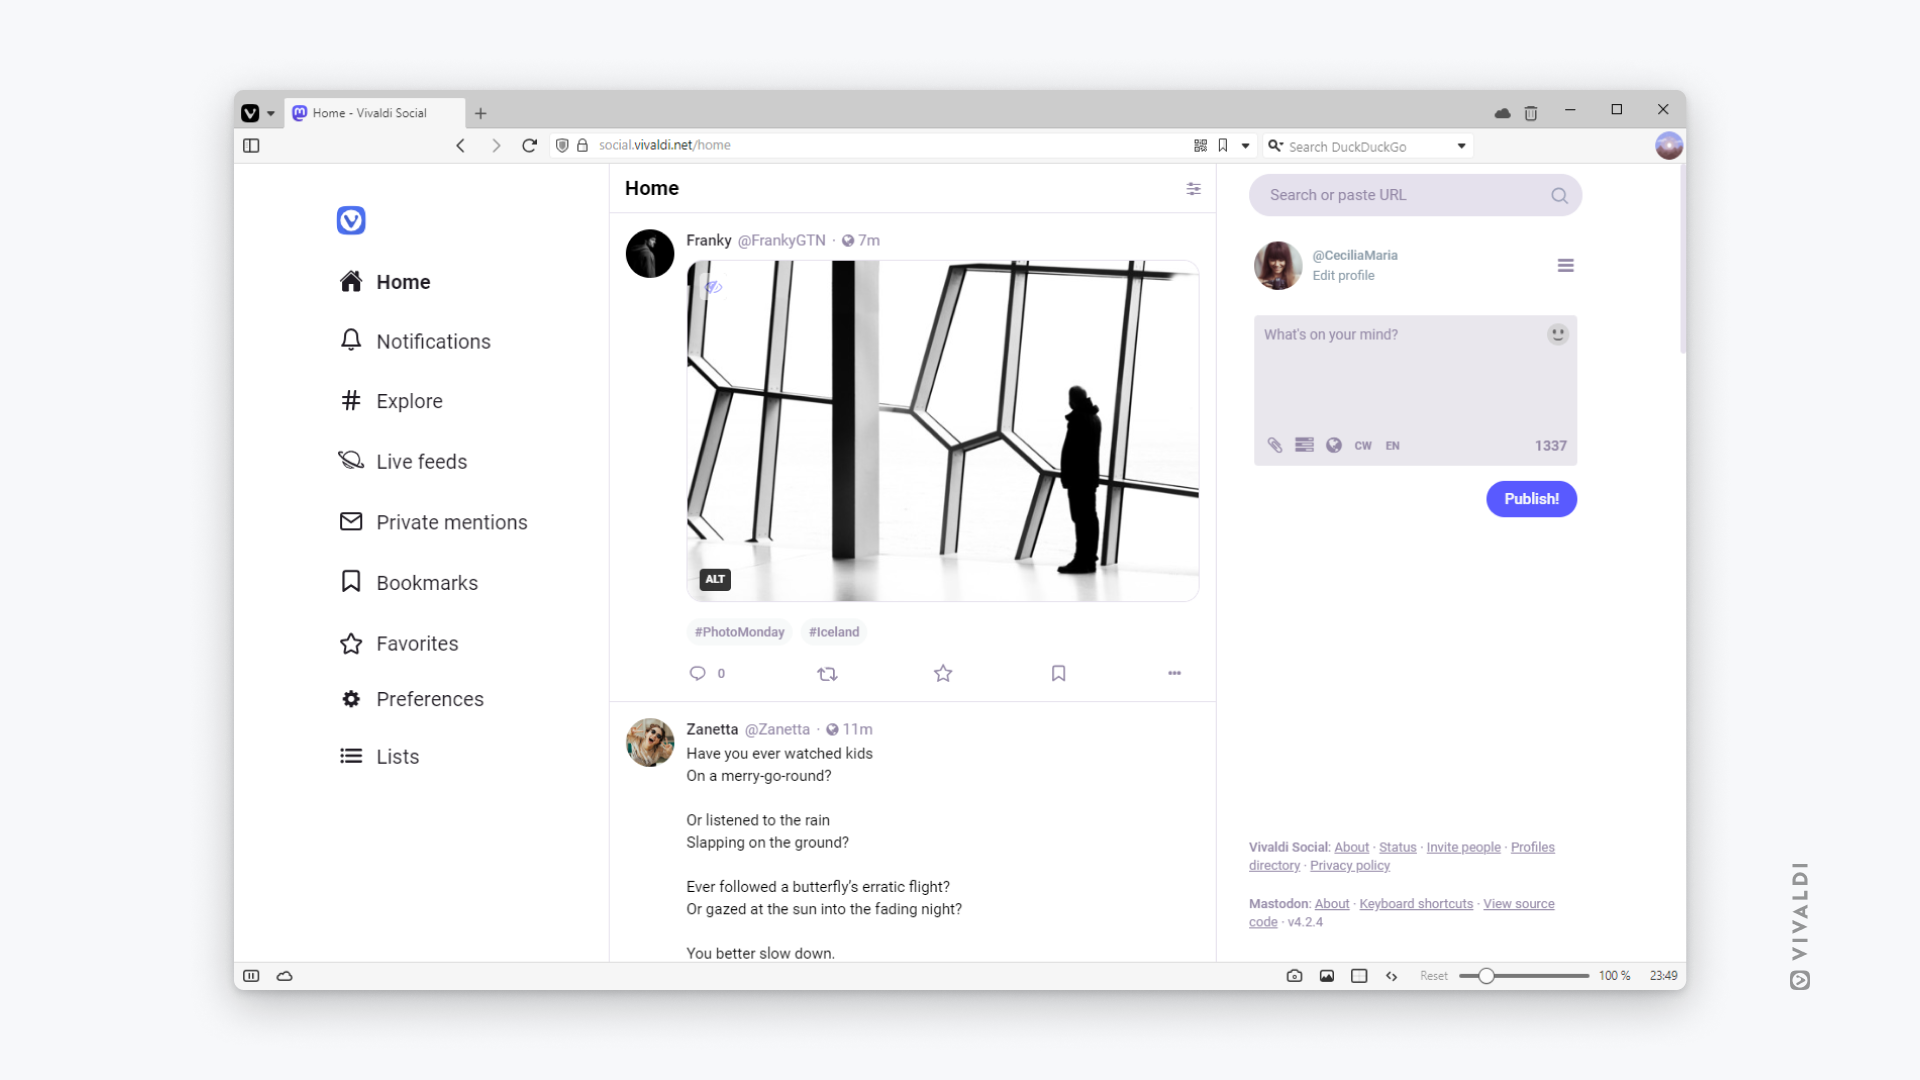
Focus on the text box in the top left corner of the page.
Compose your message.
Click Publish.
Of course, there are various ways to give additional flare to your posts or toots, as they’re often called on Mastodon. Continue reading to see what all you can do.
Post text
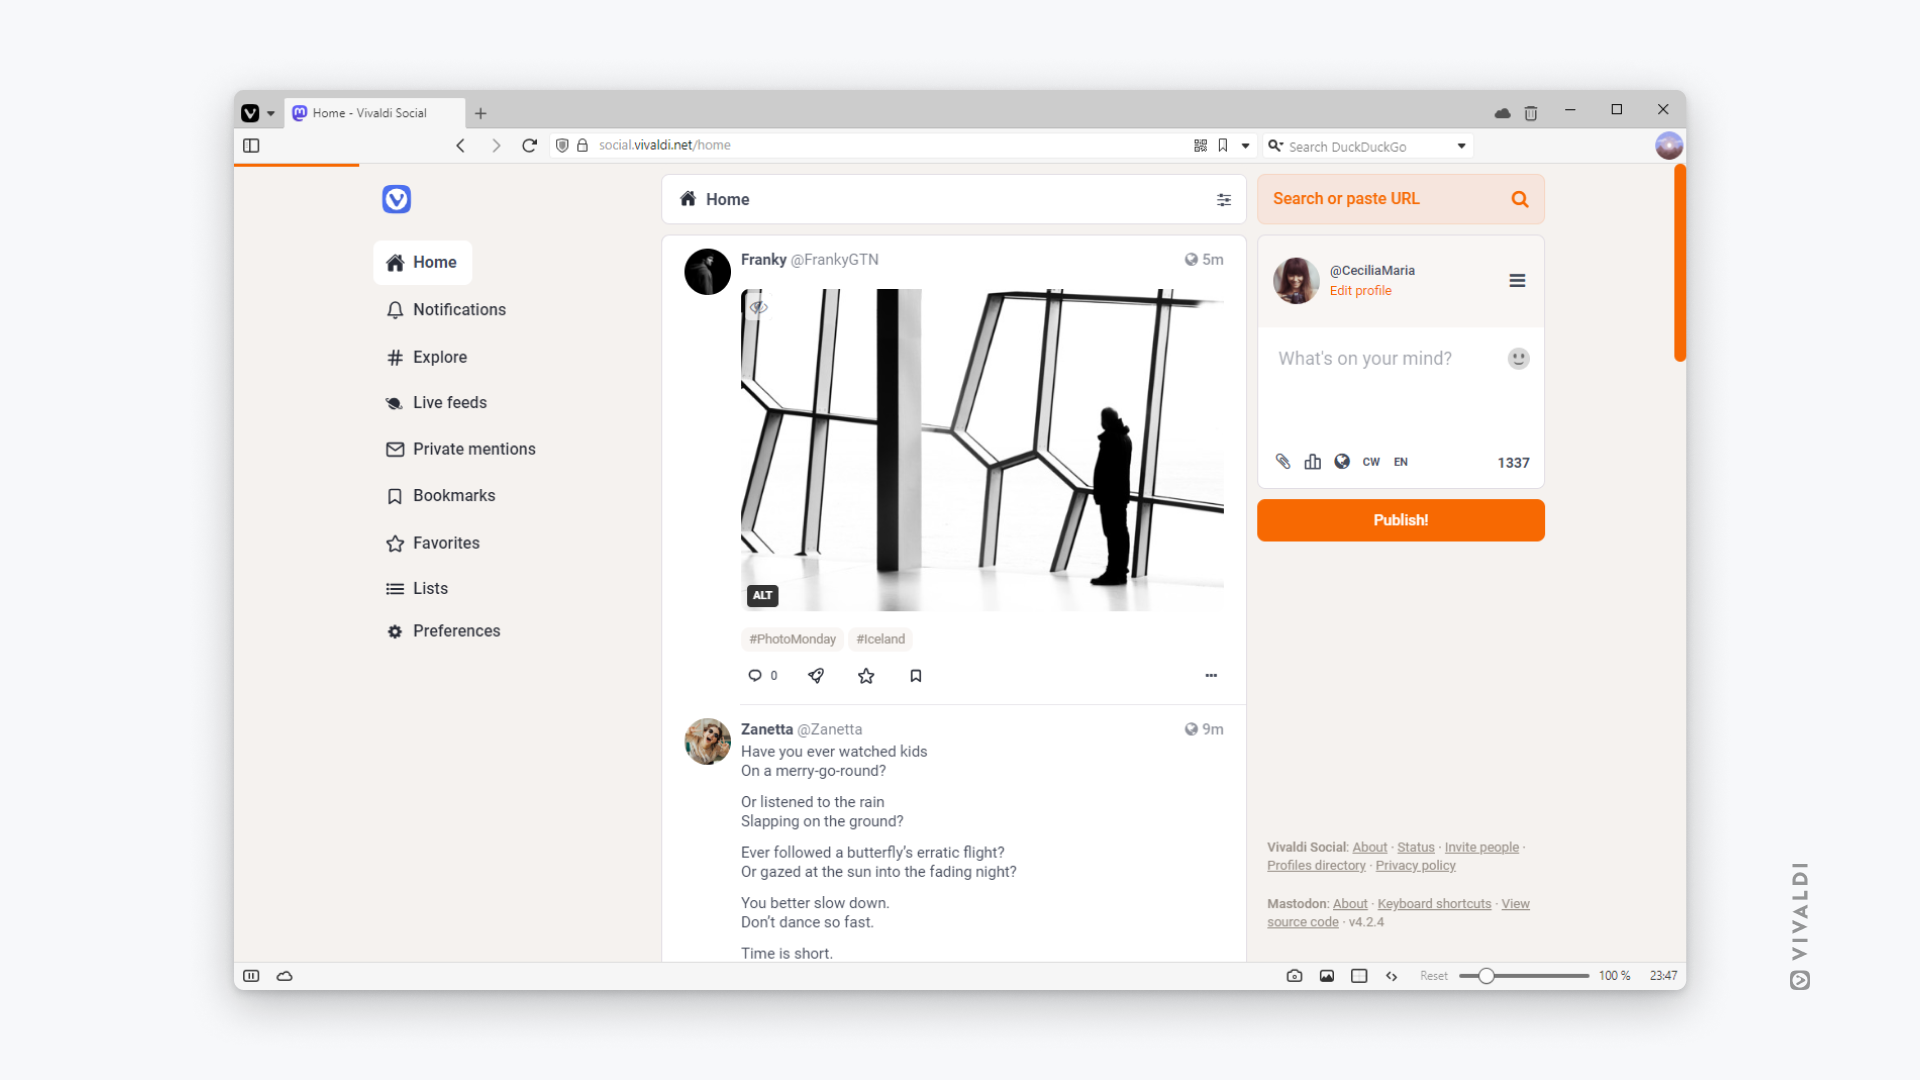
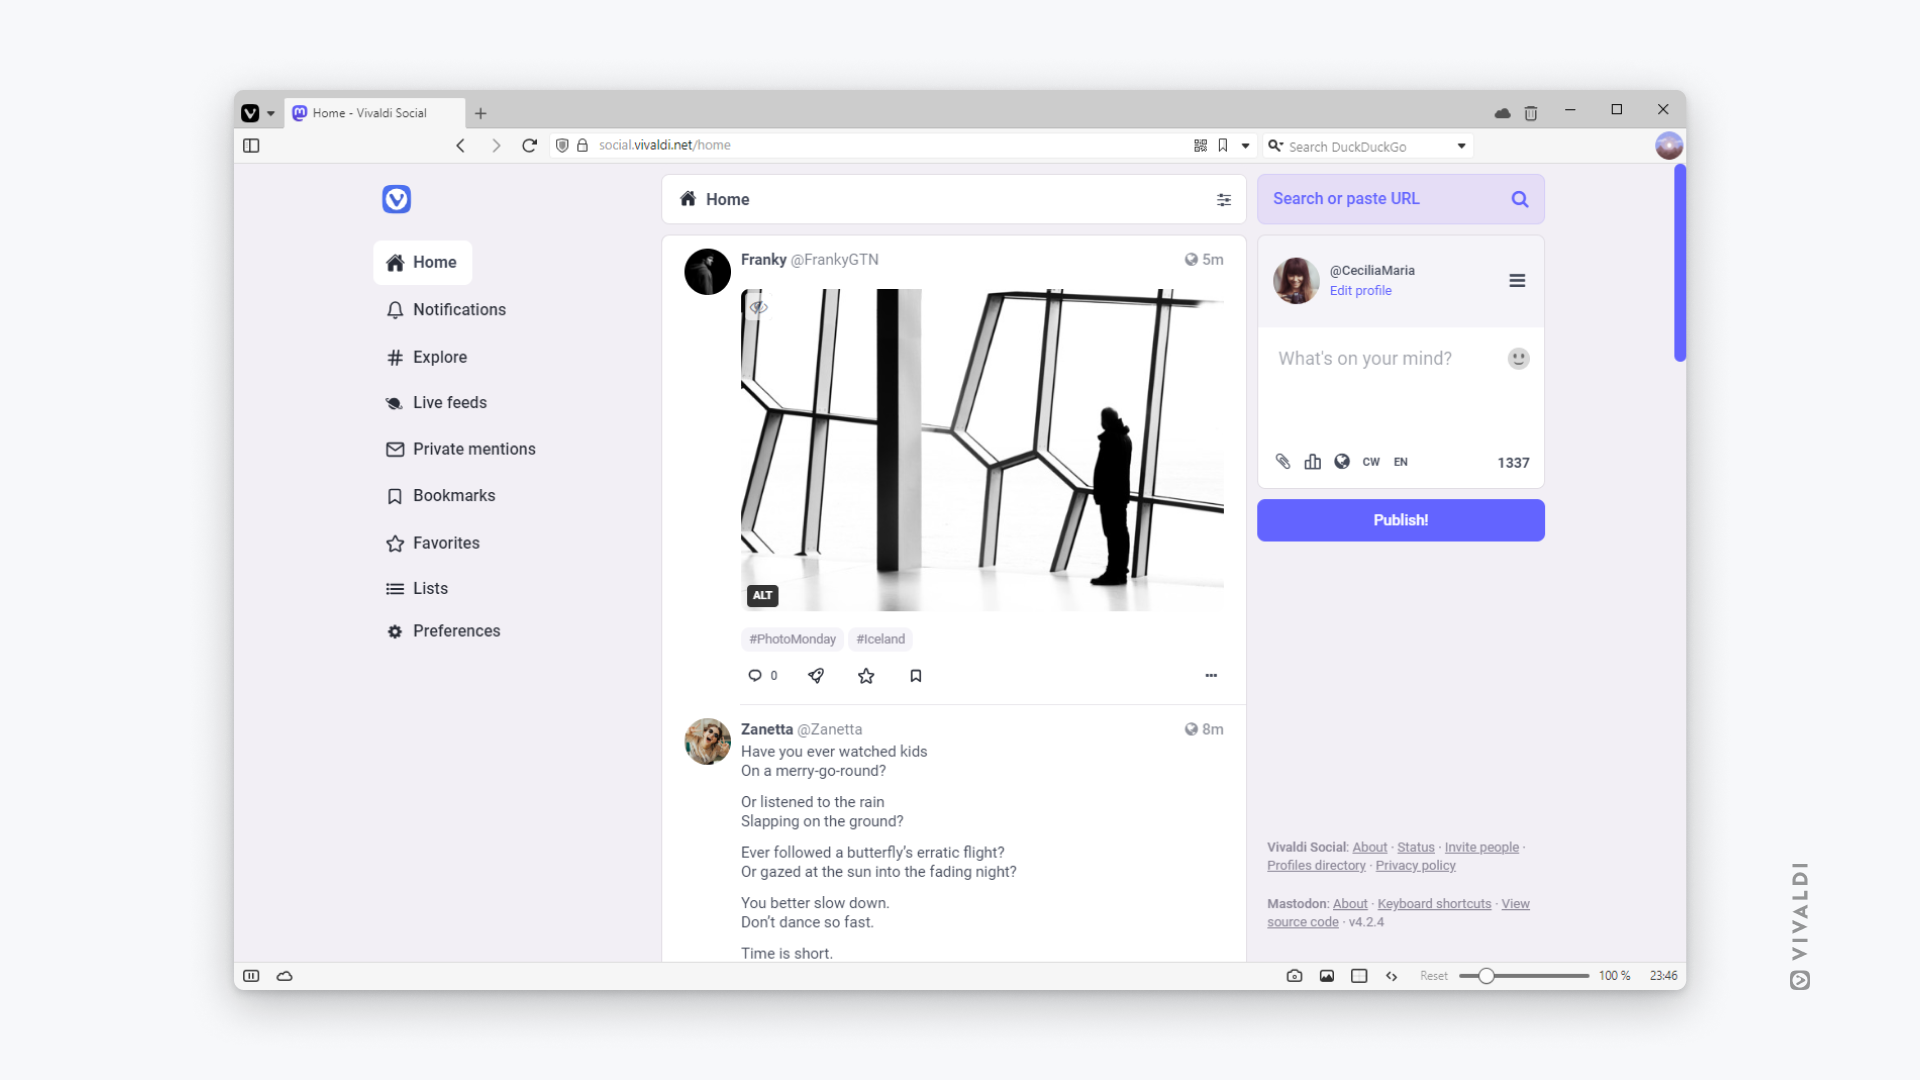
The posts you write can be a maximum of 1337 characters long.
Links
If you want to add links to your post, make sure that they start with either https:// or http://. All links, regardless of length will be counted as 23 characters long.
Hashtags
You can convert any alphanumerical word into a hashtag by adding the # symbol in front of it, for example #vivaldi. Posts including hashtags will be discoverable to anyone searching for that hashtag. If the hashtag you’re going to use consists of multiple words, capitalize the first letter in each word, for example #VivaldiBrowser.
Mentions
You can tag other users in your posts. If you write their username as @name, the user in Vivaldi Social’s instance will be tagged (if a user with that username exists). To tag users from other instances, you also need to add their domain in the username, for example, @[email protected]. After having typed @ and at least two characters, you’ll see suggestions of users you can mention below the text field.
Emojis
You can insert emojis to your post by clicking on the laughing face in the top right corner of the text box and selecting one from the menu.
Alternatively, you can type : and the emoji’s name to insert it, followed by :. For example, type :heart: to insert ❤️. As you type you’ll see suggestions you can select.
Attachments
Click on Add images, a video or an audio file button below the text box, to attach images, GIFs, videos and audio files to your post.
Images – You can upload up to 4 images per post. Maximum file size is 8MB and the files can be in PNG, JPG and GIF formats.
Animated GIFs – are converted to soundless MP4s.
Videos – Maximum file size is 40MB and the files can be in MP4, M4V, MOV and WebM formats.
Audio – Maximum file size is 40MB and the files can be in MP3, OGG, WAV, FLAC, OPUS, AAC, M4A and 3GP formats.
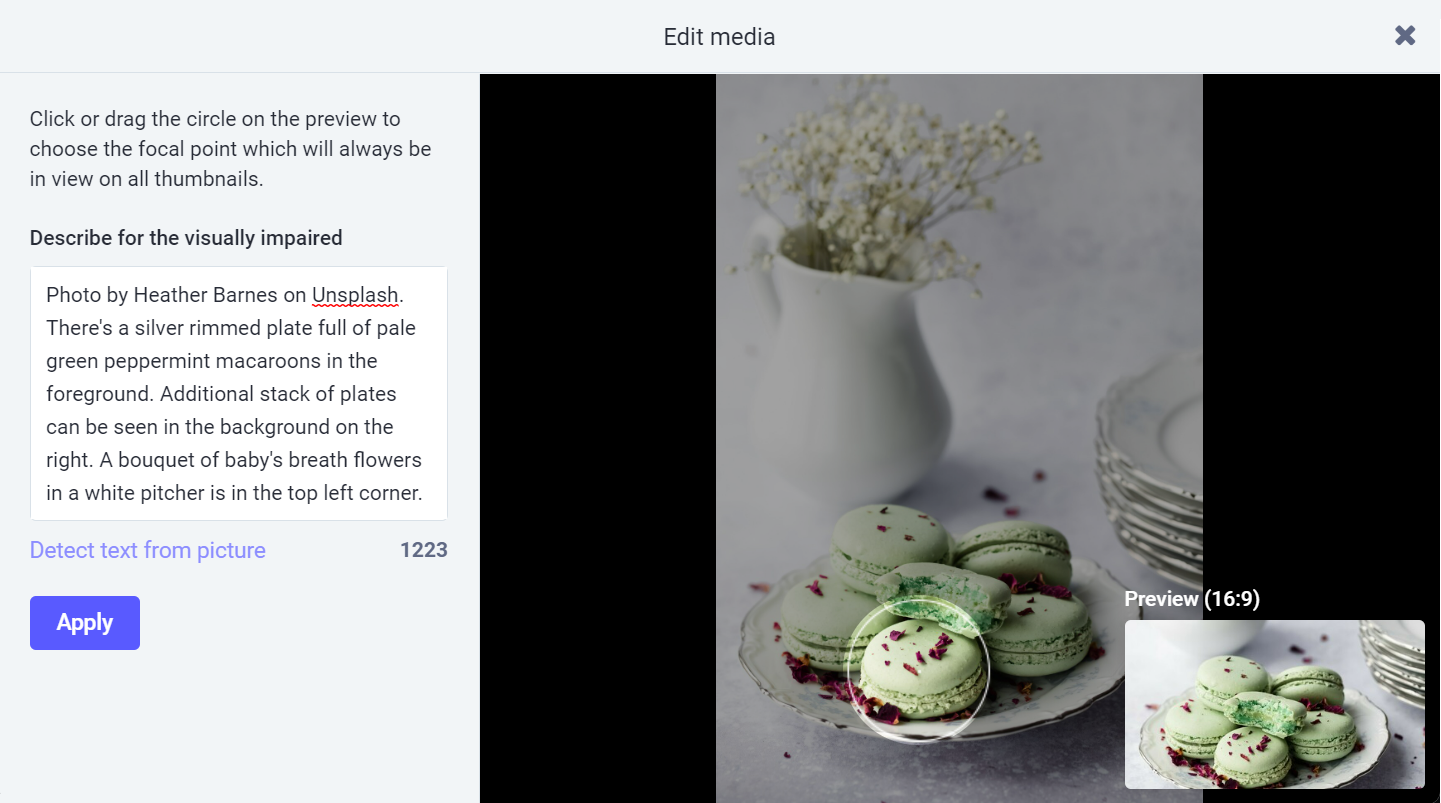
Edit attachments
It’s recommended to add a description to attachments. It’ll be shown when hovering over the media and in cases when media fails to load for some reason. Also, the description will be picked up by screen readers.
To add a description:
Click on Edit in the top right corner of the attachment.
Insert a description.
Click Apply.
In addition, you can set a focal point for images by dragging and dropping the circle on the image. Then the focal point will always be visible, even when your image doesn’t fit the 16:9 ratio.
Polls
Another option is to create a poll. You can add up to 4 choices. When you click on the radio button in front of the choices, you can turn the poll into a multiple choice question. Before publishing the poll, also select the expiration time – 5 minutes, 30 minutes, 1 hour, 6 hours, 1 day, 3 days, or 7 days.
Post privacy
There are 4 different privacy levels for posts on Vivaldi Social.
Post privacy is set per post and can’t be changed once the post is published. To change the visibility of a published post, open the 3 dot menu below the post and select Delete & re-draft. You’ll lose the post’s favorites, boosts and comments in the process.
Public – visible for all
Anyone can see your post at the permalink without logging in.
Your post will appear in-app in the public timelines.
Your followers will receive the post in their home feeds, and anyone mentioned will receive the post in notifications.
Your post can be boosted into other home feeds.
Unlisted – visible for all, but opted-out of discovery features
Exactly the same as public, but your post will not appear in Mastodon’s public timelines, like Local and Federated.
Followers only – visible for followers only. It’s recommended to disable Automatically accept new followers in your profile settings to prevent anyone unwanted from following you and thus seeing your posts.
Seeing your post at the permalink requires being logged in on the same website as someone who follows you or was mentioned.
Your post will not appear in-app except to followers browsing your profile, and to anyone mentioned.
Your followers will receive the post in their home feeds, and anyone mentioned will receive the post in notifications.
Your post cannot be boosted, except by yourself.
Mentioned people only – visible for mentioned users only. Direct messages are not encrypted, so be cautious what information you share in them.
Seeing your post at the permalink requires being logged in on the same website as someone who was mentioned.
Your post will not appear in-app except to anyone mentioned.
Anyone mentioned will receive the post in notifications. It will not appear in the home timeline.
Your post cannot be boosted.
You can set the default privacy setting in Preferences > Other > Posting defaults.
Content warnings
Whether your post and accompanying media contains spoilers of a popular TV-show, is of sensitive nature that some might not want to see or you just want to collapse a long post and only show a bit of it, you can use the content warning setting.
When enabled, you’ll need to add a warning title, which will be visible to everyone. To see the main content, users will need to click on the post. Giving your post a content warning will automatically mark any media you add as sensitive as well and display it blurred unless clicked on.
To only give shared media a content warning, tick the box for Mark media as sensitive after having attached the media. To mark all media you post now and in the future as sensitive enable it in Preferences > Other > Posting defaults.
Post language
Last but not least, you can assign a language to your post. That will only show your post to people, who have opted for seeing posts in that language in public timelines. The post will be visible to everyone visiting your profile.
You can assign a default posting language in Preferences > Other > Posting defaults.
Vivaldi Social is a Mastodon instance aka server run by Vivaldi. Like many other instances, you can follow people on your own instance, but also from many other open instances, and vice versa, you can have followers from Vivaldi Social, but also from most other instances.
Content from people you follow, from people on Vivaldi Social, and people on other instances are divided into a few different timelines.
Pages and timelines
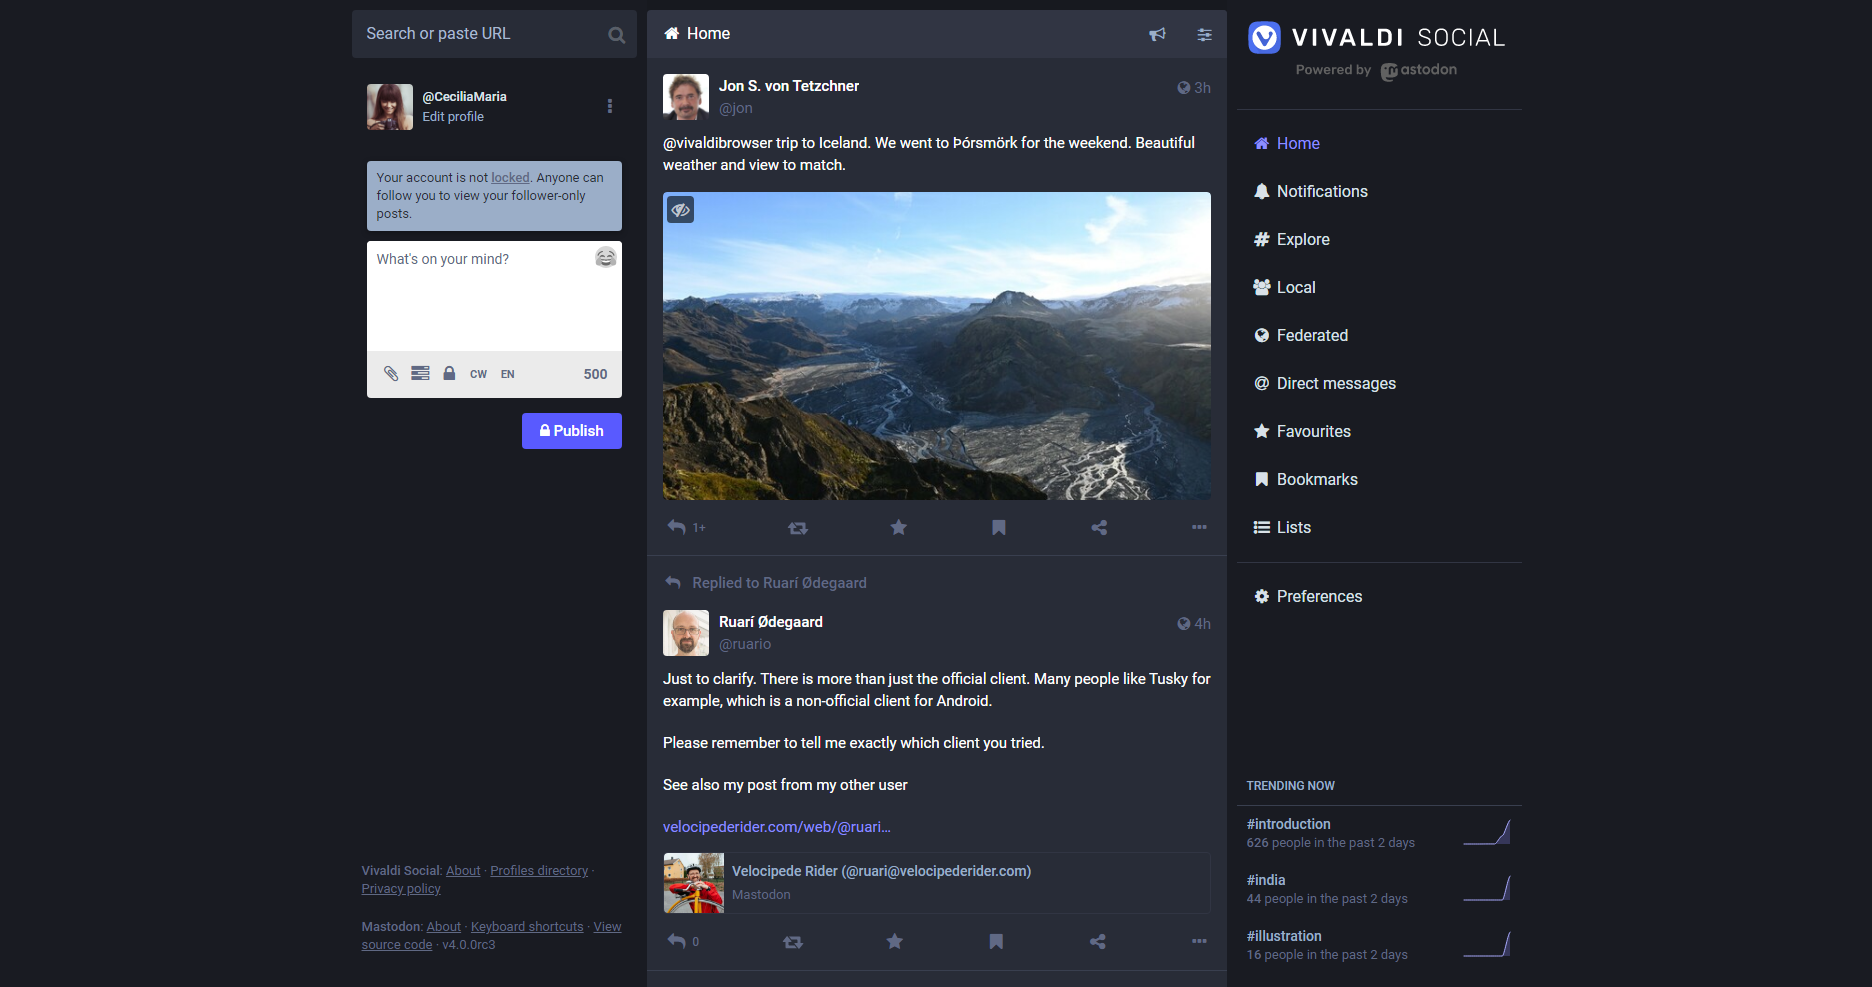
Home
Posts in chronological order from people you follow will appear on the Home page. From the page settings, you can toggle on and off Boosts and Replies.
Explore
Great place to discover popular content from both Vivaldi Social and other instances. You can check out trending posts, hashtags, people, and news. “People” lists people that are recommended for you. They can be from the Vivaldi Social instance but can be from elsewhere as well.
Live Feeds
This server
The most recent public posts from people, who have an account on Vivaldi Social are listed in this view.
Other servers
This timeline shows the most recent public posts from people on Vivaldi Social as well as from other instances of the decentralized network that are known to Vivaldi Social.
Private mentions
By changing the post’s privacy settings you can make posts visible to only the mentioned people – turning them into direct messages. These discussions will be shown on your Home feed as well, but to see only private conversations, go to the “Private mentions” page.
Bookmarks
To save posts for later, you can Bookmark them. They’re collected on the Bookmarks page in the order you bookmarked them.
Favorites
Favorites are the same as likes or upvotes on other social media sites. On Vivaldi Social, you can let the poster know that you like their post, by clicking on the Favorite button below their post. All posts liked by you will show up on the Favorites page.
Lists
You can group people you follow into various groups called lists. To create a list and add people:
Go to Lists page.
Enter a name in the New list title field and click Add List.
Click on the newly created list.
Click on Show Settings in the top right corner.
Click on Edit list.
Click on Search among people you follow and start typing names of people you want to add to the list.
When an account is found, click on Add to list next to their name.
Click outside the pop up window when you’re done editing the list.
Search for content and people
To search anything on Vivaldi Social and the larger Mastodon Fediverse, type your search term in the search field in the top left corner of the page. In case you’ve added Vivaldi Social as a Web Panel or access it from a mobile device, you’ll find a search button on top of the page. When you enter only simple text, posts, hashtags, users and everything else matching the search term will be shown in results. To narrow your search you can use the following filters:
Add a # in front of the search word to find hashtags.
With the format @username@domain you can look for users.
If you know the user’s profile link you can just enter it into the search field to find the user you’re looking for.
If you have a post link, you can enter it into the search field to load the post.
Use one of the following search operators without spaces to filter out the most relevant results.
has:media – Shows posts with attachments (images, audio, video).
has:poll – Shows posts with a poll.
has:embed – Shows posts with links that display embedded media (for example, YouTube or PeerTube links)
language:fr using language codes – Shows posts in the specified language.
is:reply – Shows posts that are replies to other posts.
is:sensitive – Shows posts that are marked as sensitive.
from:user – Shows posts from the specified user.
from:me – Shows your own posts.
in:all – Shows results from posts that are visible to you.
in:library – Shows posts you have made and/or interacted with.
before:YYYY-MM-DD – Shows posts that were published before the specified date.
during:YYYY-MM-DD – Shows posts that were published on the specified date.
after:YYYY-MM-DD – Shows posts that were published after the specified date.
To exclude specific posts from search results, add a - (hyphen or minus symbol) in front of the operator.
Make your own content discoverable
To make the posts you’ve publicly shared show up in other people’s search results:
Go to Preferences > Public Profile > Privacy and reach.
To adjust profile, appearance, notification and other settings in Vivaldi Social, go to Preferences from the menu on the right.
Profile settings
To learn how you can customize your profile on Vivaldi Social, take a look at the Help page here.
Appearance settings
Interface language
In addition to English, you can choose from many other languages to display Vivaldi Social in.
To change the user interface language:
Select the language of your choice from the drop-down menu.
Click Save changes in the top right corner or at the bottom of the page.
Time zone
Setting a time zone helps to display the correct dates and times in emails you receive from Vivaldi Social.
Site theme
You can choose between multiple themes:
Mastodon’s default theme in light, dark, and high contrast (a dark theme with a bit more contrast than the dark theme) versions.
Tangerine UI with orange or purple accent colors. Whether you get a light or dark version of the theme depends on the settings on the operating system’s level.
Mastodon Bird UI in light, dark, and high contrast versions.
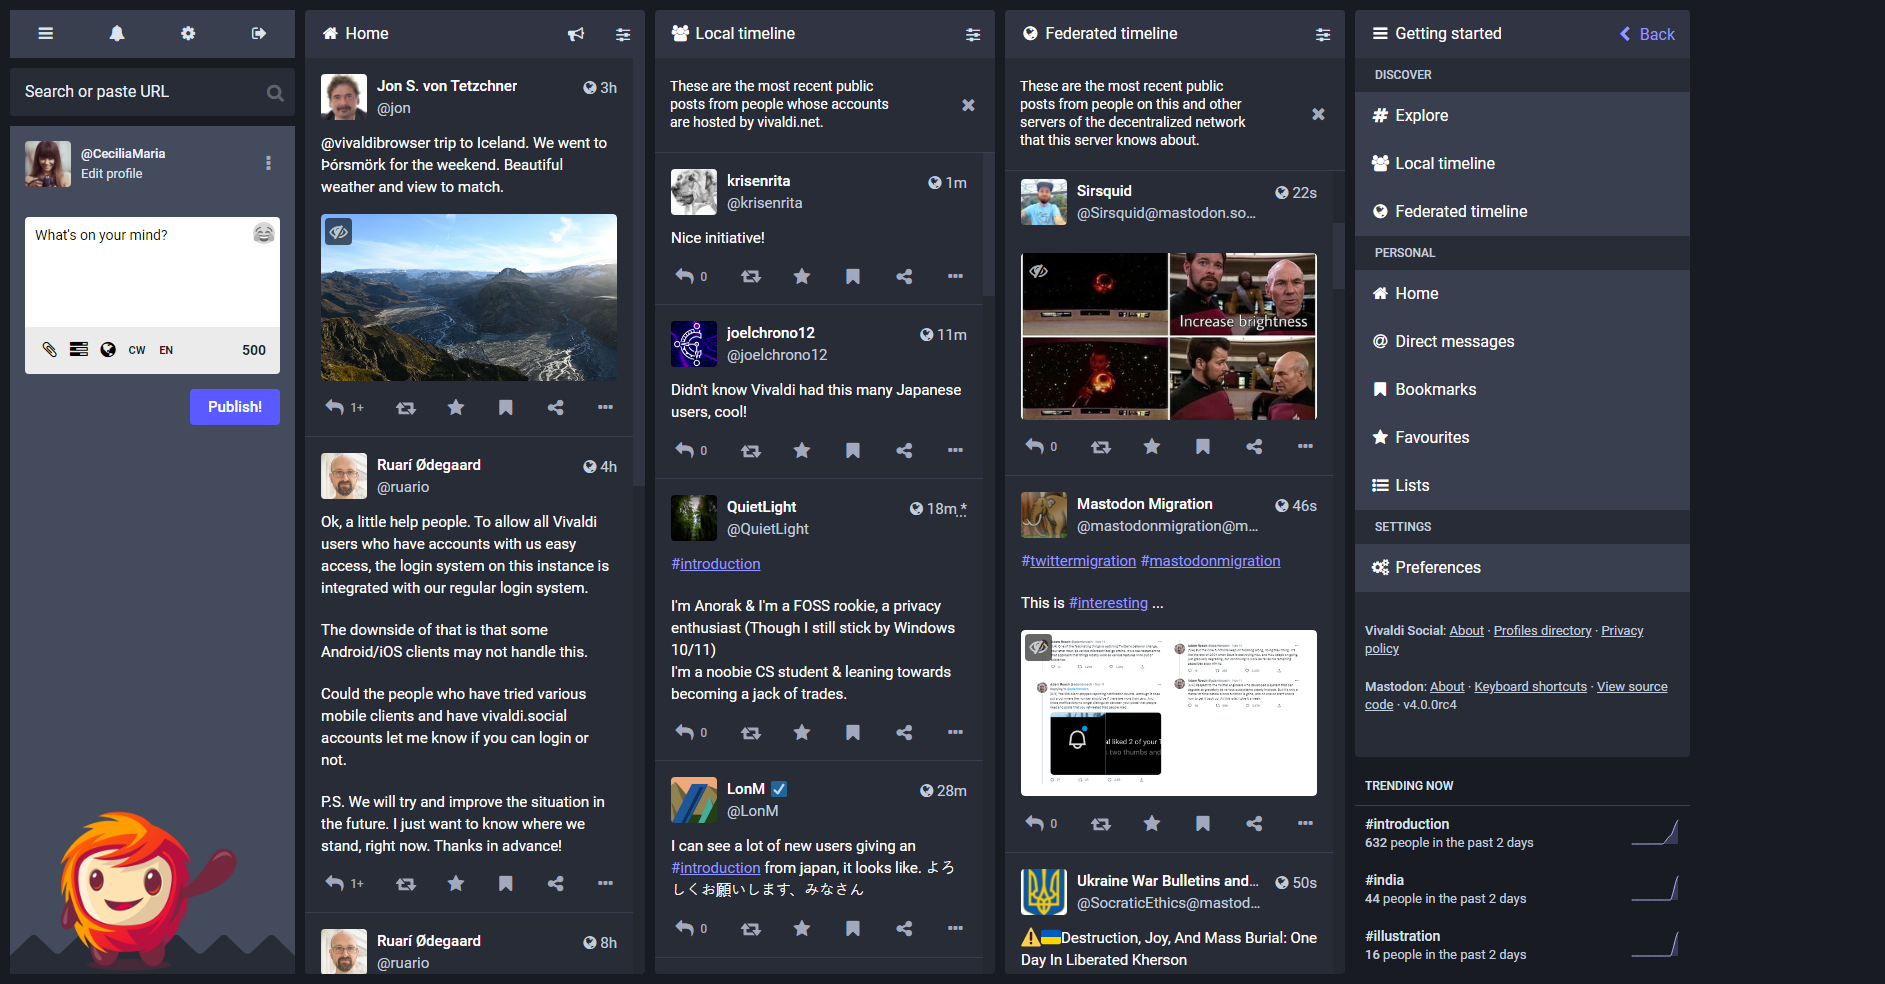
By default, you only see one feed at the time and can switch between views from the menu on the right. If you prefer to keep your finger at the pulse and see as much content as possible at the same time, you can enable the advanced web interface. Advanced web interface allows you to display multiple timelines at once in columns. How many you can add depends on your screen size and need.
Whether using the simple or advanced view, you can configure each view further from the Show settings button at the top of the page. Available options depend on the type of column (for example, Notifications have a lot of options you can configure). In advanced view, to keep the timeline visible, make sure to Pin the column from its settings.
Simple layoutAdvanced layout
Animations and Accessibility
Slow mode – Instead of auto loading new content on the timeline, you can choose to load it with a click when you’re ready.
Auto-play animated GIFs – Choose whether to play animations automatically or only after interaction.
Reduce motion in animations and Disable swiping motions – Enabling these can help people, who are, for example, prone to motion sickness.
Disable swiping motions – Prevents accidentally changing timelines on mobile when trying to go back using a browser that implements swiping motions as shortcuts for navigation.
Use system’s default font – When you have a special font you prefer set on the operating system’s level, you can choose to display texts on Vivaldi Social in that font as well.
Post Layout
Tall images can take up quite a lot of space. To make browsing content easier, you can crop images to 19:6 ratio by default and only expand them to full size, when you click on the image.
Discovery
In the bottom right corner of Vivaldi Social, you can see the latest trending hashtags. If trending topics are of no interest to you, you can disable Show today’s trends. To see popular hashtags with the setting disabled, go to Explore > Hashtags.
Confirmation Dialogs
To prevent any accidental actions, you can enable confirmation dialogs for:
when you click Unfollow on someone’s profile.
when you click Boost on someone’s post.
before you permanently delete one of your own posts.
Sensitive content
Users can add content warnings to their posts that require you to make additional clicks to see the full content. You can override these warnings in Preferences.
For Media you have 3 options:
Hide media marked as sensitive, i.e. follow the poster’s setting.
Always show media, even when it has been marked as sensitive.
Always hide media, regardless, whether it has been marked as sensitive or not.
For hidden media, you can choose to show a colorful gradient based on the image’s colors with details obfuscated or simply display a text “Media hidden” in place of the images.
Last, but not least, you can choose to expand all content marked with content warnings by default.
Notification settings
Notifications from Vivaldi Social will be sent to your Vivaldi account’s recovery email address (same as Forum notifications, password reset and other account related emails).
From Preferences > Notifications you can select which notifications you’ll receive.
You can receive email notifications for the following events:
Someone followed you.
Someone requested to follow you.
Someone boosted your post.
Someone favorited your post.
Someone mentioned you.
Normally e-mail notifications won’t be sent when you are actively using Mastodon, but you can make sure you don’t miss a single notification by enabling Always send e-mail notifications.
Furthermore, you can decide whether to receive notifications from people you don’t follow or who don’t follow you. The options include:
Block notifications from non-followers.
Block notifications from people you don’t follow.
Block direct messages from people you don’t follow.
To adjust settings in the Notifications view, click on the Show Settings button at the top of the page. There you can adjust what kind of notifications (e.g. desktop and/or push notifications, with sound or not) will be delivered for different events as well as the appearance of the Notifications view.
Other settings
Group boosts in timelines
To prevent popular posts from showing up over and over again, boosted posts will be grouped together by default. If you wish, you can disable it.
Posting defaults
Posting privacy – set all your posts to be published publicly, as unlisted or to followers only by default.
Posting language – By default the post language will be the same as your user interface language. If you prefer to have the interface in one language, but mostly post in another language, you can pick a different default language for posts.
In case you tend to create posts with media that many people would rather not see, you can mark all your media as sensitive by default.
Vivaldi Social can be accessed from the web as well as from desktop and mobile apps. The application you’ve used for posting will be displayed in the posts’ detailed view. If you’d rather not disclose the application used to post, you can disable the setting.
Public Timelines
Since people can post in many different languages your timelines can be populated by content that you don’t understand. You can use a translator, such as Vivaldi Translate, to make sense of the posts or you can hide the foreign content. To filter languages:
Go to Preferences > Other > Public Timelines.
Tick the checkboxes for languages in which you want to see content on Vivaldi Social.
Click on Edit Profile below your username in the top left corner of the page.
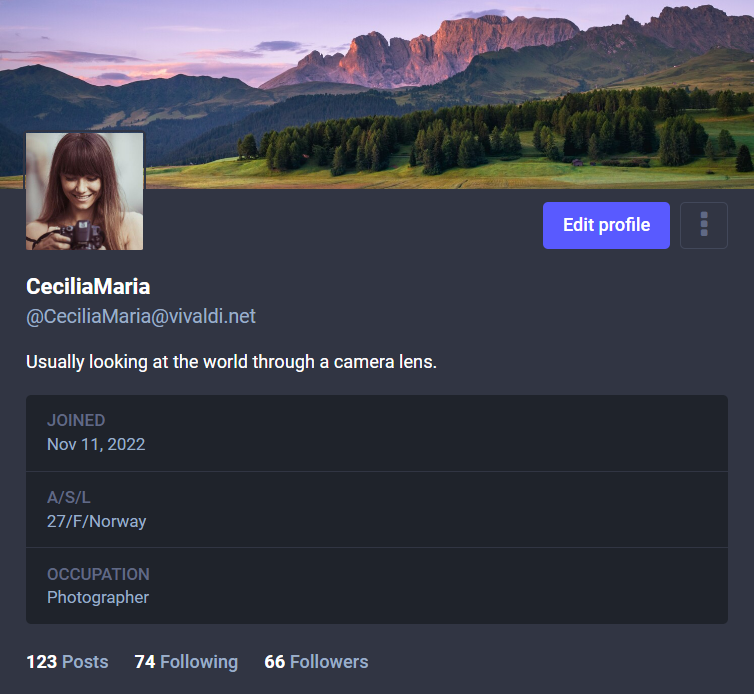
On your Vivaldi Social profile, click on Edit Profile (see the blue button on the screenshot below).
Go to Preferences > Public Profile.
Don’t forget to click Save changes when you’re done.
Edit profile
Display Name
This is the name shown to everyone and is noticeable even before users see your username. Max name length is 30 characters.
Bio
You can let others know in a few words (max 500 characters), who you are, what kind of content you post and what your interests are.
Extra fields
In addition to writing about yourself in the Bio, you can add up to 4 facts about yourself in the metadata section. What you include there is up to you, but as an example, you could add your age, location, occupation, as well as links to your website and/or profiles on other platforms.
To add extra information:
In Profile appearance settings, look for the Profile metadata section.
First enter a title for the bit of information in the Label box.
Then on the same row on the right side add the content.
Avatar
As on other Vivaldi services, your Vivaldi account’s profile image will be displayed also on Vivaldi Social. To update the avatar, log in to your account on Vivaldi.net, click Manage account below your current avatar and upload a new image on your account’s profile.
You’ll see the new avatar next time you log in to your account on Vivaldi Social. Log out and in again to see it immediately.
Header image
You can add a banner image to your account, which will be displayed on your profile on Vivaldi Social as well as in follow lists and account directories. Recommended image size is 1500×500 px as all images will be scaled to that size automatically. Supported file formats include PNG, GIF, or JPG images that are up to 2MB in size.
To upload a new header image:
In Profile appearance settings, click on Choose File in the Header section.
Select the file you want to upload.
Click Open.
Other
This is an automated account – Enabling it will let people know that the account mainly performs automated actions and might not be monitored. The label BOT will be shown next to the display name.
Privacy and reach
Reach
Suggest account to others – If you’d like your posts to reach a wider audience and gain new followers, enable this setting. That way your account will show up among recommendations, trending content, and more.
Automatically accept new followers – When enabled, followers will be added automatically. When disabled you need to review all follow requests before your content will start showing up in their Home feed. A lock icon will be displayed on your profile next to your username which will let people know that their follow request needs to be approved by you.
Include public posts in search results – When you opt-in, your public posts will be included in search results across the Fediverse. Enable it if you want to reach wider audiences, keep it disabled if you’d rather keep your posts a little more private. When enabled, you can set post visibility to Unlisted to opt the specific post out of search.
Search Engine Indexing – By opting out of search engine indexing your profile and posts won’t show up in relevant searches with various search engines.
Hide your social graph – Enable this option, if you don’t want to share information about who you follow and who follows you. People can still the number of accounts you follow and follow you.
Display from which app you sent a post – among the publishing date, post privacy, number of boosts and favorites, the post will also say from where you made the post from.
Verification
There’s no account verification system like on some social media platforms, e.g. blue ticks on Twitter, Instagram, Facebook, etc. Instead you can verify yourself as the owner (or with enough authority) of the links in your profile metadata. For that, the linked website must contain a link back to your Mastodon profile. The link back must have a rel="me" attribute, for example: <a rel="me" href="https://social.vivaldi.net/@YourUsername">Mastodon</a>.
Properly verified links have a green background.
Featured hashtags
Featured hashtags allow you to highlight topics that are important to you and you tend to post often on. Viewers of your profile can click on the hashtags to see all posts you’ve made with the hashtag.
 Vivaldi menu.