Panels
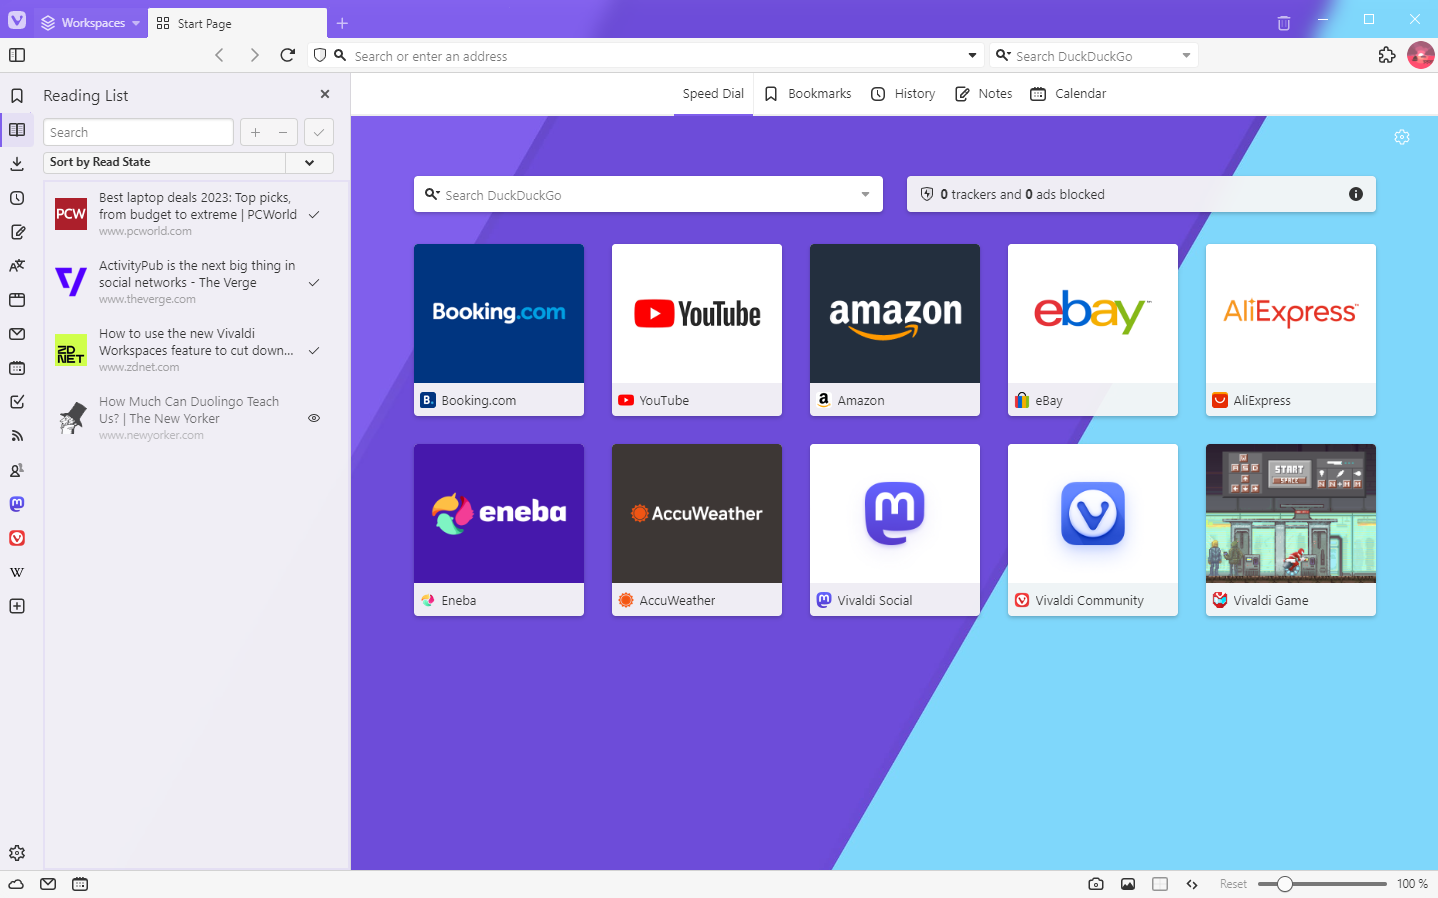
The main side Panel of Vivaldi gives you quick access to a number of important tools in Vivaldi, including:
 Bookmarks,
  Reading List,
 Downloads,
  Notes,
  History,
  Windows and Tabs Panel,
 Translate,
 Mail,
Mail, Calendar,
 Tasks,
 Feeds,
 Contacts,
 Sessions,
- and Web Panels.
Mail, Calendar, Tasks, Feeds, and Contacts panels are available only when Mail, Calendar and Feeds have been enabled in Settings > General > Productivity Tools.
Clicking on any of these tools will expand the sidebar and allow you to view and interact with them in a split screen with your main browser window.
Displaying the Panel
By default, the Panel bar is located on the left side of any of your Vivaldi windows. To expand and display the Panel or hide it after use:
- Click the
 Show Panel button on the left side of the Address Bar.
 - Use the Keyboard Shortcut F4 / ⌥⌘ P.
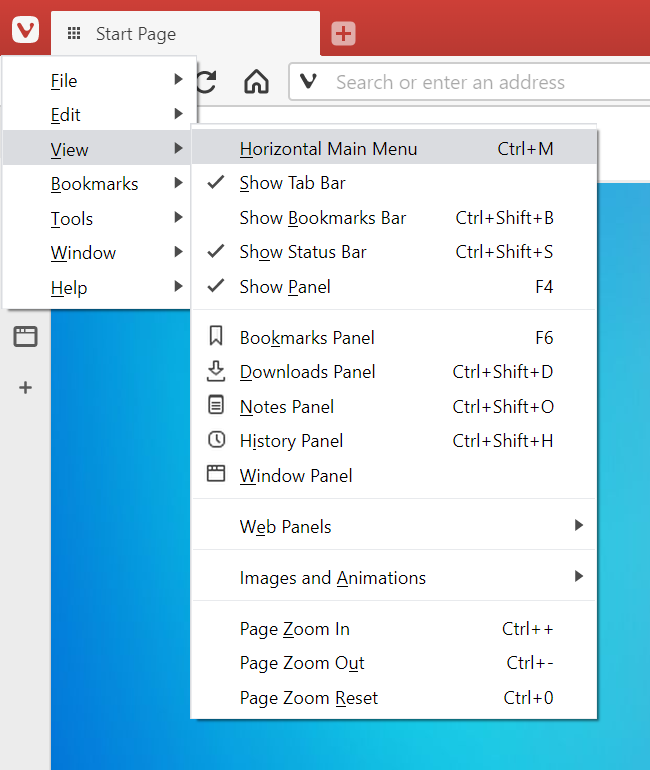
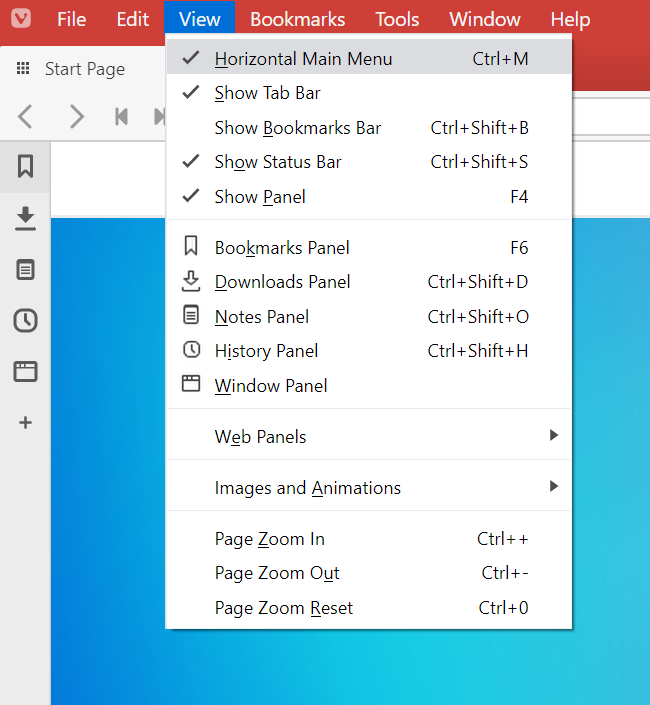
- Go to
 Vivaldi menu > View > Show Panel.
 - Type “Panel” in Quick Commands.
- Create a Mouse Gesture for the action.
Open, switch, and close individual Panels
To open or switch to a specific Panel, click on the Panel’s button on the Panel bar.
To close a Panel, but keep the Panel bar visible, click on the Panel button again. Alternatively, click on ![]() Close Panel in the top right corner of the open Panel.
Close Panel in the top right corner of the open Panel.
Toggling the visibility of individual panels
If there’s a panel that you know you won’t be using, you can hide the icon from the Panel bar.
To hide a panel:
Option 1
- Right-click on the panel you want to hide.
- Select Edit > Remove from Toolbar from the menu.
Option 2
- Click on the
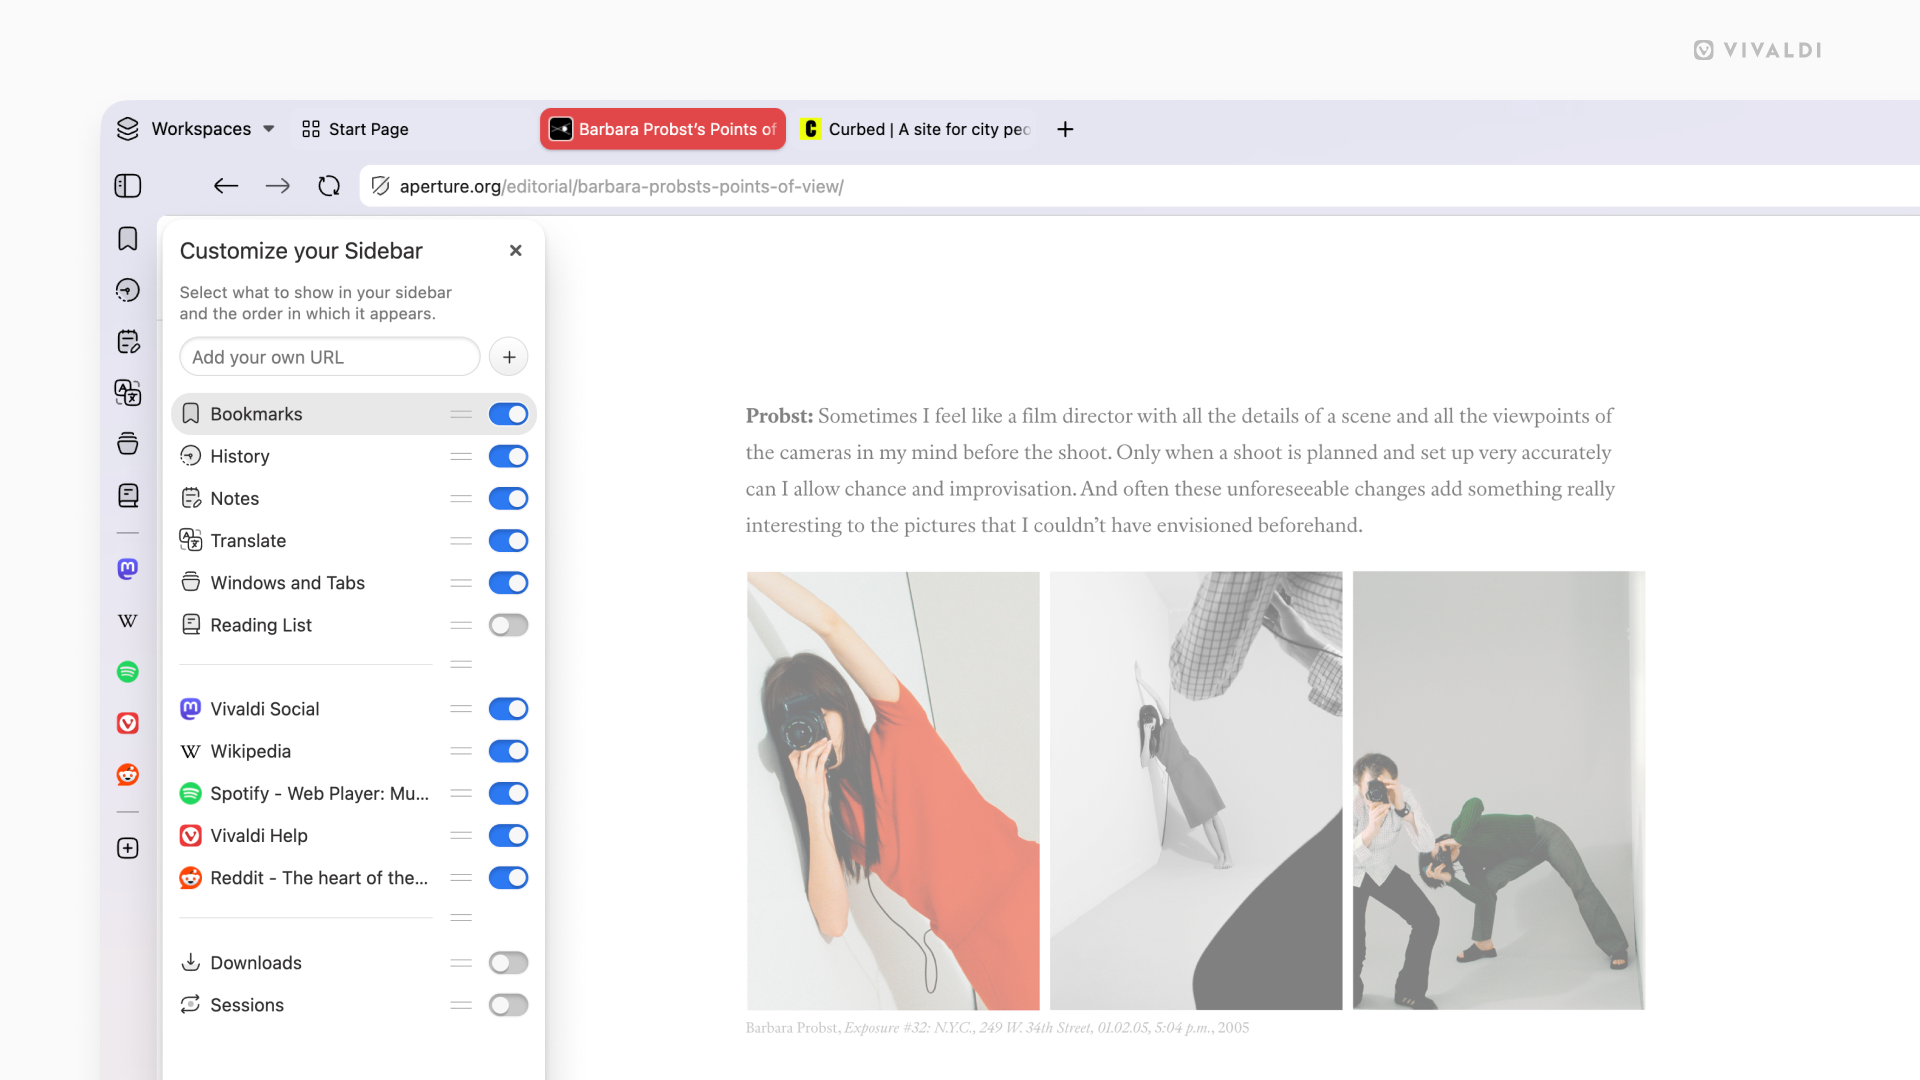
 Customize Panel button on the sidebar.
 - Toggle the visibility of the panel off.
Option 3
- Open the Toolbar Editor.
- Drag the panel you want to remove off the Panel bar and drop it on the web page area.
To display the hidden panel again:
Option 1
- Click on the Customize Panel button on the sidebar.
- Toggle the visibility of the panel on.
Option 2
- Open the Toolbar Editor.
- Select Panel from the drop-down menu.
- Locate the panel you want to add back and drag it from the Toolbar Editor menu to the Panel bar.
To restore the Panel with its default panels:
- Right-click on the Panel bar.
- Select Edit > Reset Toolbar to Default from the menu.
Customize the Panel
To customize the Panel, navigate to Settings > Panel. Here you can change settings such as:
- Panel Position. Choose to have the Panel display on the left or right side of the browser window.
- Show/Hide Panel Toggle to allow a small toggle on the side of the window to display (or not).
- Notes Panel behaviour. Choose whether or not to open the Panel automatically when creating a new Note, or automatically fetch a screenshot of the current page.
- Windows and Tabs Panel options. Decide whether to activate tabs with a single click, whether Pinned Tabs are in a separate folder or listed as other tabs and how to create Tab Stacks.
- Web Panel notifications. Enable/disable notifications, such as unread messages.
- Lazy Load. Fully load the Web Panel’s content only when opened.
- Transparency. In Settings > Themes > Editor > Settings, you can make the Start Page background image show through, by changing the transparency level. This setting also affects the Speed Dial Title background.
- Blur. For a more “frosted” Panel (and Tab Bar) look, enable Blur from Settings > Themes > Editor > Settings.
Reorder and move Panels
To change the order of panels:
Option 1
- Hold down the Ctrl / ⌘ key.
- Drag the panel to the new location.
Option 2
- Click on the Customize Panel button on the sidebar.
- Click and drag the
 Reorder button to change the panel’s location in the sidebar.
Option 3
- Open the Toolbar Editor.
- While the icons are wiggling in their place, drag them around to change their order.
With the Toolbar Editor, you can move Panel buttons to other browser toolbars and bring buttons from other toolbars to the Panel.
Floating panel
The Floating Panel option allows the panels to overlay the open website. By default, opening and closing panels will resize the website to make space for the panel.
To enable the Floating Panel go to Settings > Panel > Panel Options.
Alternatively, Shift + click on the ![]() Panel toggle button in the bottom left corner of the browser window to quickly enable/disable floating panels.
Panel toggle button in the bottom left corner of the browser window to quickly enable/disable floating panels.
In addition, you can enable Auto-close Floating panel. With this switched on, the panel will close when the mouse is moved away from the panel area.
Separate floating state per panel
To change the floating state per panel:
- Right-click on the Panel you want to set a separate floating state from your default to.
- Select Toggle Floating from the context menu.
Separate width
Some panels need more space than others. To have panels with separate width:
- Right-click on the panel button.
- Select Separate Width.
- Drag the panel to preferred size.