Save Passwords in Vivaldi on Android
Store your account login credentials in the browser for faster browsing.
Saving passwords
To save a password:
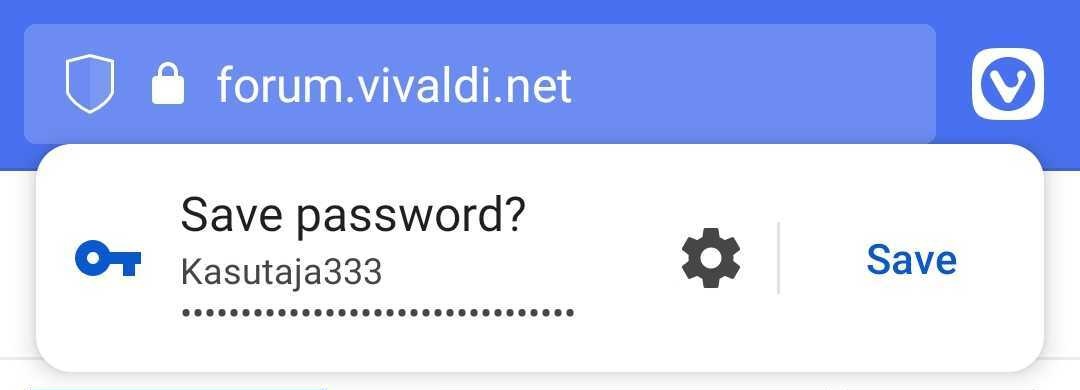
- Log in to the account on the site you want to save the login credentials on.
- Immediately after logging in, click Save on the dialogue that appears at the top of the screen.
Tap on ![]() Settings > Never, if you don’t want to save any passwords for the site.
Settings > Never, if you don’t want to save any passwords for the site.
To toggle saving passwords on or off, open the ![]() Vivaldi menu > Settings > Password Manager and tap on the Save Passwords toggle.
Vivaldi menu > Settings > Password Manager and tap on the Save Passwords toggle.
Managing passwords
To view and manage your saved passwords, go to ![]() Vivaldi menu > Settings > Password Manager.
Vivaldi menu > Settings > Password Manager.
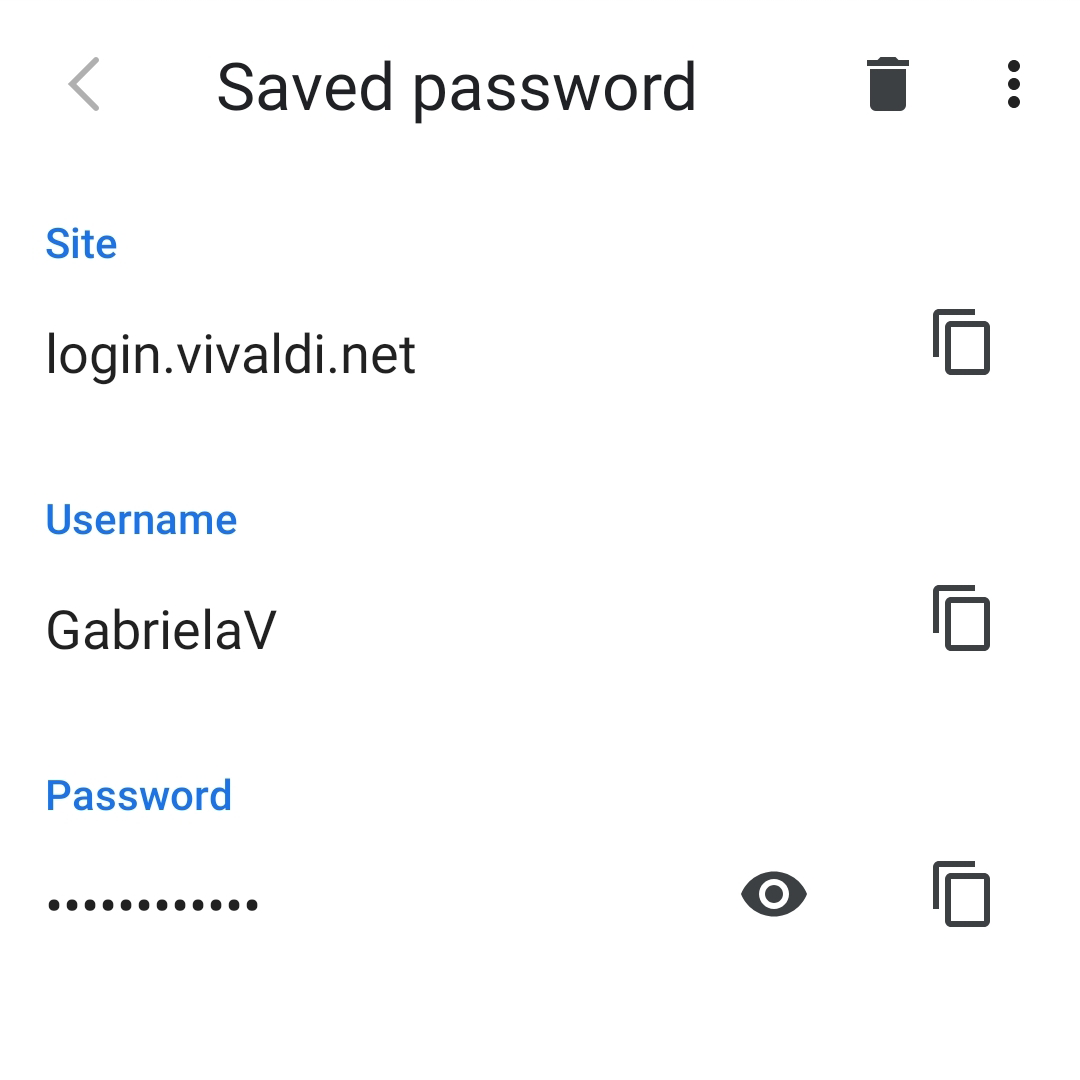
By tapping on the saved entry, you’ll see the site link, username and password with an option to copy them or delete the saved entry.
To view the password, enter your lock screen PIN/pattern/password/etc.
Below the list of saved passwords is a list of sites that passwords won’t be saved on. To save a password on a site in the Never saved list, first remove it by selecting the entry and tapping on the ![]() Delete button and then login on the site again to get a prompt for saving the password.
Delete button and then login on the site again to get a prompt for saving the password.
Updating saved passwords
Passwords cannot be edited in Settings. When you change the password, log in to the account with the new password. The browser will notice the different password and will ask whether you want to update the saved password entry. Tap on Update.
Deleting passwords
To delete a single saved password:
- Go to
 Vivaldi menu > Settings >Password Manager;
 - Tap on the saved password entry;
- Tap on the
 Delete button in the top right corner of the page.
To delete all passwords, including the Never saved list:
- Go to Vivaldi menu > Settings > Privacy > Clear browsing data > Advanced;
- Select All time for the time range;
- Tick the box for Saved passwords;
- Tap Clear data.
Export passwords
Your passwords will be exported and downloaded as a text (CSV) file. They will be visible to anyone and any app with access to the folder in which the file is saved.
To export passwords on Android:
- Go to Vivaldi menu > Settings > Password Manager.
- Tap on the
 3-dot menu in the top right corner and select Export passwords.
 - Enter your device’s lock screen PIN/password/etc.
- Read the caution message and if you want to proceed, tap Export passwords.
- Rename the file, if you wish.
- Select the file folder you want to save the CSV file to.
- Tap “Save”.
Use Third-Party Password Managers
If you have saved your login credentials in a third-party password manager and wish to use it to autofill login fields instead of Vivaldi’s built-in password manager:
- Go to Settings > Autofill services.
- Select Autofill using another service.
Go to your Android device’s autofill services settings to choose your preferred password manager app.